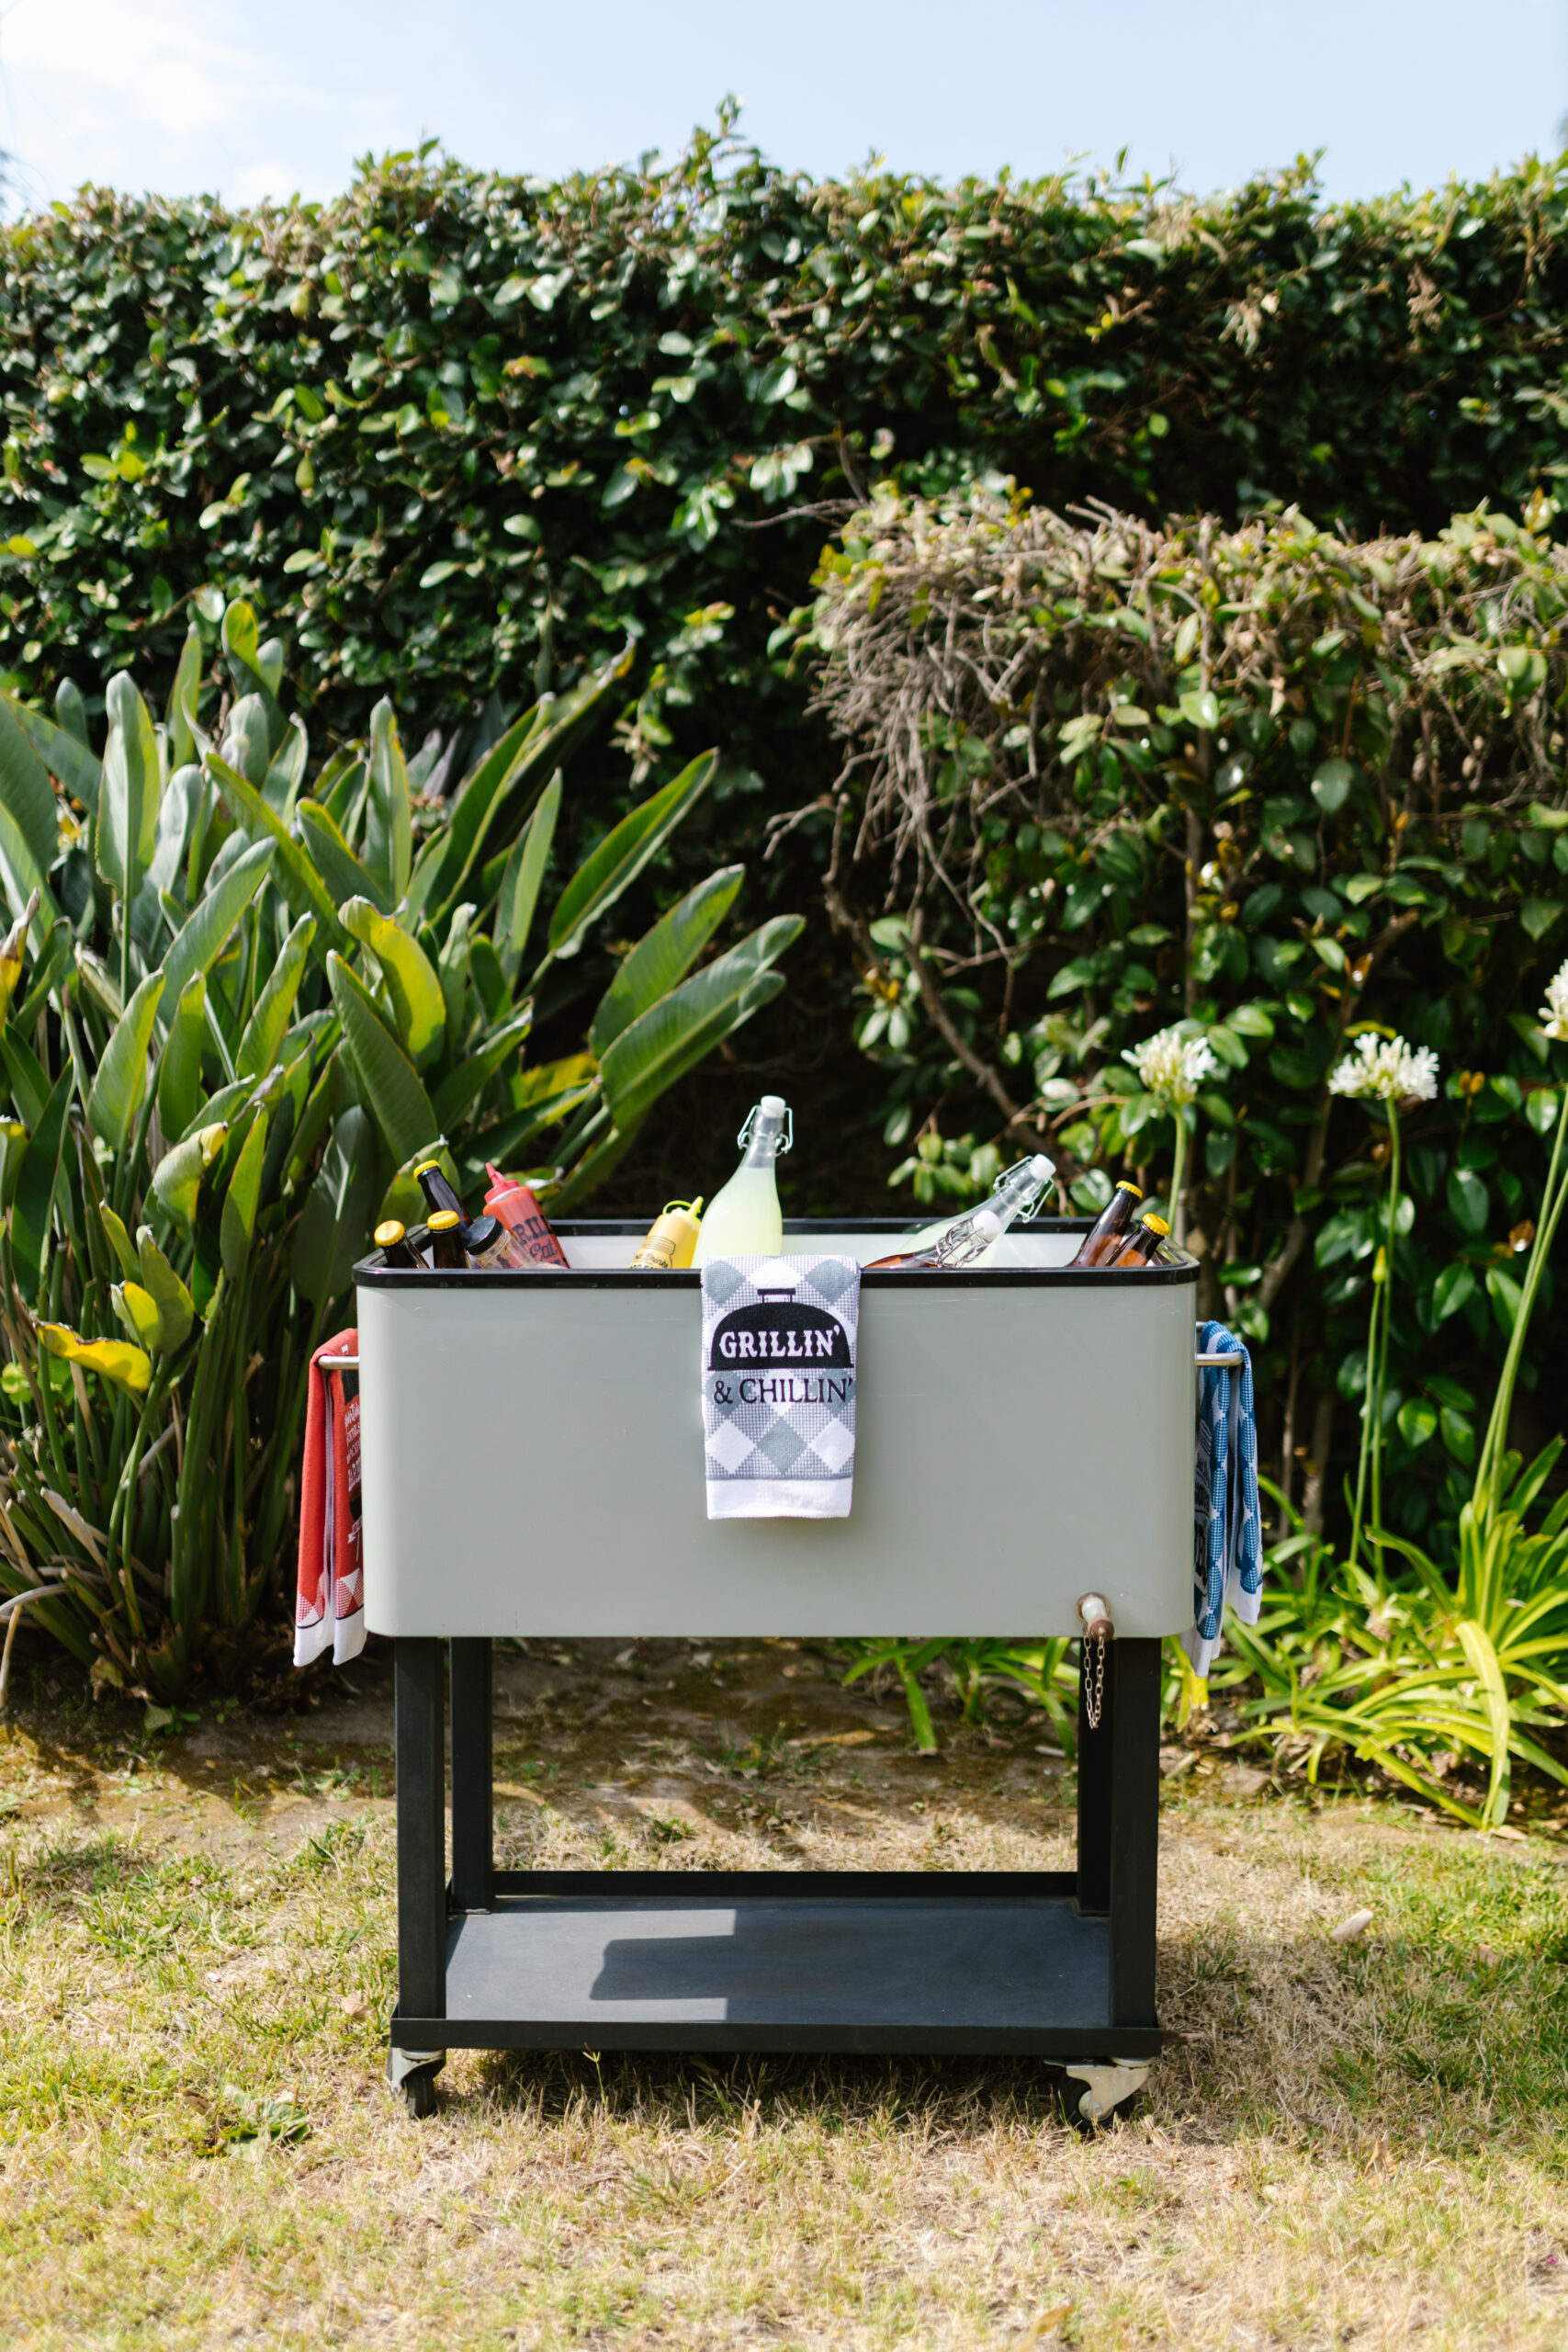
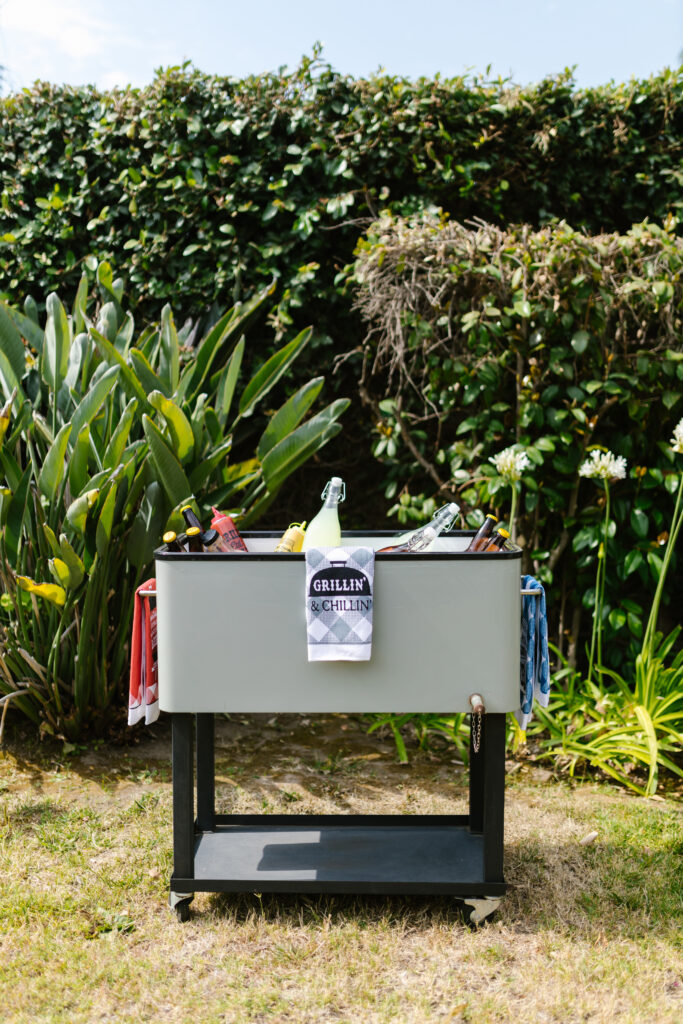
Revel in the sun and the open air as you entertain guests in your backyard, patio, or deck with a touch of style and convenience. This beginner-friendly guide aims to walk you through constructing a DIY cabinet for outdoor beverages. This elegant enclosure does more than cool your drinks; it also doubles as a serving table or a display space for your beautiful potted plants when not in use. Featuring appealing painted stripes, sturdy hairpin legs, and a practical bottle opener, this chic wooden box transitions seamlessly into an outdoor entertainment essential.
Please note that your cooler’s size primarily determines the dimensions for this project. The measurements provided in this guide are designed to accommodate a 22 x 13 x 11 inches cooler. Make the cabinet slightly larger for easy cooler removal for cleaning or draining purposes.
Materials & Tools Required
For a seamless experience, gather the following tools and materials before commencing the project:
Equipment / Tools:
- Table saw
- Circular saw
- Straightedge
- Clamps
- Carpenter’s square
- Pneumatic brad nailer
- Hammer
- Random orbital sander
- Drill/driver
- 1/8-inch drill bit
- Painters tape
Materials:
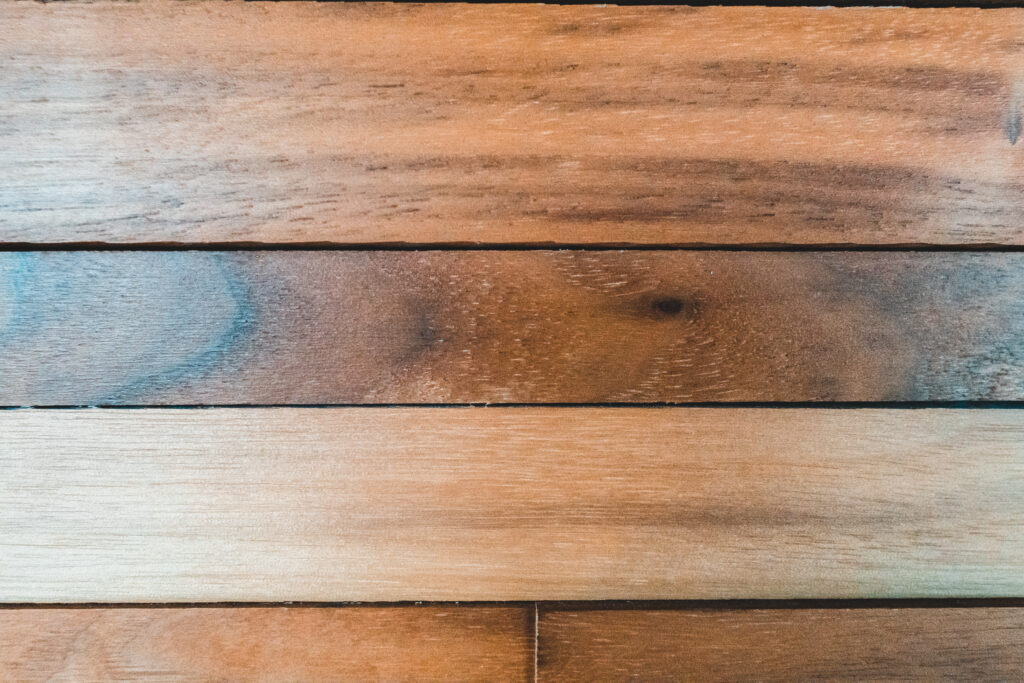
- 1×2, 1×6, 1×4 pine boards
- Outdoor-rated wood glue
- 1 1/4-inch brads
- 4-inch hairpin legs
- 3/4-inch No. 8 wood screws
- Hinges
- Beverage cooler
- 1 1/2-inch No. 8 panhead screws
- Exterior stain
- Exterior white gloss spray paint
- Surface-mount bottle opener
Step-by-Step Procedure
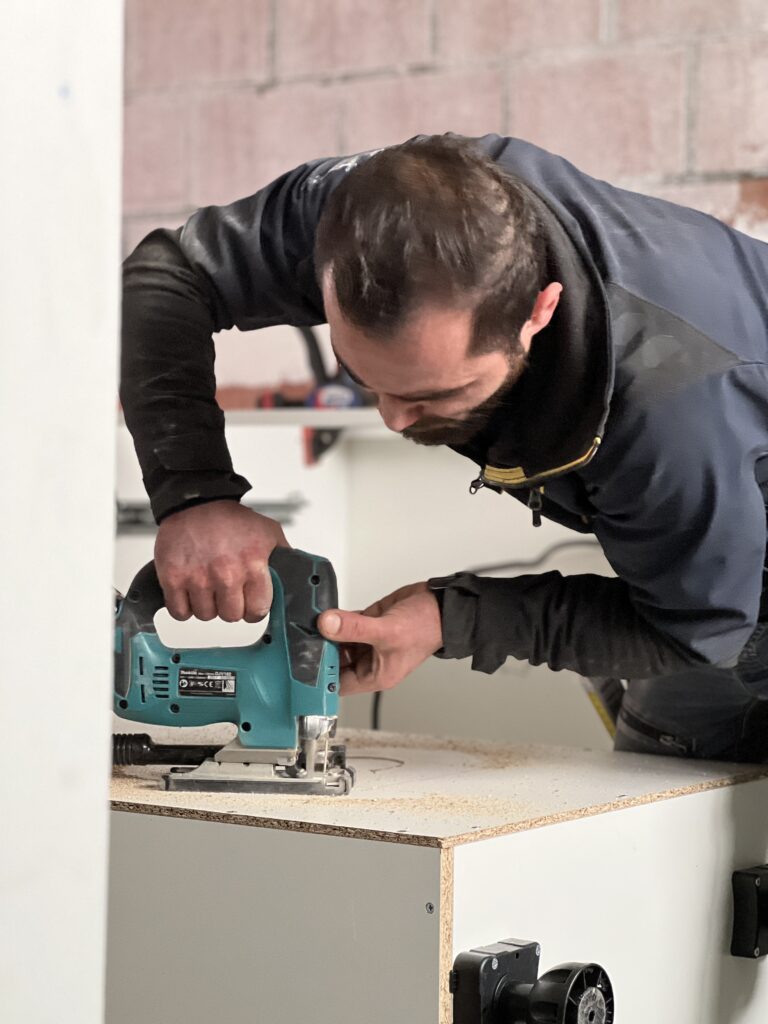
Step 1 Make the Initial Cuts:
Start by cutting your wood to the required dimensions. Here is a simplified cutting list for your reference:
PieceDimensions (in inches)Quantity
Lid Slats 27×4-1/8×3/4 4
Lid Cleats 13×1-1/2×3/4 2
Side Slats 15×1-1/2×3/4 (1×2) 2
Side Slats 15×3-1/2×3/4 (1×4) 8
Front/Back Slats 27×1-1/2×3/4 (1×2) 2
Front/Back Slats 27×3-1/2×3/4 (1×4) 8
Corner Cleats 14×1-1/2×3/4 4
Bottom Boards 25-1/2×3-1/2×3/4 3
Step 2 Assemble the Cabinet Lid:
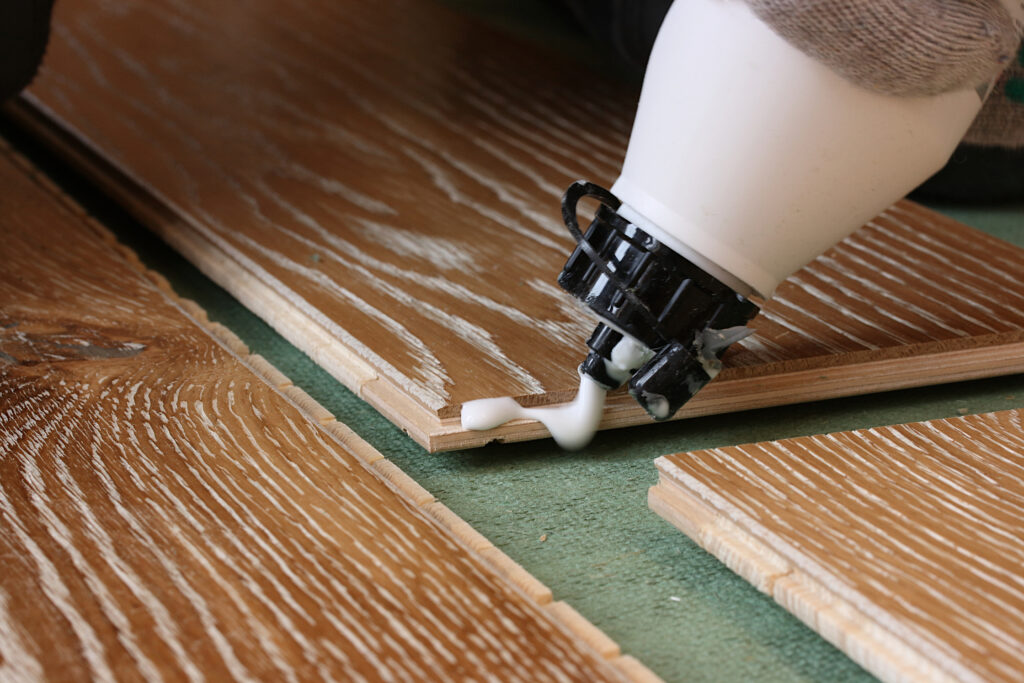
Begin by assembling the cabinet lid using the cut pieces. Following this, glue together the cleats and slats, driving one 1/4-inch brads through the cleats into the slats to ensure a solid assembly.
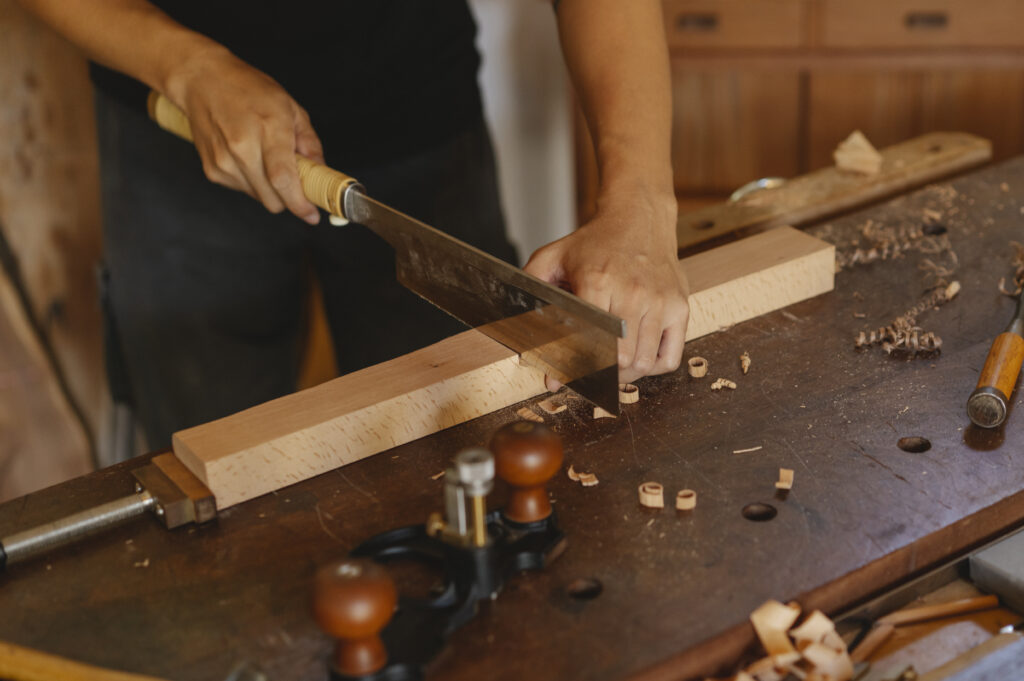
For this, you’ll need to cut four lid slats (A) and two cleats (B) using the measurements provided in the cutting list above. Use 1×6 stock boards for the lid slats and rip them to the correct width with a table or circular saw guided by a clamped straightedge.
Once cut, lay out the slats on a flat surface, ensuring their ends align. Now it’s time to attach the cleats. Apply glue to one face of each cleat, positioning them so each is 3 inches from the slats’ ends and centered front to back. Press down firmly, driving 1 1/4-inch brads through the cleats and into the slats.
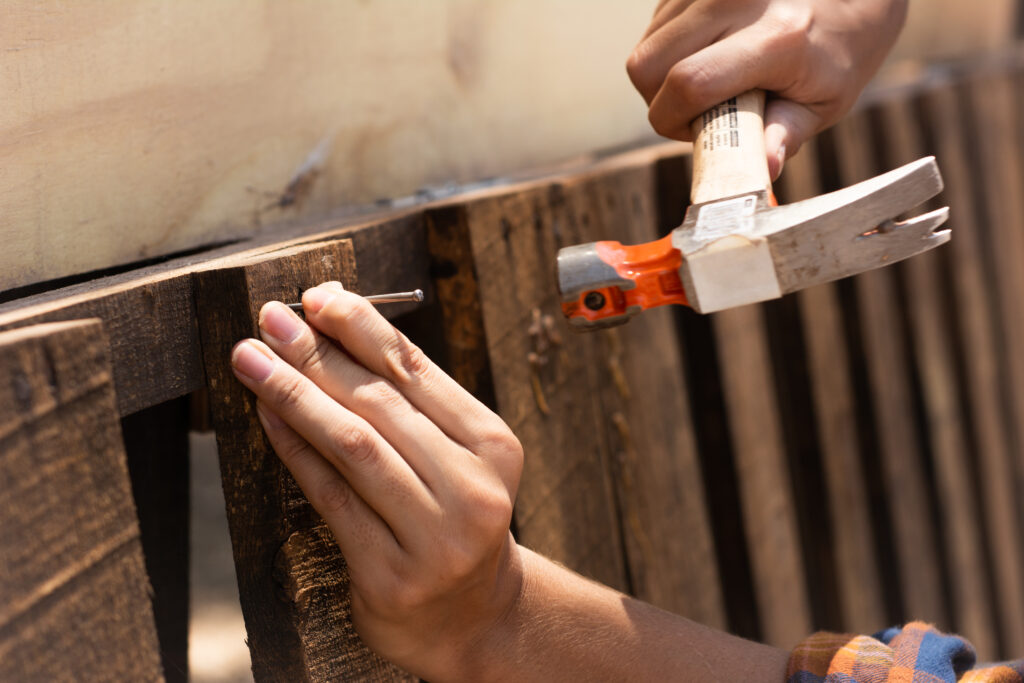
To facilitate a quicker assembly process, consider using a pneumatic brad nailer. However, if you don’t have access to one, a simple hammer will serve the purpose just fine. Make sure to drive at least four brads into each board.
After assembly, there might be some excess wood glue. Clean this up with a damp towel. Once the glue dries, you’ll want to smooth all the edges. You can do this using an orbital sander with 120-grit sandpaper.
Step 3 Cut Slats and Corner Cleats:
Cut the required pieces for the cabinet sides, front, back, and bottom boards for your outdoor cooler.
Step 4 Assemble Cabinet Sides:
Follow the correct slat arrangement (three 1×4 slats, one 1×2 In the construction of the cabinet sides, you’ll want to begin by arranging the side slats on a flat surface. Ensure that you place the slats correctly from bottom to top for each side: start with three 1×4 slats (D), follow up with one 1×2 slat (C), and finish with another 1×4 slat. Next, apply your wood glue to one face of each corner cleat. Now, align these cleats flush with the outer edges of the side slats and position them 3/4 inch up from the bottom of each assembly. To permanently attach the cleats to the sides, utilize brad nails. Make sure you drive four nails into each side slat. Following these steps will ensure a sturdy side assembly for your cabinet.
Step 5 Attaching Legs to Your DIY Cabinet:
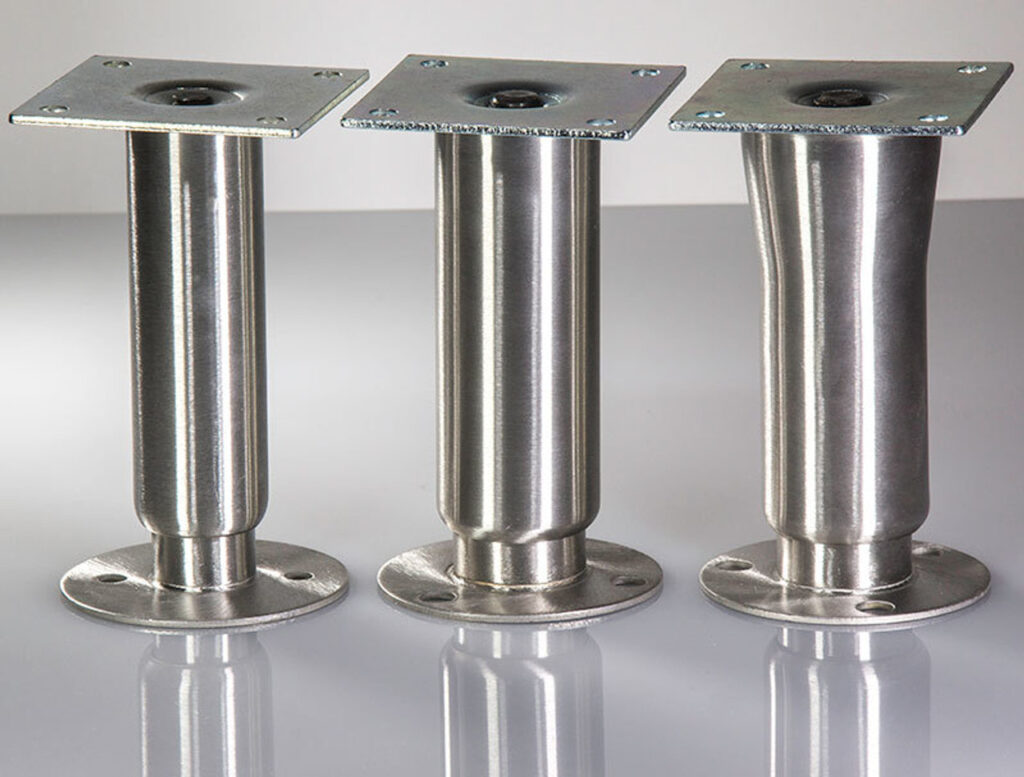
Now that the main body of your cabinet is completed, the next phase involves adding the finishing touches. Begin by setting your sights on the hairpin legs.
Firstly, position a leg at each corner of the box’s bottom. To make the task of drilling pilot holes for each screw easier, it’s advisable to use a 1/8-inch-diameter drill bit. Finally, for a sturdy attachment of the legs, using 3/4-inch No. 8 wood screws comes highly recommended.
Step 6 Securing the Cabinet Lid:
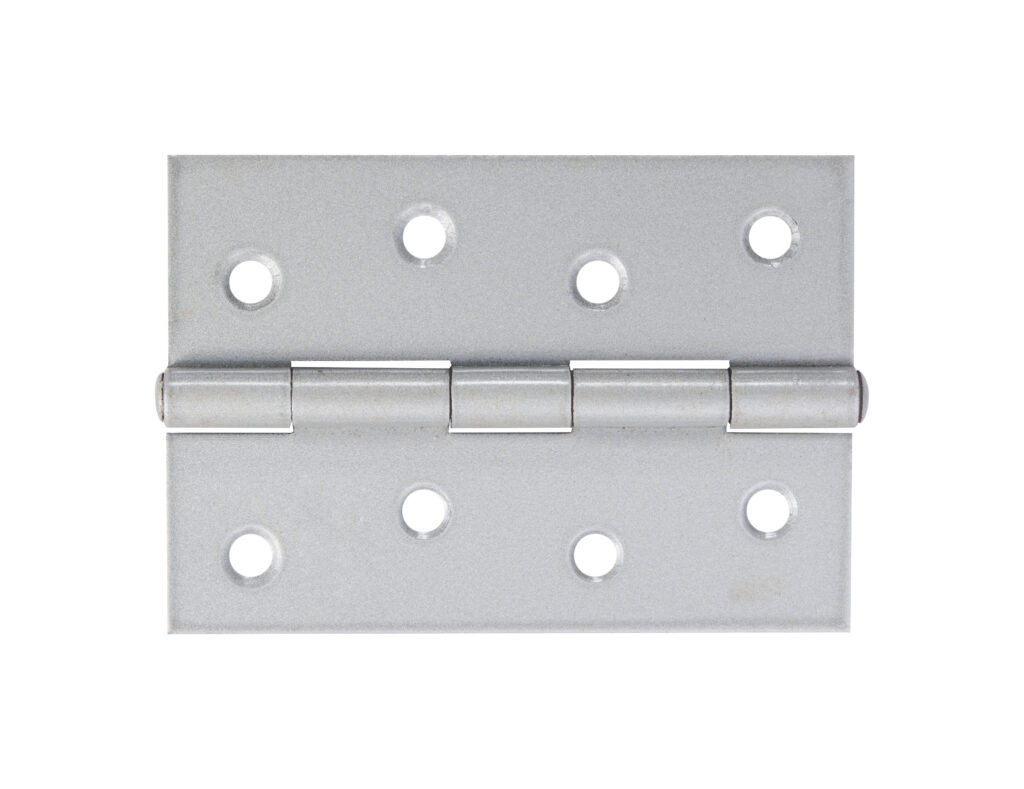
Having secured the lid, now carefully place it on top of the cabinet; meticulous alignment is crucial at this stage. Following that, the two hinges for the top need to be positioned approximately 6 inches from the sides of the cabinet.
Next, drill pilot holes and proceed to screw the hinges to the cabinet and the lid. It’s advisable to use the same size screws as you did for the legs to maintain a consistent look and feel.
Step 7 Checking the Cooler Fit:
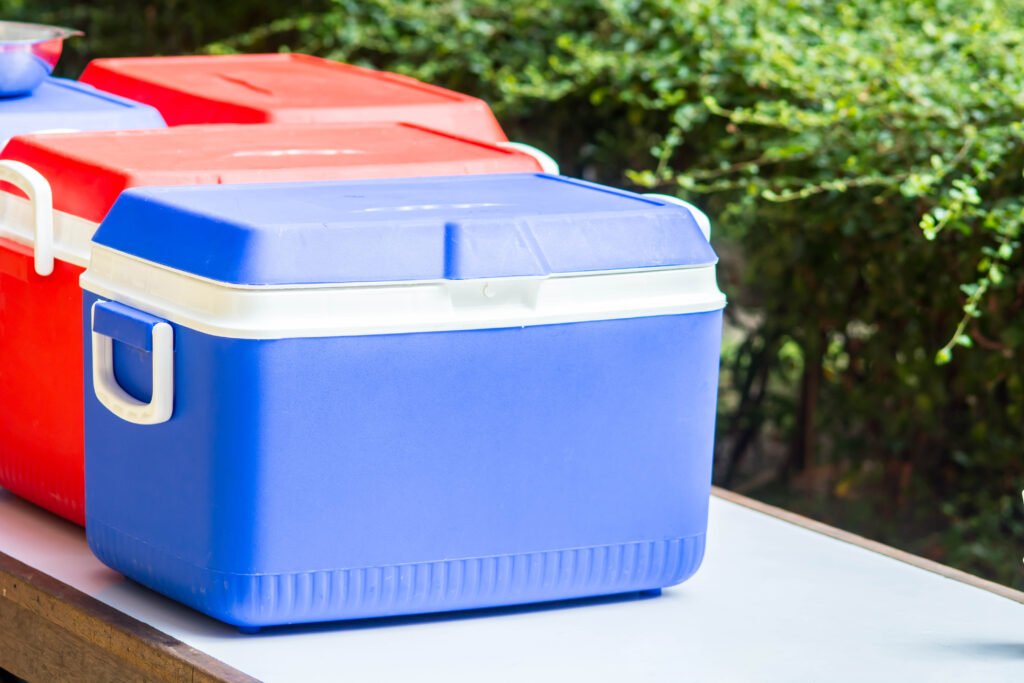
Once you’ve completed the aforementioned steps, proceed to remove the cooler’s top now that the lid is secure. The attachment of it to the cleats on the underside of the cabinet using 1 1/2-inch No. 8 panhead screws. The cooler is then placed in the cabinet, and a check is performed to see how the lid fits. Additionally, it may be found that a few wood shims need to be placed beneath the cooler. This will help to raise it, ensuring a snug fit with the top.
Step 8 Staining or Painting the Cabinet:
Afterward, the cabinet should be lightly sanded using 120-grit sandpaper. The stain can then be applied, with the manufacturer’s instructions to be followed closely. Allow it to dry overnight. Next, decorative stripes can be laid out using painter’s tape, with kraft paper added to protect the rest of the cabinet from any paint overspray. Two or three coats of spray paint can then be applied to create the stripes. Between each coat, enough time should be given for drying. Once dry, the tape can be removed.
Step 9 Finishing Touches: Attaching a Bottle Opener:
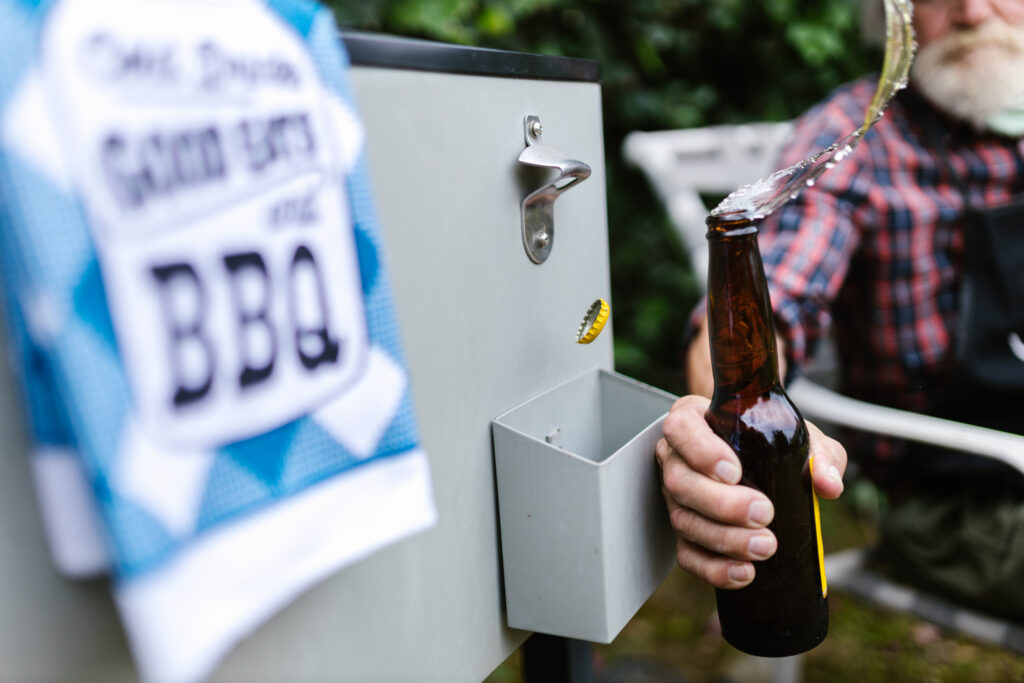
The final step in this DIY project involves the attachment of a bottle opener. For this, pilot holes should be drilled, and 3/4-inch No. 8 wood screws should be used to fasten the bottle opener on the top corner of either one of the cabinet’s sides. Altogether, completing this step leaves your outdoor cooler cabinet ready for action.
Now, the cooler can be filled with ice and your favorite beverages, and the outdoor party can commence! Your guests will admire not just the practicality of this cooler but also its chic, handmade aesthetic. Additionally, when not in use, the cooler serves as extra table space or a unique stand for your potted plants, adding to the versatility and value of your DIY project.