
One of the most rewarding aspects of gardening is the beautiful blooms it produces. But what if you could capture and preserve a piece of that beauty? In this article, we’ll delve into the art of flower pressing and guide you through crafting your very own flower press. This simple yet enjoyable project is not only an engaging activity but also results in pressed flowers that you can use in various crafts and home décor.
Materials Needed
To create your flower press, you will need some essential items, most of which can be found around the house or at your local hardware store. You’ll require two pieces of plywood (12×18 inches), which will serve as the sturdy plates of your press. In addition, you’ll need four bolts, four wing nuts, and eight washers (quarter-inch). These will secure your press and apply pressure to your flowers. To press, you’ll need cardboard and absorbent paper, like newsprint or blotting paper. You will also need flowers and leaves for pressing – consider choosing various colors and shapes to make your crafts enjoyable. Finally, to put it all together, you’ll need a drill with a quarter-inch drill bit, ruler, and pencil for accurate measurements.
Step 1: Prepare the Wood
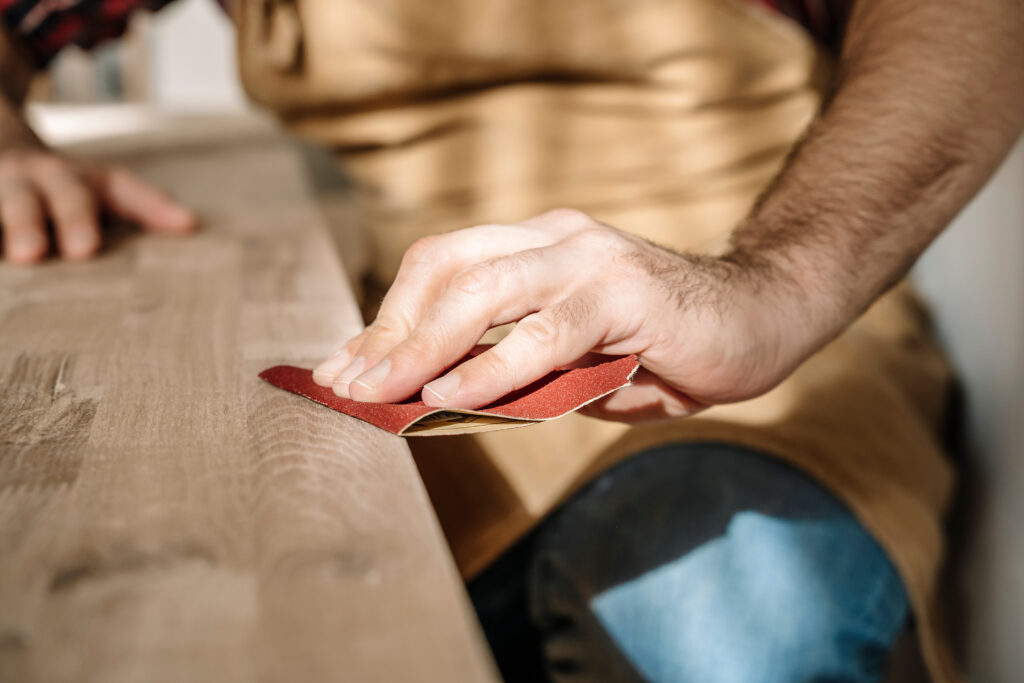
The first step to creating your flower press is preparing your plywood pieces. These will act as the top and bottom plates of your press. It would be best to sand the plywood well to eliminate rough edges, as you don’t want splinters interfering with your project. After sanding, you have a few options. You can leave the wood in its natural state for a rustic look or paint it to inject personal style into your press. If you’re feeling crafty, you could decorate it with a wood-burning tool for a beautifully artistic touch.
Step 2: Mark and Drill the Holes

The next step involves marking the locations for your bolt holes on one piece of plywood. Position them approximately two inches from each corner. Once carefully kept the spots, use your quarter-inch drill bit to make the holes. Then, using this drilled piece as a template, place it on top of the second piece of plywood and drill corresponding holes. This will ensure that the holes on both pieces align perfectly, a crucial aspect of the assembling process.
Step 3: Cut Your Blotting and Cardboard Pieces
Now, you need to prepare your blotting paper and cardboard. Cut these materials to match the size of your plywood. They will sit within your press, providing the perfect space to lay your flowers. Make sure you have enough pieces to layer between your flowers. Depending on the number of flowers you plan to press simultaneously, you might need several sheets of each material.
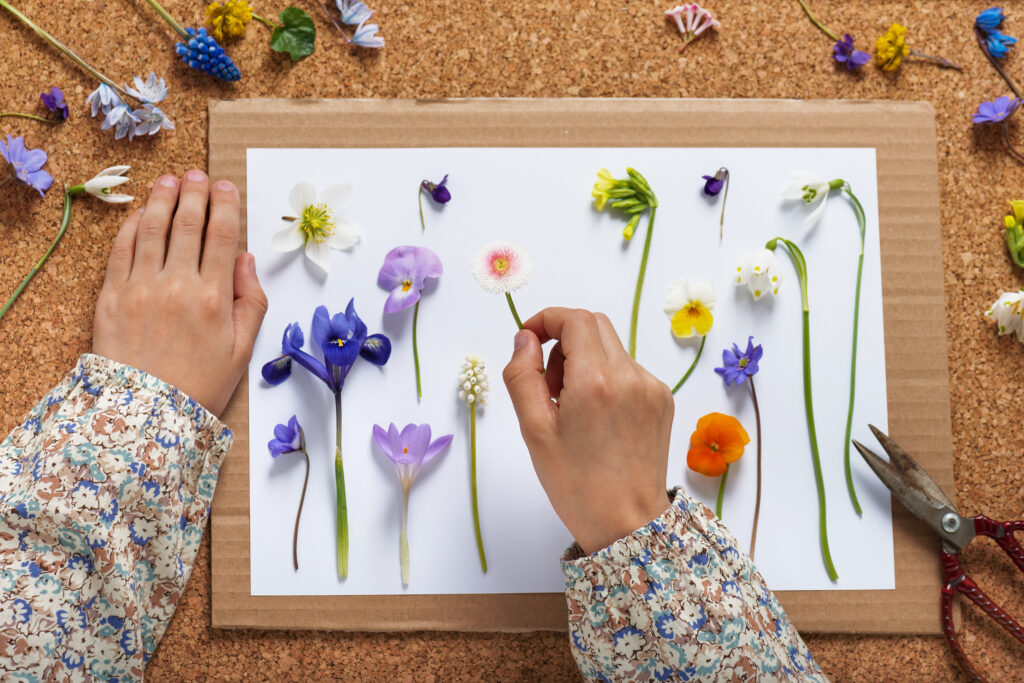
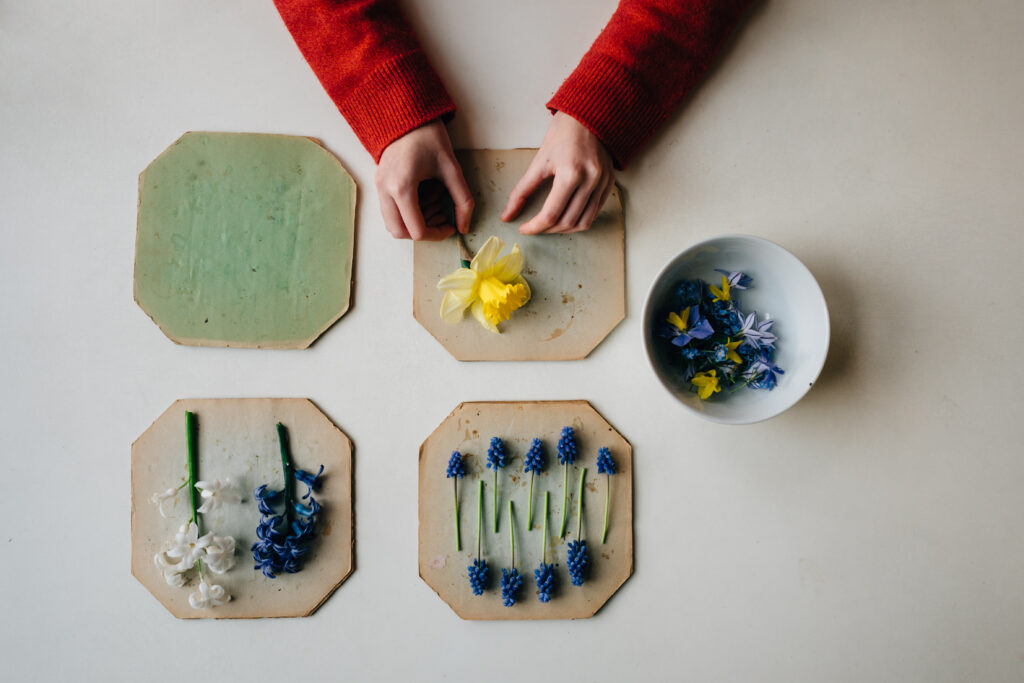
Step 4: Arrange Your Flowers
This step is where your creativity truly shines. Begin with one piece of cardboard, then a sheet of blotting paper. Arrange your chosen flowers on the blotting paper. Ensure they are spaced well and don’t overlap, which could affect the pressing process. Next, place another sheet of blotting paper on top and then a piece of cardboard. Repeat this layering process for each set of flowers you’re pressing. It’s like creating a storybook of flowers, page by page.
Step 5: Assemble the Press
Assembling the press comes next. Start with one piece of plywood, then carefully stack your flower-filled layers of cardboard and blotting paper on top. Once you’ve added all your layers, place the second piece of plywood on top. This creates a sandwich-like structure, with the plywood pieces acting as the bread and your beautiful blooms in between. Slide a washer onto each bolt, then insert the bolts through the holes. Add another washer to each bolt on the top, then secure everything with the wing nuts.
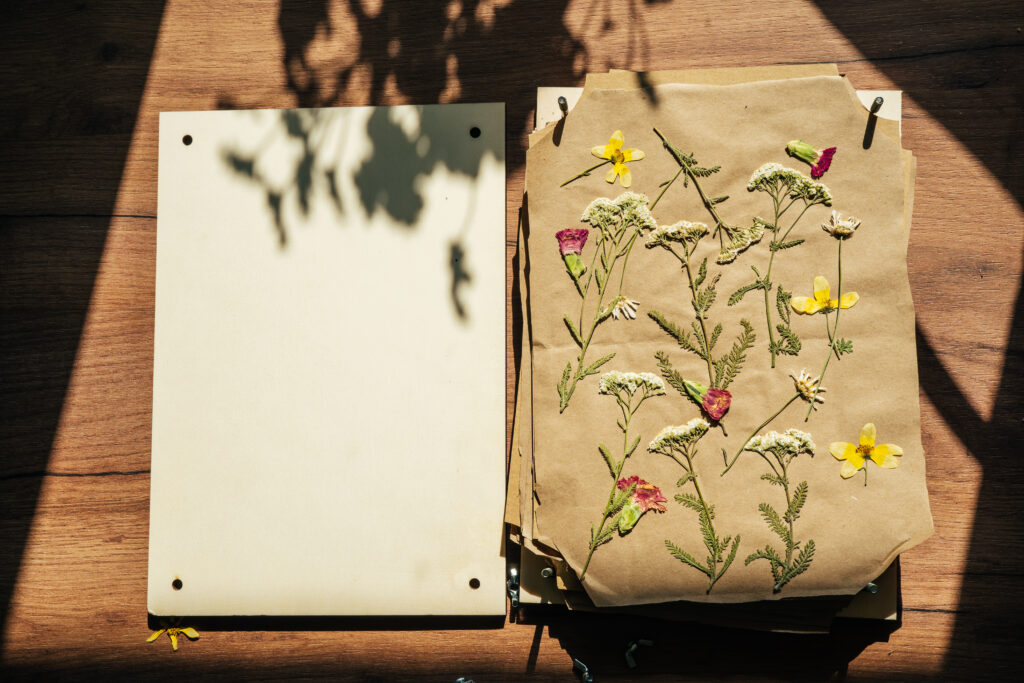
Step 6: Tighten and Wait
The final step involves tightening the wing nuts as much as you can. The pressure applied here is vital for the flowers to press correctly. After you’ve secured your flower press, you must demonstrate some patience. Allow your flowers to push for at least two weeks. You can check them periodically, but remember they must be scorched before they’re ready to use. This waiting period ensures your flowers will preserve their color and shape when used in future projects.
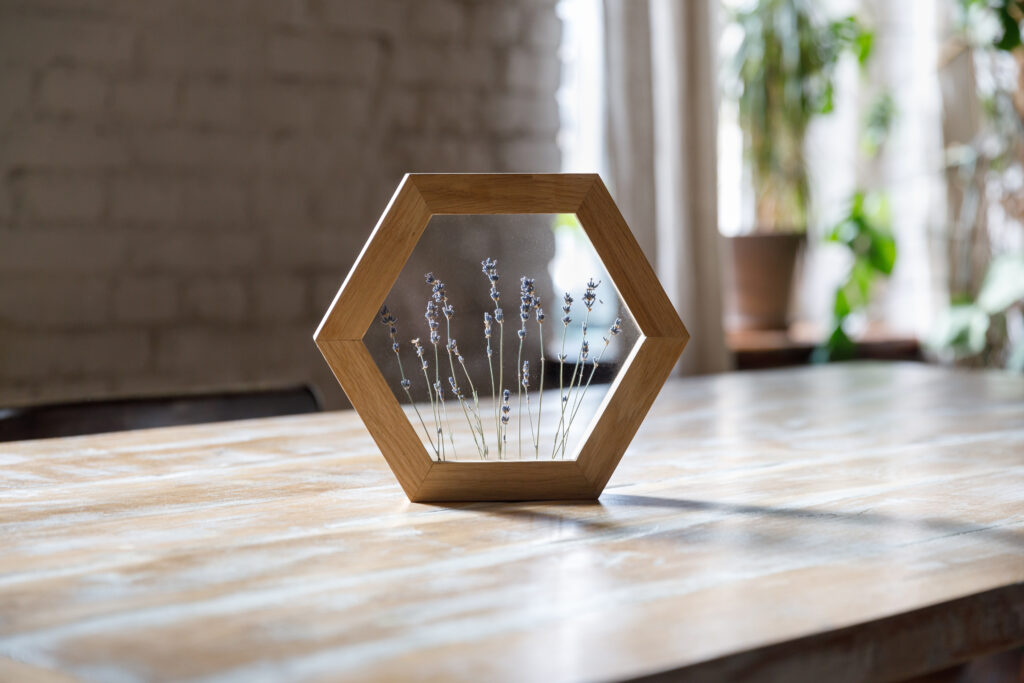
Flower pressing is an art form with a long, rich history. This project is more than just an enjoyable craft; it’s a way of capturing the ephemeral beauty of nature and making it last. With your homemade flower press, you can turn your garden’s loveliest blooms into lasting works of art. Whether you use them in greeting cards, bookmarks, framed art, or other crafts, these pressed flowers will add a touch of natural beauty to your creations. So, are you ready to embark on this garden journey? Remember, with this handmade flower press, the fleeting beauty of your garden can be captured and cherished forever.