Celebrating the love and pride for one’s country is a sentiment that resonates across the globe. Patriotic wall art is an engaging way to pay tribute to your nation while adding a personalized touch to your living space. With creativity, time, and basic crafting supplies, you can create a stunning piece showcasing your patriotic spirit. In this article, we will guide you through a simple yet eye-catching DIY patriotic wall art project.
Materials Needed:
- Wooden or canvas board
- Acrylic paints (in your country’s flag colors)
- Paintbrushes
- Stencils (stars, symbols, etc.)
- Masking tape
- Wood or craft glue
- Decorative elements (ribbons, buttons, etc.)
- A picture frame (optional)
- Clear sealant spray (optional)
Step-by-Step Guide:
Step 1: Choose Your Base
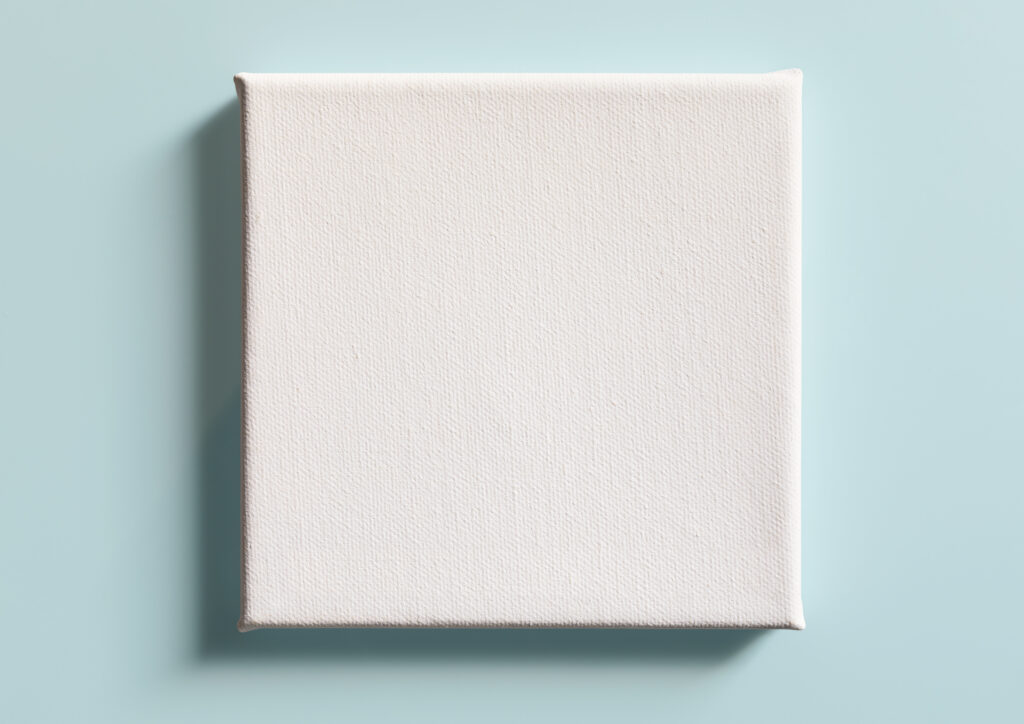
Begin by choosing a base for your wall art. A wooden board or canvas is perfect. The size depends on your available space and how big you want your art piece to be. Consider the ambiance and décor of the room where you’ll hang the art. A wooden board adds a rustic feel, while a canvas is more classic and versatile. When selecting the size, consider the scale in relation to other items on the wall. If it’s to be the centerpiece, go larger. Also, remember to check the thickness. A thicker base can stand out more and add depth, while a thinner one tends to blend with the wall. Make sure the surface is clean and free from imperfections for the best painting results.
Step 2: Sketch Out Your Design
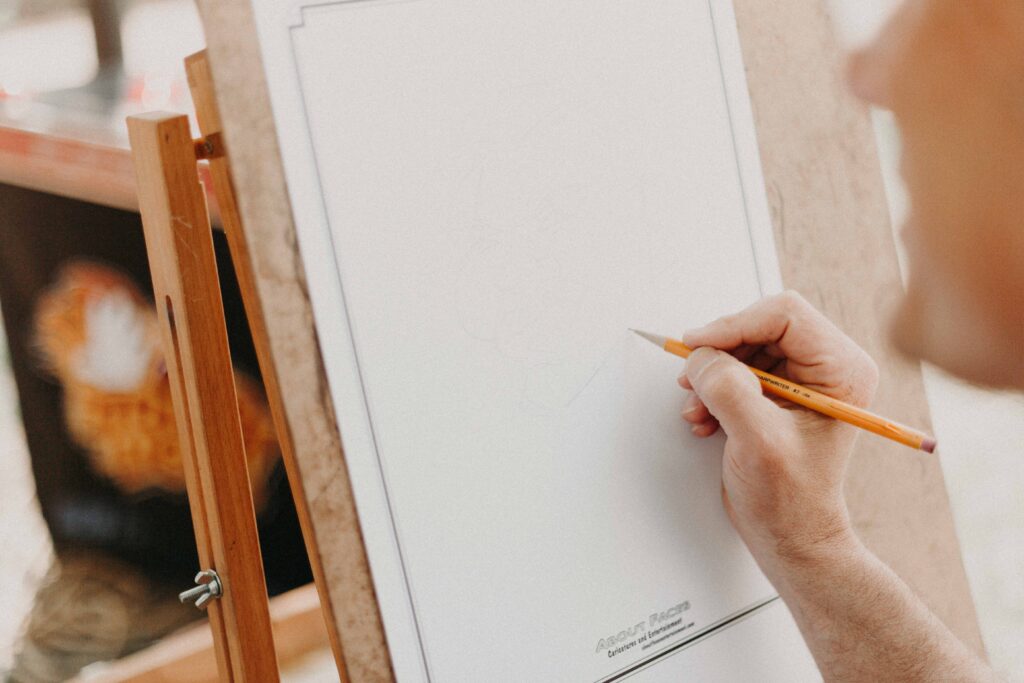
Have a rough sketch or idea in mind. You can recreate your country’s flag, create a mosaic of patriotic symbols, or create an abstract representation using the flag’s colors. This is your chance to be as creative as you want! Additionally, researching historical or cultural elements can give you unique ideas to incorporate into your design. Consider integrating national landmarks, traditional patterns, or historical figures to add depth and meaning to your piece. Remember that balance and symmetry are vital in art, so play around with the arrangement of elements. Sketching your ideas on paper before applying them to your base will allow you to experiment freely and visualize the final product, ensuring a more polished and well-thought-out piece.
Step 3: Prep Your Base
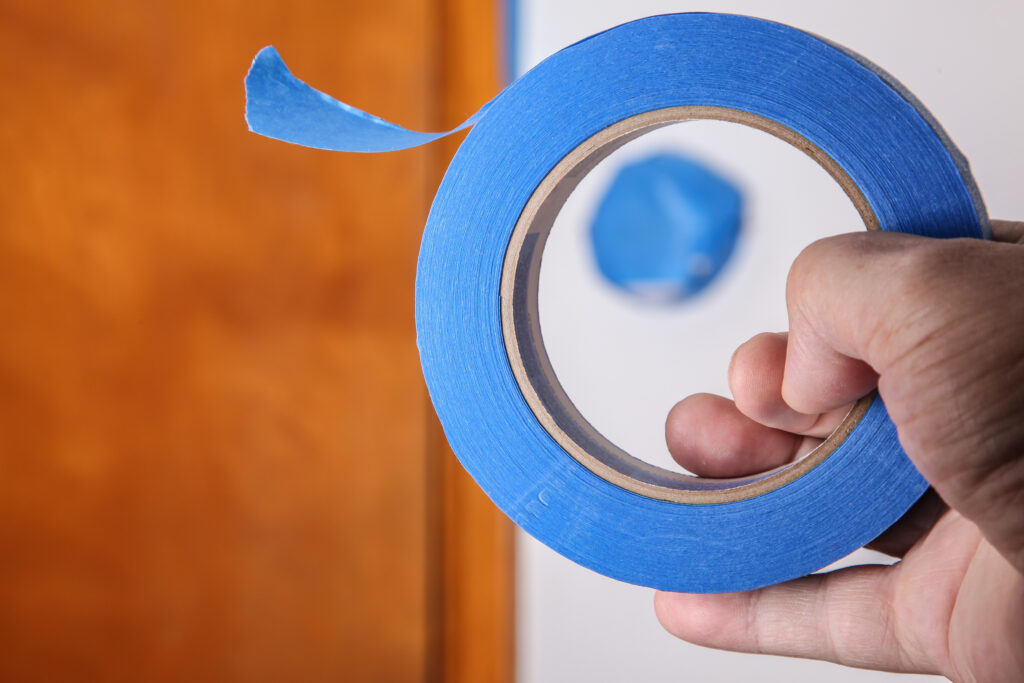
If you’re using a wooden base, you may want to sand it for a smoother surface. Start with a coarser grit sandpaper and work to a finer grit for a polished finish. For a canvas, although it’s generally ready to paint, applying a coat of gesso can enhance the texture and prevent the paint from soaking in. Use masking tape to create borders or sections you want to keep clean or paint straight lines. This can help achieve crisp lines and patterns, especially incorporating geometric elements.
Step 4: Paint Your Background
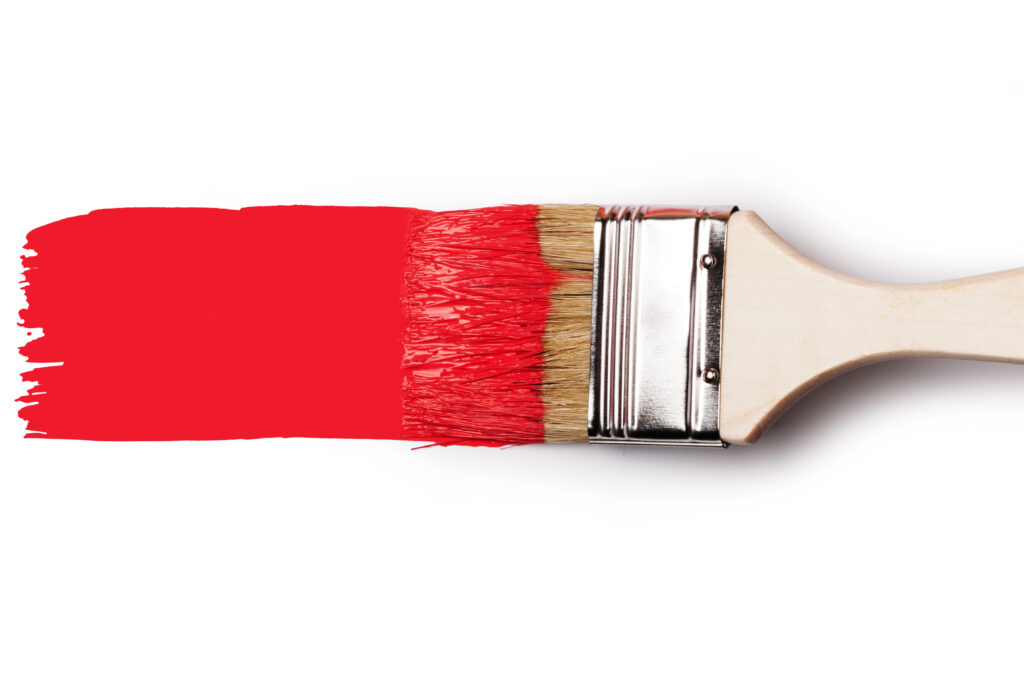
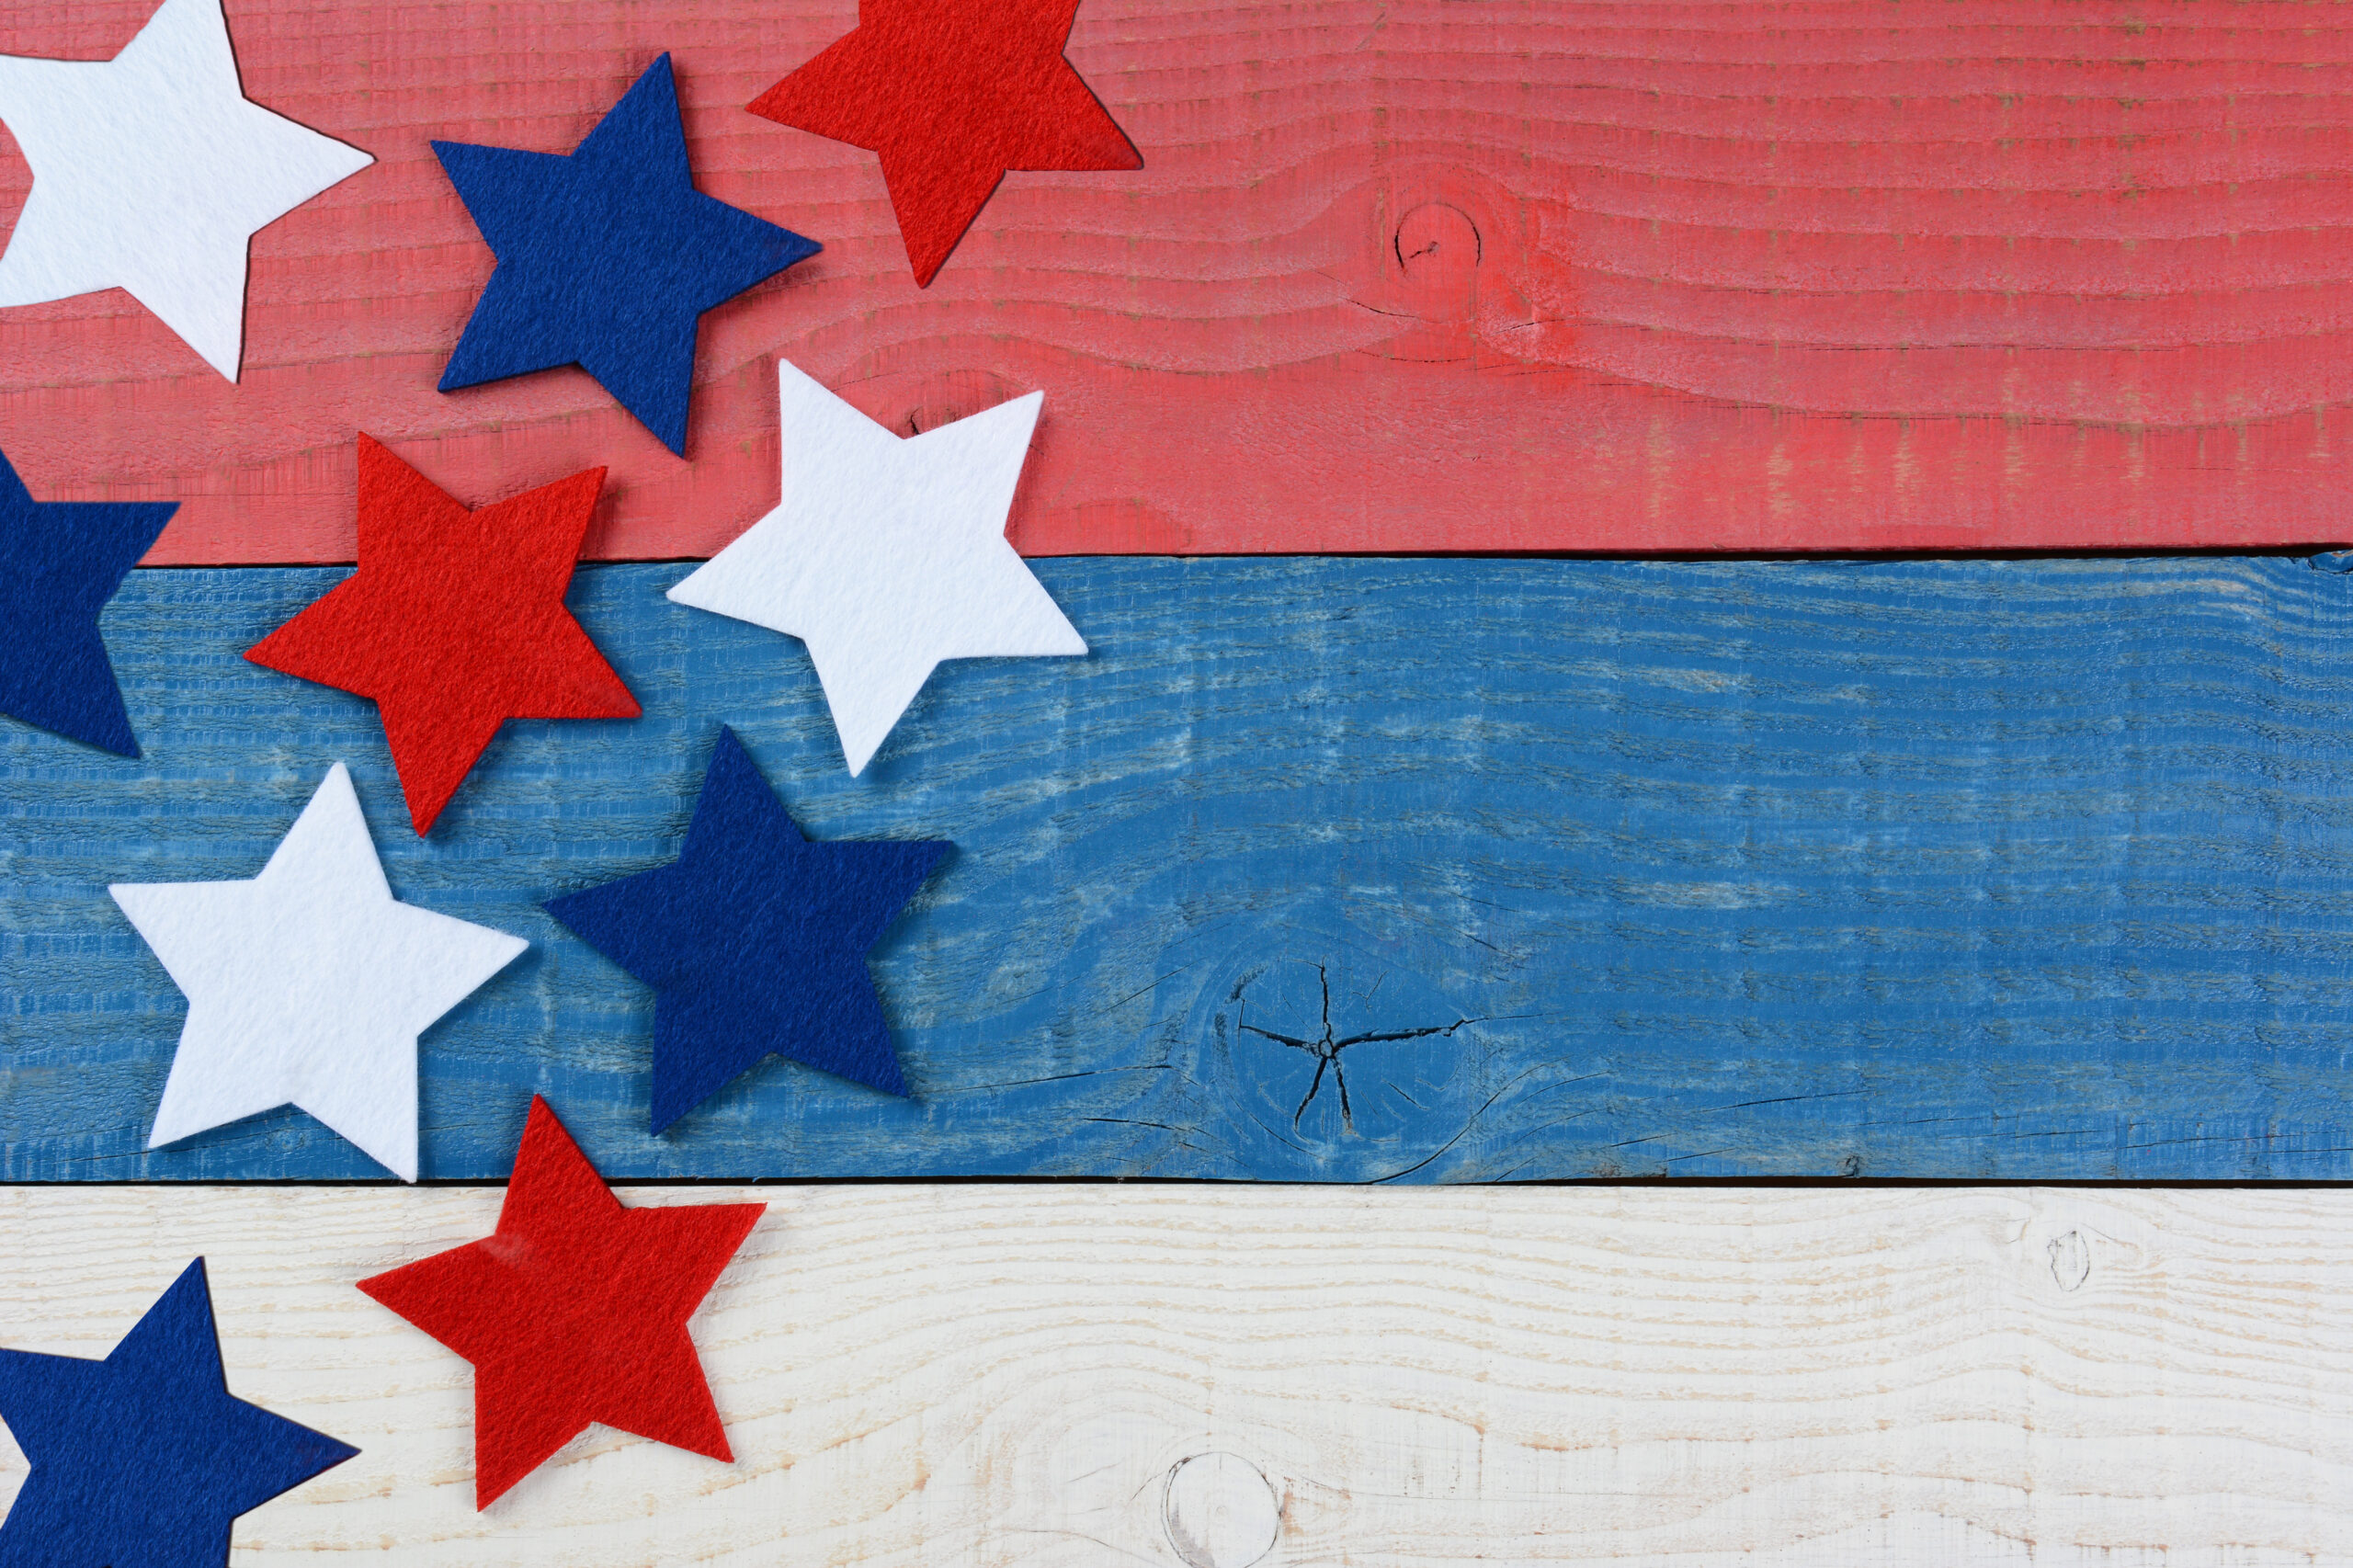
Use acrylic paints to create the background. If your design is based on your country’s flag, start by painting the larger areas in the appropriate colors. For instance, if you are making American patriotic art, begin by painting red and white stripes. It’s good to use a wider brush for this step to cover larger areas. Take your time and let each color dry before moving on to the next to avoid accidental blending or smudging.
Step 5: Add Symbols and Detailing

Once the background is dry, use stencils to add symbols such as stars or emblems. This ensures that the shapes are uniform and neat. You can also use a fine paintbrush for detailed work or to add text. If you want to include a famous quote or patriotic saying, use a pencil to lightly sketch the words first to ensure proper alignment and spacing. Then, go over it with a fine paintbrush and paint.
Step 6: Add Decorative Elements
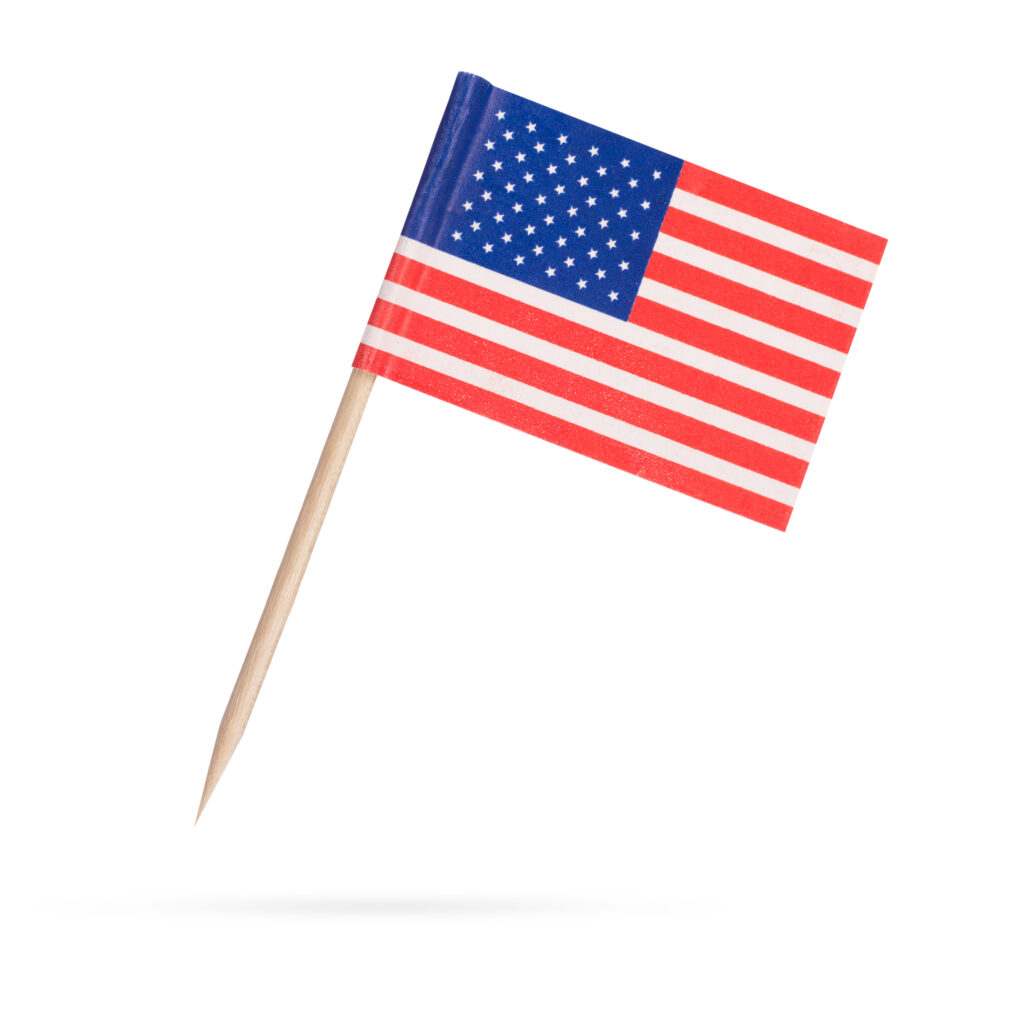
Take your art to the next level by gluing on decorative elements like ribbons, buttons, or small flags. These add texture and depth to your piece. Arrange these elements before gluing to ensure they complement the overall design. Consider incorporating personal significance materials, such as fabric from a family member’s military uniform or a small copy of a cherished family photograph.
Step 7: Frame Your Masterpiece
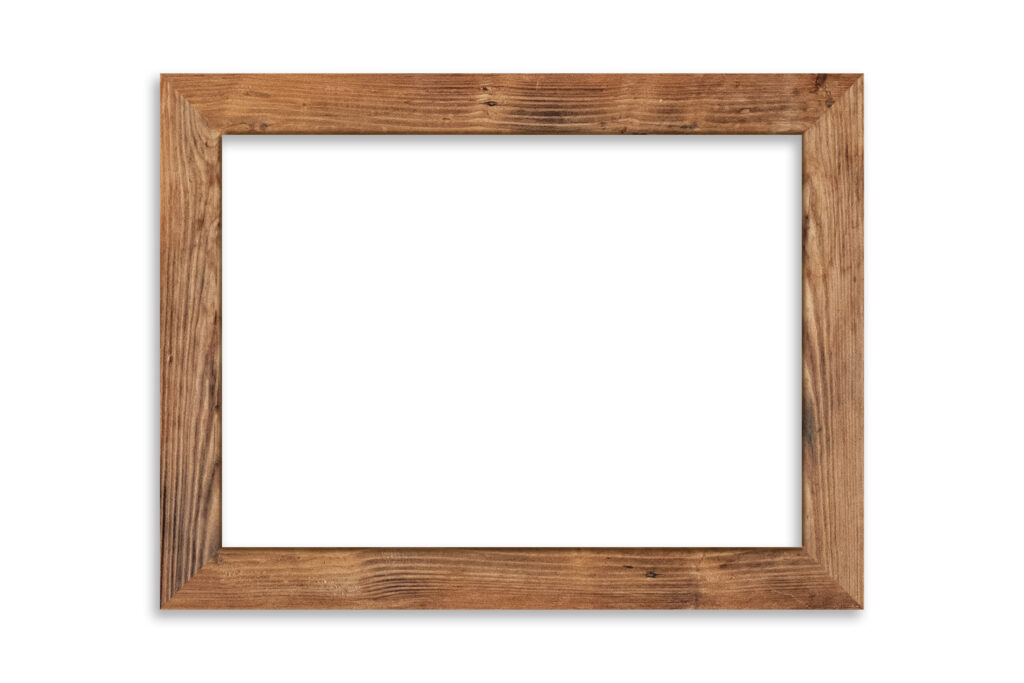
Allow your artwork to dry completely. Choose a frame that complements your art if you wish to frame it. Select a color that contrasts or harmonizes with the colors in your artwork. Frames with a glass front can also protect your art from dust and damage. Alternatively, you can leave it unframed for a rustic or modern look or even create a DIY frame using reclaimed wood for added character.
Step 8: Seal and Protect
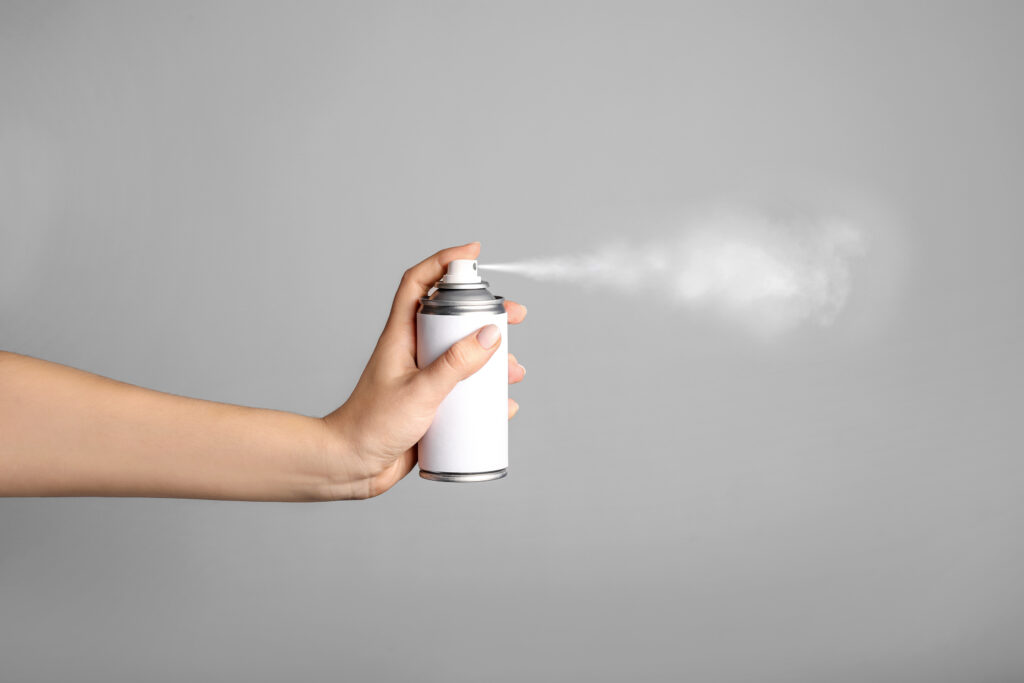
For added protection and a polished look, use a clear sealant spray. This will help protect the paint and ensure your art lasts for years to come. Depending on your preference, choose a matte or glossy finish. When applying the sealant, make sure to do it in a well-ventilated area and follow the manufacturer’s instructions regarding drying times.
Step 9: Hang Your Patriotic Wall Art

Find the perfect spot to display your creation. It can be the focal point of a room or part of a gallery wall. Be sure it’s secure and hangs straight. If your artwork is heavy, use wall anchors for additional support. Position it at eye level and ensure that the lighting in the room highlights its features. Consider using spotlights or picture lights to make it stand out.
Creating custom patriotic wall art is a fun and meaningful way to express love for your country. Through simple materials and a splash of creativity, you can craft a piece that resonates with national pride and adds character to your home. Whether you gift it to a loved one or keep it for yourself, this DIY art project is a tangible reminder of the values and heritage that shape your identity as a citizen.