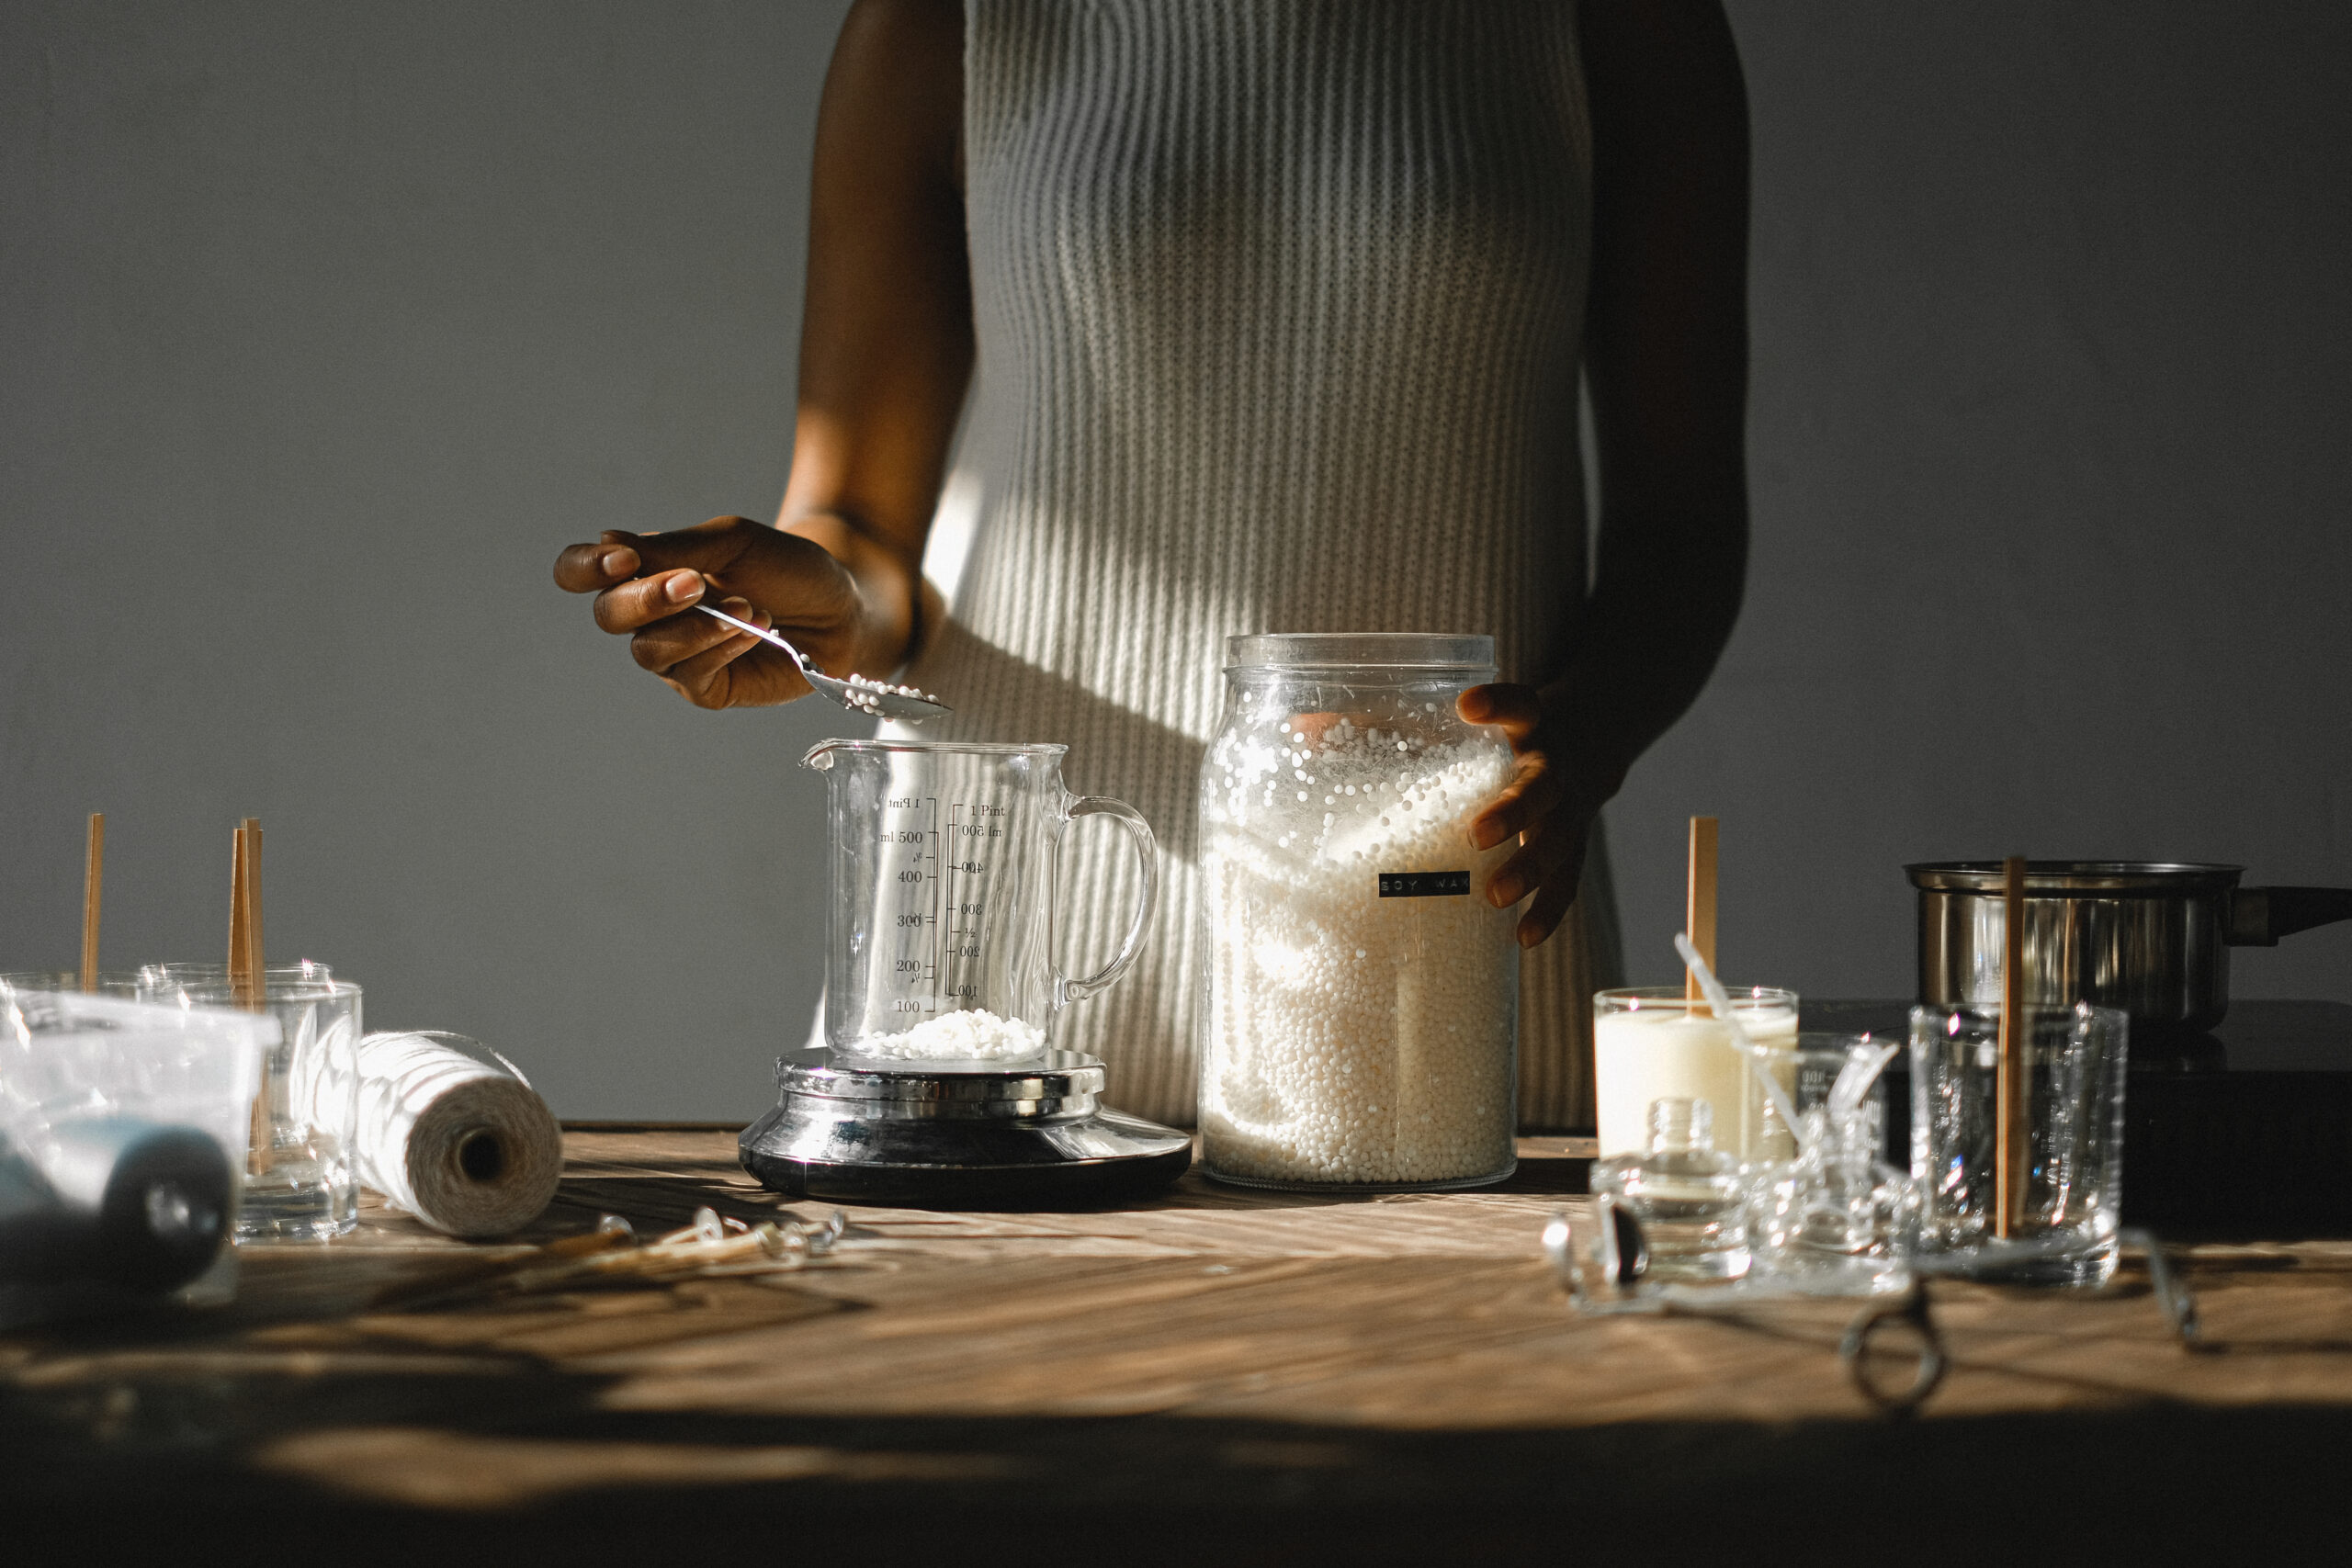
Discover the joy and savings of creating your scented candles at home with this easy, beginner-friendly guide. If you regularly buy and burn aromatic candles, why not try a more budget-friendly and personalized approach? You only need a candle-making kit, your favorite essential oils, and a stylish, heat-resistant jar to house your creation. Once you have these simple materials, you can craft multiple candles simultaneously. This DIY project could be your solution for unique, homemade gifts for holidays, birthdays, or any occasion throughout the year! So, let’s get started on this fragrant journey.
Working Time: 25 minutes
Total Time: 12 hours
Skill Level: Beginner
Estimated Cost: $25
Yield: One fragrance candle
What You’ll Need:
- Double boiler pot
- Silicone spatula
- Wick-centering tool or chopsticks
- Wick trimmer Materials
- Candle wax
- Heat-proof glass jars
- Essential oils
- Candle wicks
Instructions For Creating Your Own Candles:
Follow these straightforward steps to make personalized scented candles at home.
Prepare Your Container
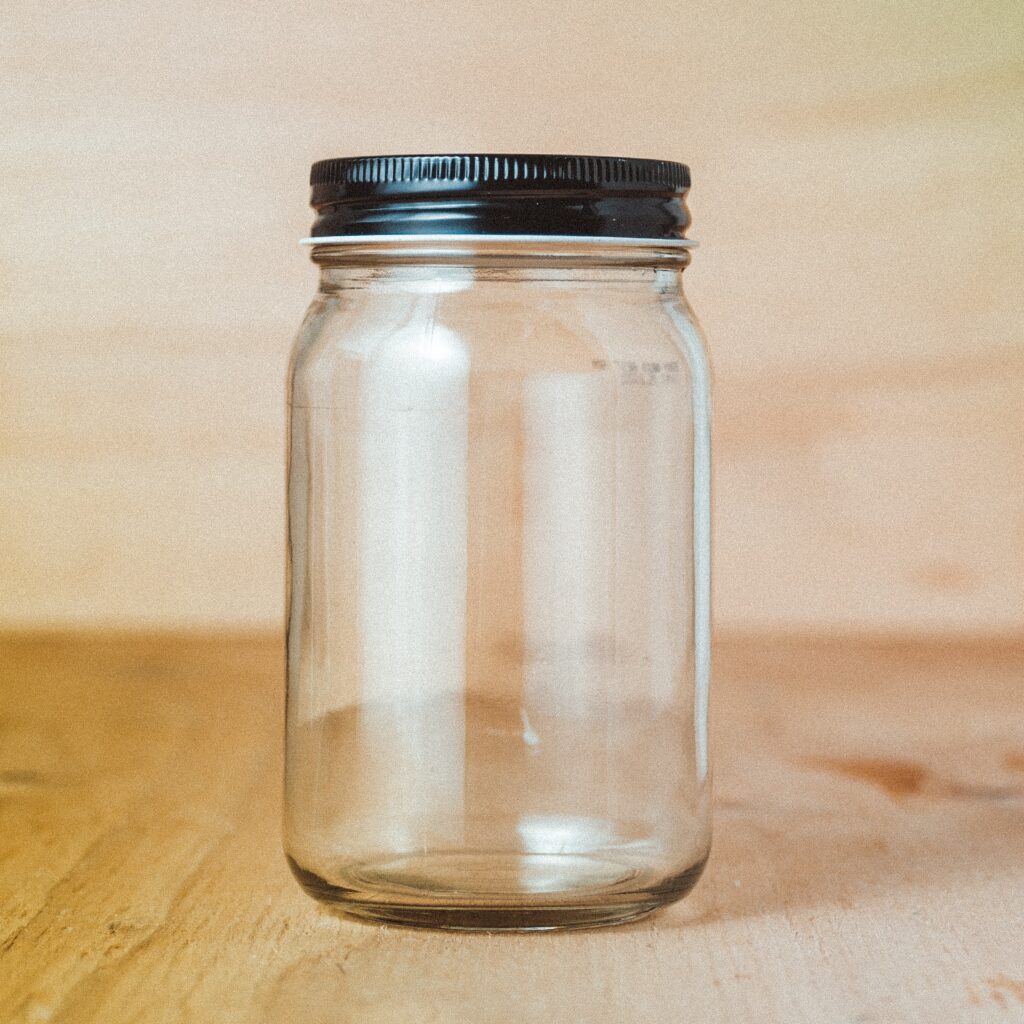
Select an appropriate container before initiating the wax melting procedure or concocting your unique fragrance blend. We advocate using sturdy glass containers for your candle-making project for safety purposes. Sixteen-ounce Mason jars are an excellent option. Alternatively, if you possess a previously used candle jar, you can eliminate the residual wax and give it a new purpose. To avoid hiccups, ensure your candle jars are sparkling clean, completely dry, and ready to house your homemade scented candles before you start melting the wax.
Calculate Wax Quantity
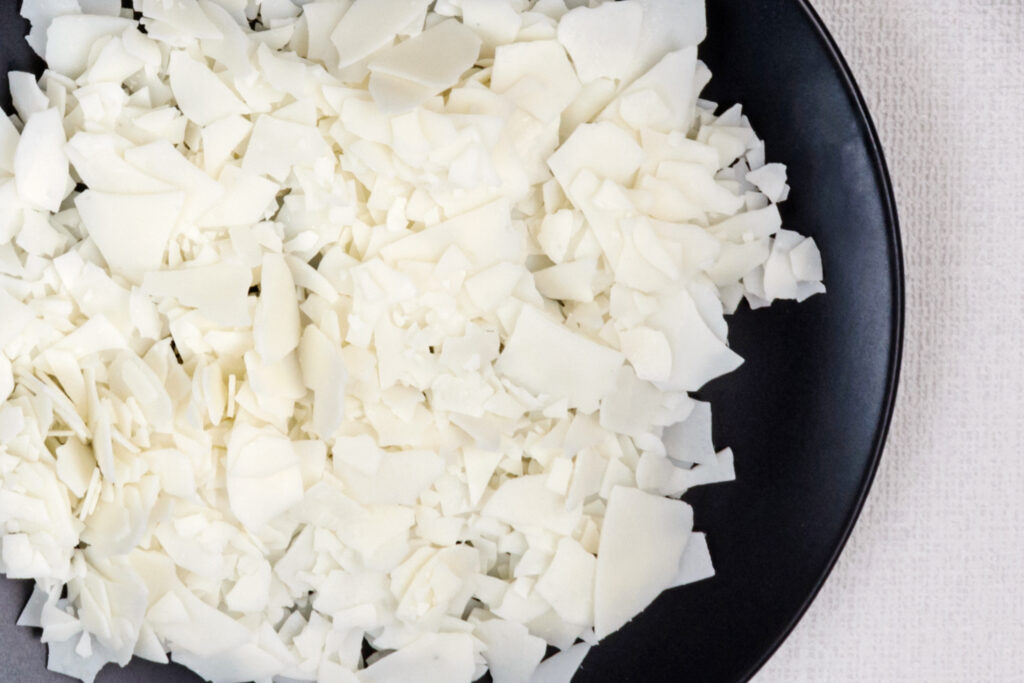
While the option exists to purchase candle-making materials individually, acquiring a comprehensive candle-making kit is more cost-efficient, providing you with all the required wax, wicks, and wick-centering tools. Calculating the necessary wax is quite straightforward: fill your container with wax flakes to the anticipated candle surface level. Next, pour these flakes into a double boiler pot and replicate this step. Given that the volume of the flakes reduces considerably when melted, you’ll need twice the amount of wax flakes, based on your container’s size, for each candle.
Melt the Wax
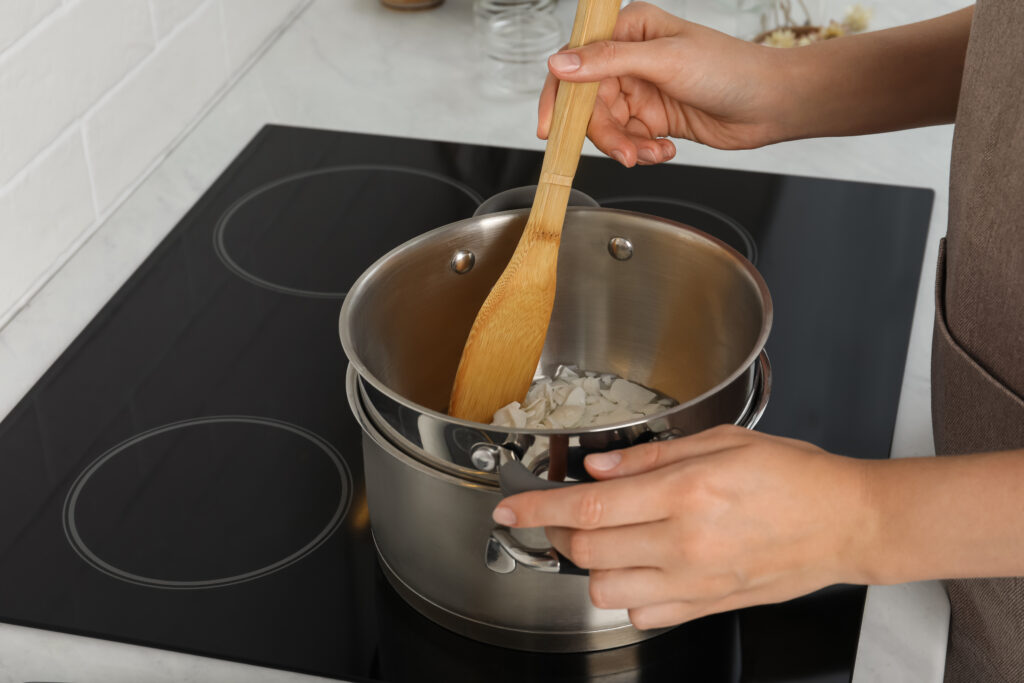
Having measured out your wax flakes, zmelt them by placing them in the double boiler and applying medium heat. Without a double boiler, you can easily improvise by positioning a metal bowl over a saucepan filled with water, thus creating a makeshift but equally effective double boiler. As you carefully heat the wax flakes, use a silicone spatula to stir them delicately. Ensure you maintain a slow, steady pace, taking care not to agitate the flakes overly. Continue this patient process until all the flakes have dissolved into a smooth, homogeneous liquid, completely free of residual solid particles.
Incorporate Your Chosen Scent
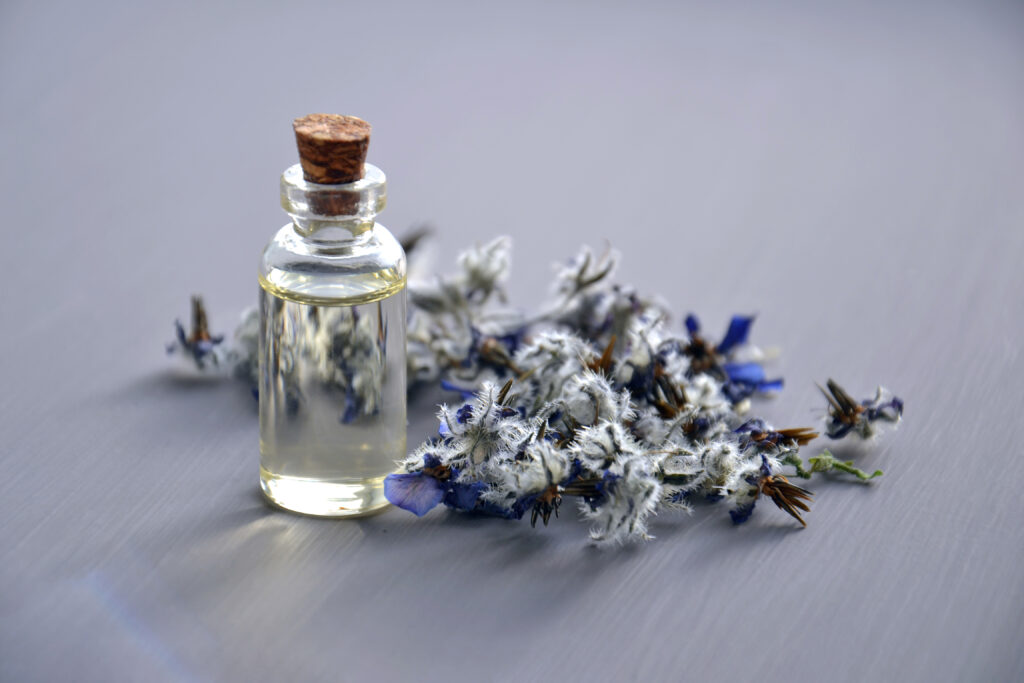
Once the wax has completely transitioned into a liquid state, it’s time to infuse your personal touch by adding 10-20 drops of your selected essential oils. This process customizes your candle to suit your preferred aroma. For example, for a 16-ounce candle, you could create a calming blend by adding six drops each of eucalyptus and lavender oils, providing a delicate balance that’s not too overpowering. Infusing these essential oils transforms your candle into an aromatic delight, ready to fill any room with your unique scent combination.
Fix the Wick
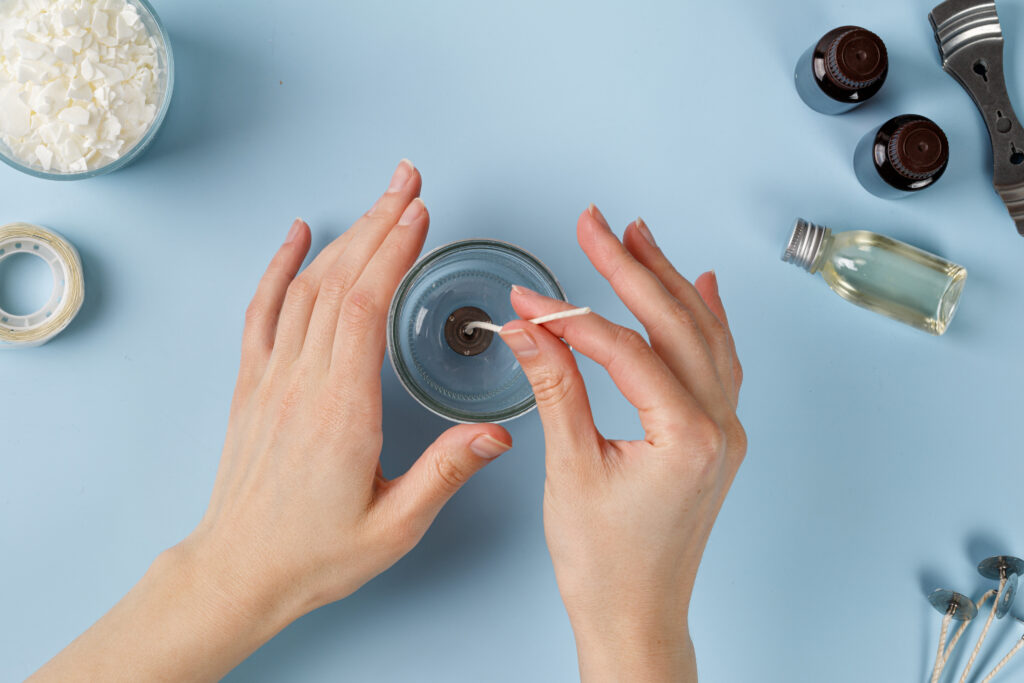
Before pouring your soon-to-be candle, ascertain the wick is securely attached to the jar’s bottom. The best way to accomplish this is to immerse the flat metallic base of the wick into the liquefied wax, then position it at the center of your jar or chosen container. Once correctly placed, hold the wick until the wax cools and solidifies enough to support the wick independently. This patience ensures your wick is perfectly centered, leading to an evenly burning candle. Ensuring the wick’s stability at this stage is paramount to the candle’s overall performance.
Pour the Wax
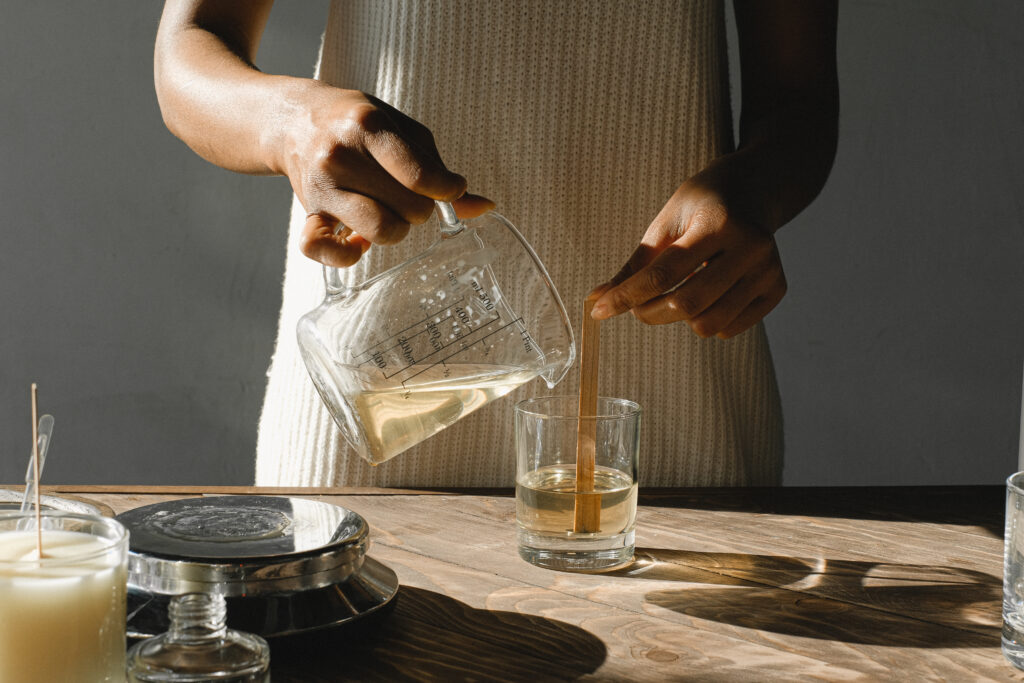
After the wax is completely melted, cautiously take it off the heat source and gently pour it into your container. During this step, if the wick loosens from the base, utilize the wick-centering tool included in your kit to maintain its central position. This tool ensures the wick remains perfectly in the middle of the candle once the wax has hardened, facilitating a balanced burn. For containers with a larger diameter, it is helpful to employ a pair of chopsticks balanced atop the container. The chopsticks act as a brace to hold the wick upright and centered, preventing any potential drift during the setting process.
Allow to Set and Trim the Wick
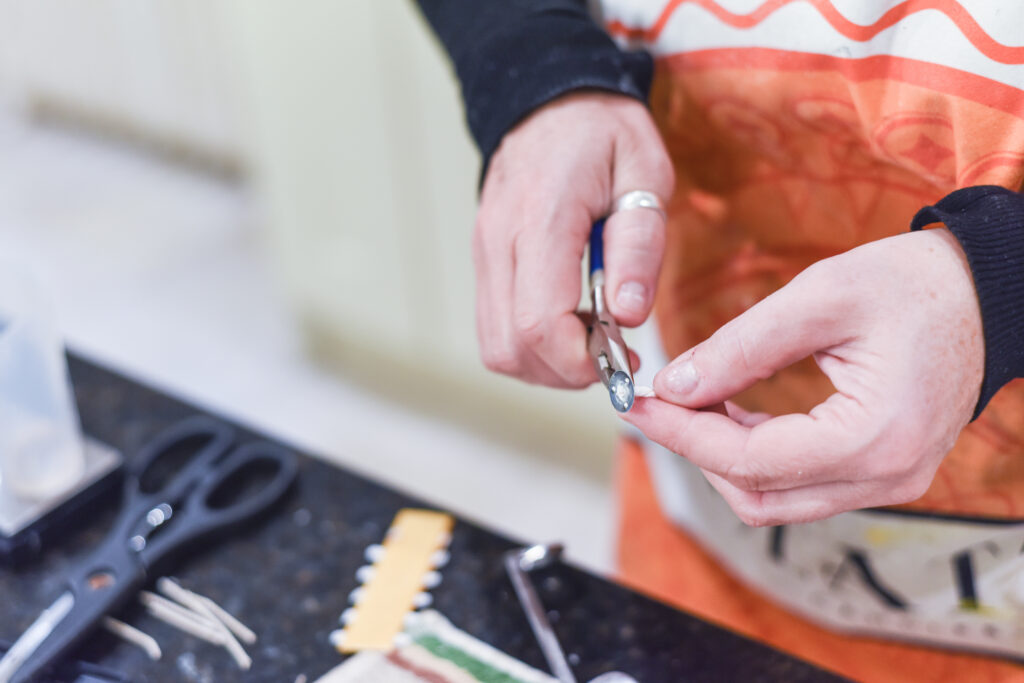
Allow your newly poured wax ample time to solidify completely, which usually takes several hours. To be safe, it’s recommended to let the candles sit undisturbed overnight. Upon full solidification, the next step is trimming the wick, a crucial process regardless of whether the candle is store-bought or homemade. While you can use scissors, a dedicated wick trimmer can simplify the task, providing a cleaner cut. Once you’ve trimmed the wick to approximately ¼ inch, your homemade, personalized, scented candle is now prepared and ready to enjoy. With these simple steps, you’ve achieved a personalized, cost-effective, and beautifully fragrant candle.
Creating your scented candles at home is a rewarding, cost-effective, and simple hobby that allows you to customize your preferred scents and is an excellent way to make thoughtful gifts. It’s a wonderful way to add a personal touch to your home ambiance while staying budget-friendly. Remember, the magic of this DIY process lies in the freedom to explore various scent combinations and create something uniquely you. So let your creativity shine, experiment with different essential oils, and immerse yourself in the wonderful world of candle making. Have fun crafting your candles, and enjoy the radiant glow and soothing aroma they bring into your home.