You think your home is clean. But dust, bacteria, and hidden grime tell a different story.
- Your kitchen sponge? Dirtier than your toilet seat.
- Your mattress? Traps up to 2 pounds of dead skin per year.
- Your carpets? Holding four times their weight in dirt.
Imagine waking up in a home free of allergens, odors, and clutter. A home where every surface is spotless, every drawer is organized, and every breath feels fresher.
Sounds impossible? It’s not.
This 30-day profound cleaning challenge is built on scientific data and professional organizing principles—not just another “clean your house” list. It’s a step-by-step system that eliminates 80% of household dust and bacteria, improving your air quality, mental clarity, and even sleep.
- No more wasting weekends scrubbing floors.
- No more guessing what to clean and when.
- No more clutter triggering daily stress.
Research shows a clean home reduces stress by 40% and boosts productivity. If you want to reclaim your space, sanity, and health, this is where you start.
Day 1: Declutter & Organize Your Cabinets

Let’s start with a kitchen detox—because, if we’re being honest, there are at least five things in your cabinets you haven’t touched in years. Studies show that an organized kitchen can save up to 20 minutes per meal in prep time and reduce food waste by 30%.
- Step 1: Empty out cabinets and drawers.
- Step 2: Use the Keep, Donate, Toss method to declutter.
- Step 3: Wipe down shelves with vinegar + water for a fresh start.
- Storage Hack: Use lazy Susans, stackable bins, and dividers to create space.
A well-organized kitchen makes cooking easier, saves time, and reduces stress—so let’s start strong!
Day 2: Deep Clean the Fridge & Freezer
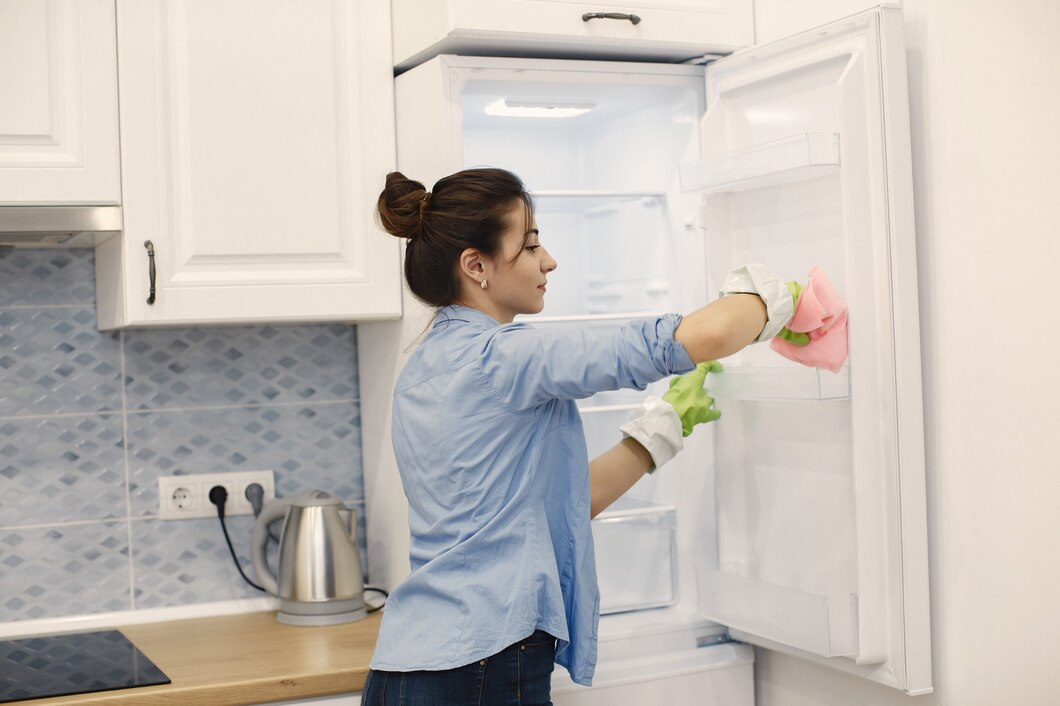
Did you know your fridge could harbor bacteria like Salmonella and Listeria—even if it looks clean? Studies show that 60% of home refrigerators contain harmful bacteria that can contaminate food. Plus, a cluttered fridge leads to food waste, foul odors, and forgotten leftovers.
- Step 1: Remove everything—yep, everything.
- Step 2: Toss expired food and mystery items you forgot existed.
- Step 3: Wipe down shelves and drawers with a DIY vinegar + baking soda mix to remove stains and odors.
- Bonus Tip: Place an open box of baking soda inside to absorb smells.
A clean fridge not only looks better but also helps food last longer and keeps your kitchen fresher.
Day 3: Stovetop, Oven & Microwave Detox
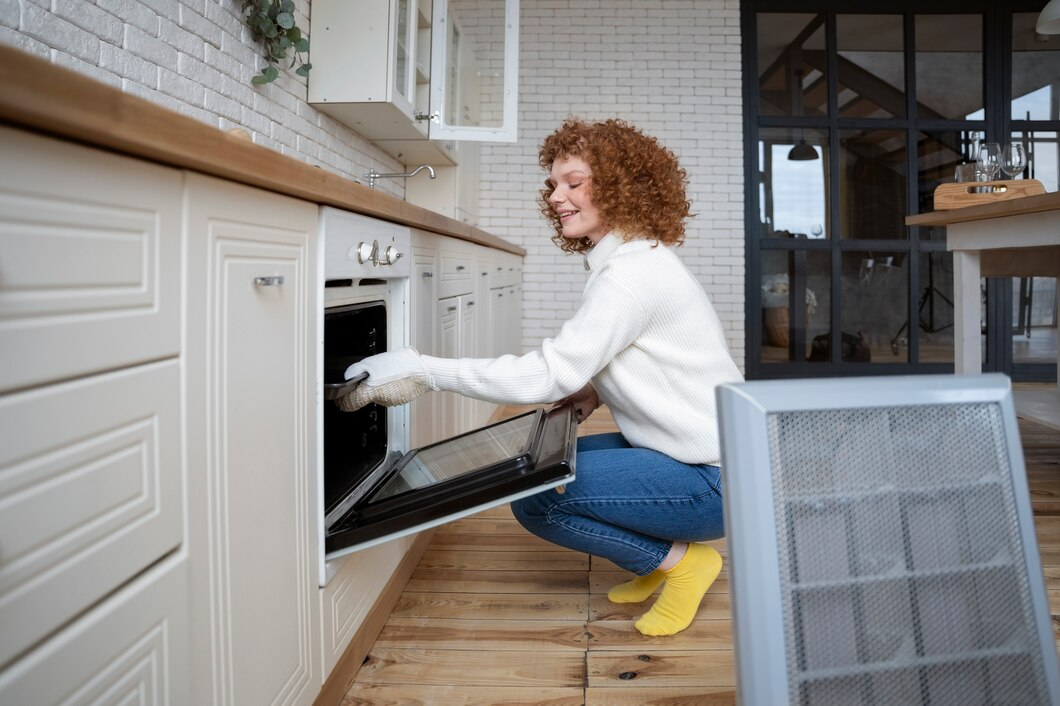
You might not realize it, but a dirty stovetop, oven, and microwave can reduce efficiency by 10% and even become a fire hazard. Grease buildup, burnt food, and splattered sauces not only look gross but also trap bacteria and release smoke into your kitchen.
- DIY Grease Remover: Mix baking soda + vinegar into a paste and let it sit for 15 minutes before scrubbing.
- Microwave Hack: Steam a bowl of lemon water for 3 minutes—then simply wipe away the grime.
- Oven Trick: Use a water + baking soda mix on oven racks overnight to loosen stubborn stains.
Regular maintenance keeps your kitchen smelling fresh, looking spotless, and cooking efficiently!
Day 4: Sink, Faucet & Garbage Disposal Refresh
Believe it or not, your kitchen sink is dirtier than your toilet seat—yikes! Studies show that the average kitchen sink contains more bacteria than any other household surface (NSF, 2024). Between food scraps, water stains, and hidden grime, it’s time for a deep clean.
- Step 1: Scrub the sink with baking soda + dish soap for a sparkling finish.
- Step 2: Pour boiling water + vinegar down the drain to break down grease buildup.
- Step 3: Drop in ice cubes + citrus peels into the garbage disposal and run it for a fresh scent.
This quick refresh eliminates odors, prevents clogs, and keeps your kitchen germ-free!
Day 5: Pantry Purge & Organization
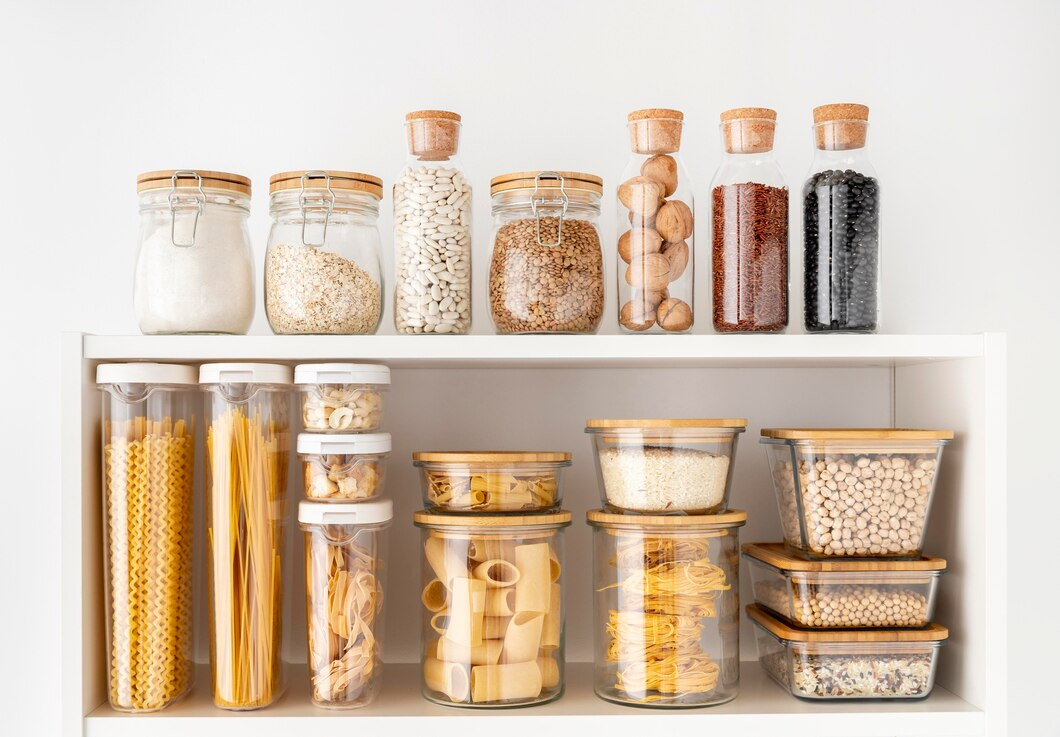
If you’ve ever found five half-opened bags of rice or expired cans from 2019, you’re not alone. A cluttered pantry leads to food waste and overbuying, costing the average household $1,500 per year.
- Step 1: Take everything out—yes, everything.
- Step 2: Toss expired goods and donate non-perishables you won’t use.
- Step 3: Wipe down shelves with a vinegar + water solution to remove dust and spills.
- Storage Hack: Use clear storage bins, labels, and stackable organizers for easy access.
An organized pantry makes meal planning quicker, easier, and budget-friendly!
Day 6: Dining Table & Chairs
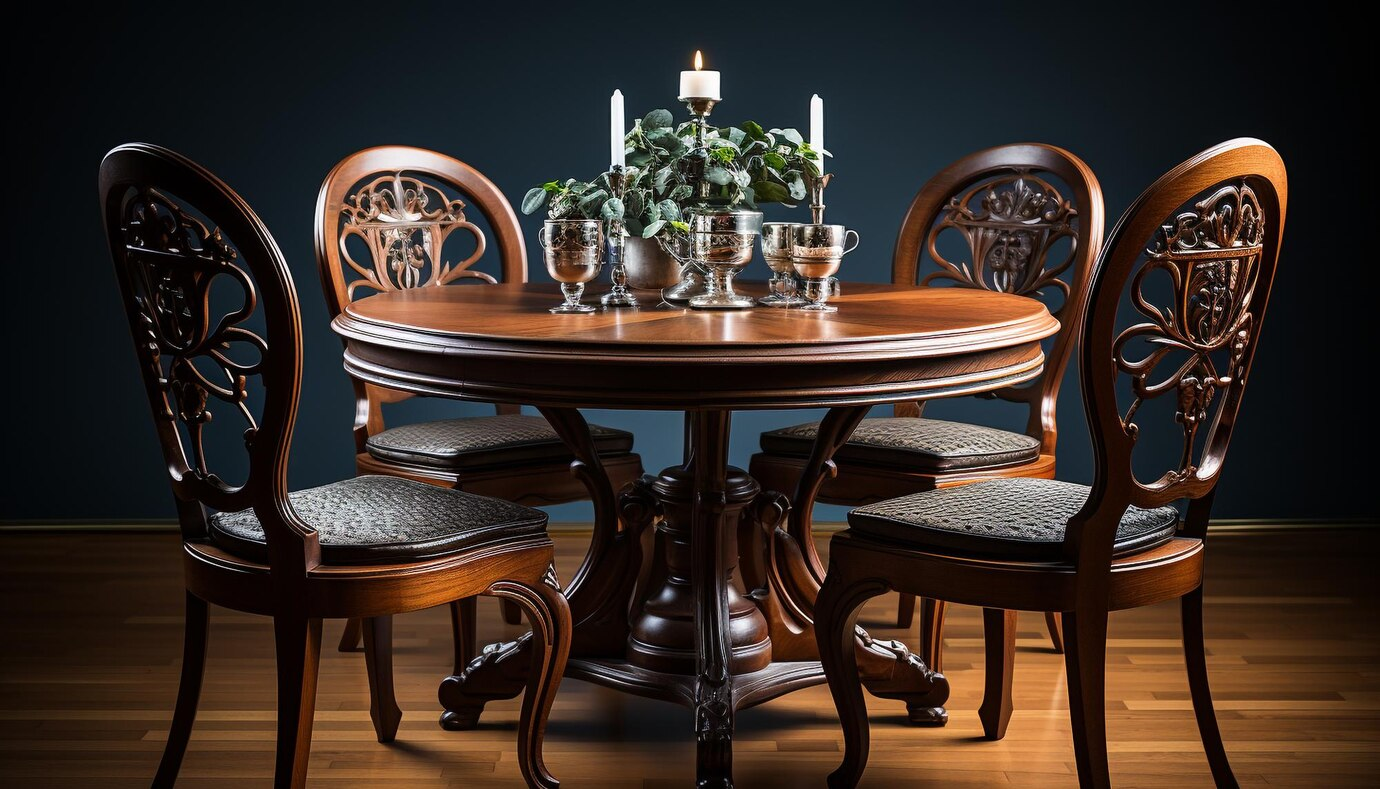
Your dining table sees spilled drinks, food crumbs, and daily wear and tear, making it a breeding ground for bacteria. Plus, if you have fabric-covered chairs, they trap dust, pet hair, and odors over time.
- Step 1: Wipe the table with a mild dish soap + warm water mix—avoid harsh chemicals that can damage wood.
- Step 2: Use a DIY polish (olive oil + lemon juice) for a fresh shine.
- Step 3: Vacuum and spot-clean fabric chairs with baking soda to remove stains and smells.
This small but impactful task keeps your dining area inviting and hygienic.
Day 7: Floors & Baseboards

Your kitchen and dining area floors take a beating—between spills, pet hair, and crumbs, they collect dirt faster than any other part of your home. Plus, baseboards act like dust magnets, trapping grime in hard-to-reach places.
- Step 1: Sweep and mop with a DIY all-purpose cleaner (vinegar + warm water).
- Step 2: Use a toothbrush + baking soda paste to scrub stubborn grout stains.
- Step 3: Wipe down baseboards with a microfiber cloth + dish soap mix to remove built-up dust.
Keeping your floors spotless instantly makes your home feel fresher and more put together!
Day 8: Declutter & Organize Surfaces
If your coffee table is covered in mail, half-used candles, and random knick-knacks, it’s time for a decluttering session.
- Step 1: Remove everything from surfaces like coffee tables, shelves, and TV stands.
- Step 2: Use the Keep, Donate, Toss method to sort through items.
- Step 3: Wipe surfaces with a DIY all-purpose cleaner (water + vinegar + lemon essential oil).
- Storage Hack: Use decorative trays or baskets to store remotes, books, and other frequently used items neatly.
A decluttered space instantly looks bigger, feels cleaner, and promotes relaxation!
Day 9: Dust & Vacuum Upholstery
Your sofa, chairs, and decorative pillows might look clean, but they trap an average of 2 pounds of dust annually. If you have pets, expect that number to double!
- Step 1: Remove cushions and vacuum every inch—including under and behind the couch.
- Step 2: Use a squeegee or lint roller to remove stubborn pet hair.
- Step 3: Sprinkle baking soda + essential oils over upholstery, let sit for 15 minutes, then vacuum for a fresh scent.
Keeping your furniture dust-free reduces allergens, improves air quality, and extends the life of your upholstery.
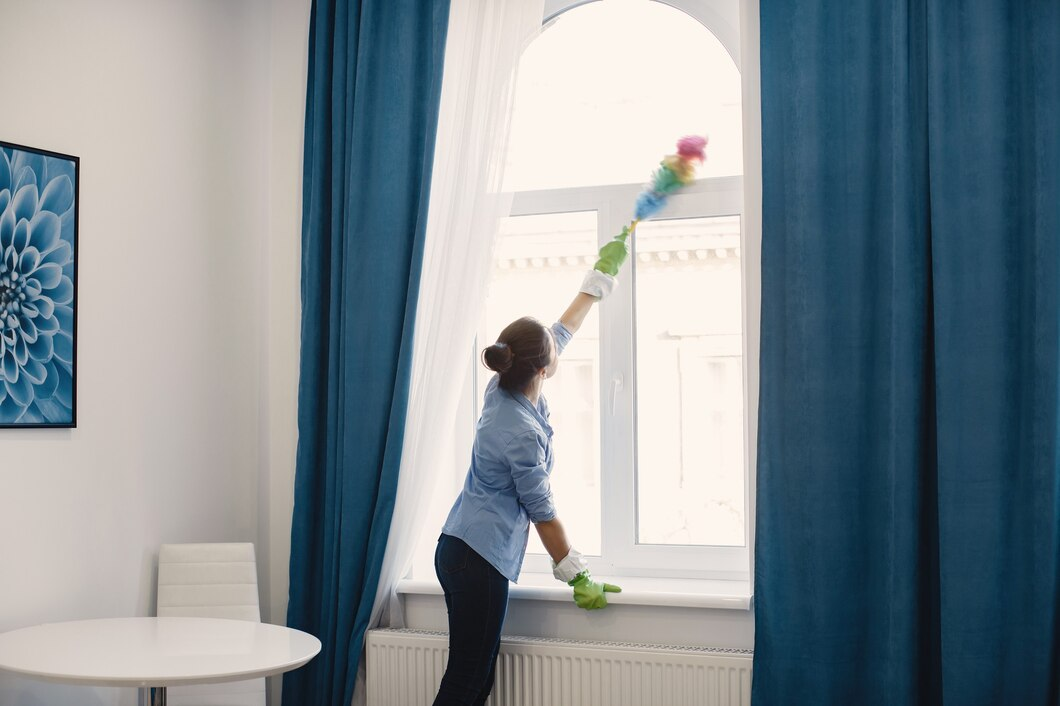
Day 10: Wash Curtains & Dust Blinds
When was the last time you cleaned your curtains and blinds? If the answer is “never” (or you can’t remember), you’re not alone! These dust magnets can trigger allergies and collect grime over time.
- Step 1: Remove and machine-wash curtains (check fabric care labels first).
- Step 2: Dust blinds with a sock dipped in a vinegar-water mix for a streak-free clean.
- Step 3: If you have fabric shades, vacuum them with the brush attachment to remove dust.
Clean window treatments not only look better but also improve indoor air quality and let in more natural light!
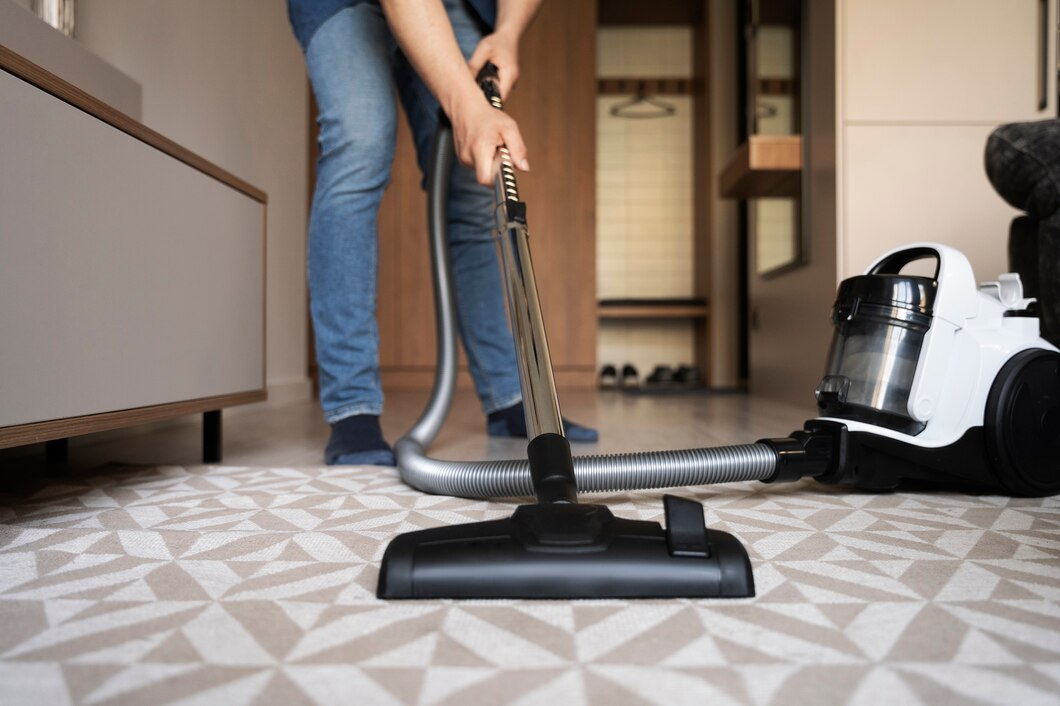
Day 11: Area Rugs & Carpet Refresh

Carpets and rugs absorb dust, dirt, and bacteria like sponges. In fact, studies show that the average carpet can hold up to 4 times its weight in dirt.
- Step 1: Vacuum thoroughly—including under furniture.
- Step 2: Use a DIY carpet deodorizer (mix baking soda + a few drops of lavender essential oil, sprinkle, and let sit for 30 minutes before vacuuming).
- Step 3: For stains, mix hydrogen peroxide + dish soap and blot with a cloth.
This simple deep clean removes allergens, freshens the air, and makes your carpets look brand new!
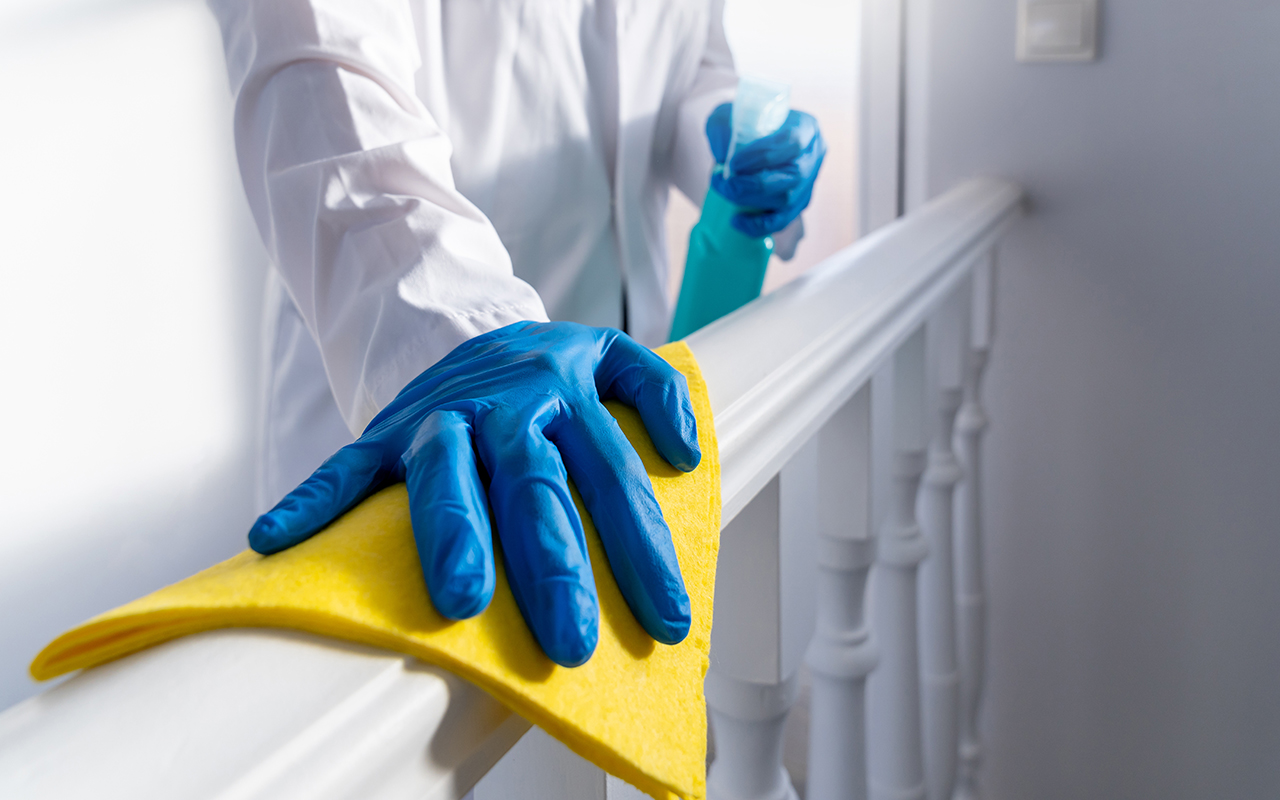
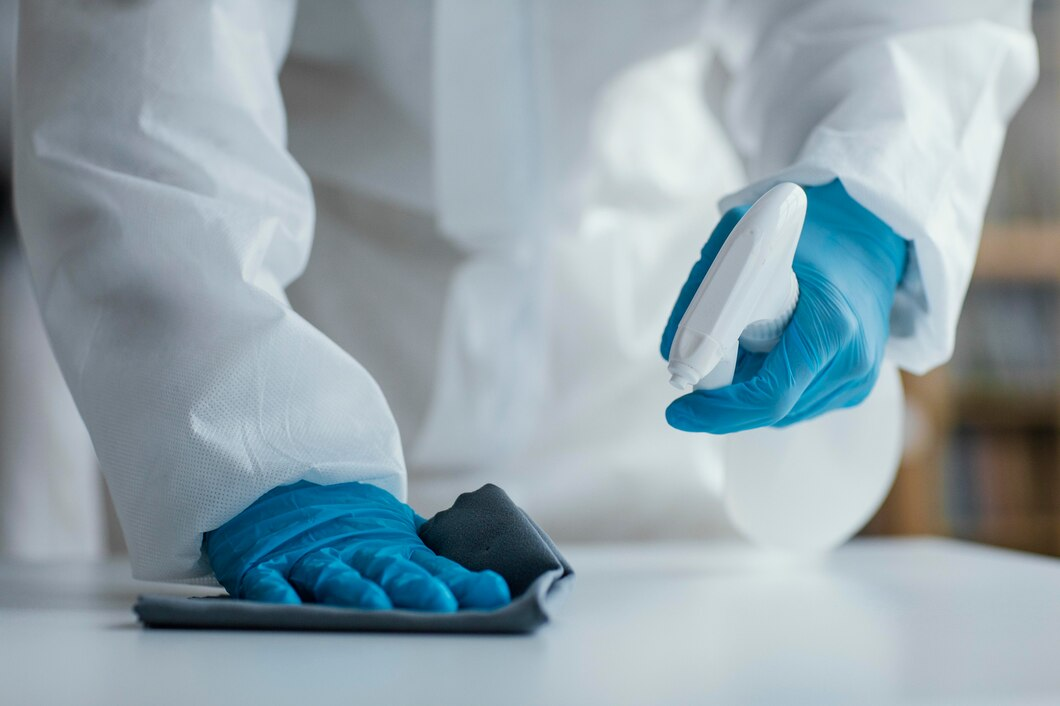
Day 12: Sanitize High-Touch Areas
Did you know that light switches, remote controls, and doorknobs can have more germs than your toilet seat? Studies show that high-touch areas can spread cold and flu viruses for up to 24 hours.
- Step 1: Grab a disinfecting wipe or DIY spray (rubbing alcohol + water) and wipe down:
- Light switches
- Door handles
- Remote controls
- Phones & tablets
- Stair railings
- Step 2: Let surfaces air dry for maximum germ-killing power.
Regularly disinfecting these surfaces helps prevent the spread of germs and keeps your home healthier.
Day 13: Clean & Condition Wood Furniture
Your coffee table, dining table, and bookshelves might look fine from a distance, but up close, they’re probably covered in dust, water rings, and scratches.
- Step 1: Dust surfaces with a microfiber cloth to trap particles instead of spreading them.
- Step 2: Use a DIY furniture polish (2 parts olive oil + 1 part lemon juice) to restore shine.
- Step 3: Remove water stains by rubbing a mix of vinegar + baking soda onto the affected area.
Regularly caring for wood furniture prevents fading, extends lifespan, and keeps it looking polished!
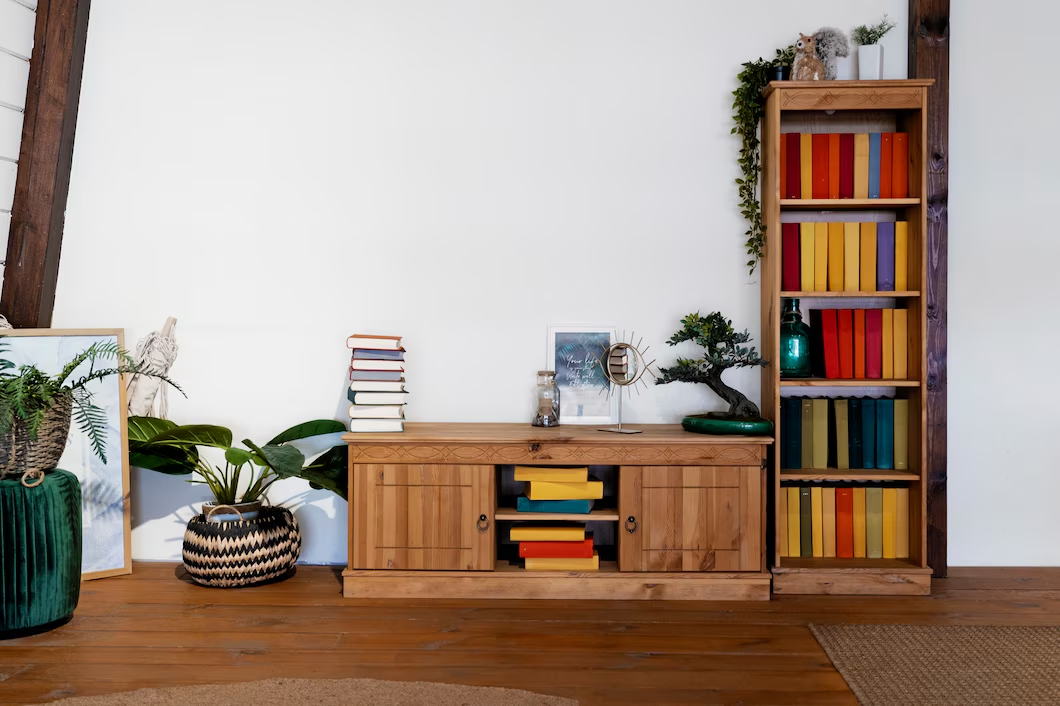
Day 14: Organize Bookshelves & Decor
Overstuffed bookshelves can make a room feel cramped and cluttered. Research shows that organized spaces improve focus and boost mood.
- Step 1: Remove everything and dust each shelf.
- Step 2: Sort books by color, size, or genre for a visually appealing arrangement.
- Step 3: Declutter by donating books you no longer need.
- Step 4: Add a mix of decor pieces (plants, framed photos, candles) to create balance.
A well-styled bookshelf adds personality to your space and makes it feel more inviting!
Day 15: Declutter & Donate Unused Clothes

If your closet is overflowing with clothes, but you still feel like you have nothing to wear, it’s time for a decluttering session. Studies show that we only wear about 20% of our wardrobe regularly.
- Step 1: Use the 6-Month Rule—if you haven’t worn it in the past six months, donate it.
- Step 2: Sort items into Keep, Donate, and Toss piles.
- Step 3: Organize by season, category, or color for easy access.
- Storage Hack: Use slim velvet hangers to maximize closet space.
Decluttering your closet makes getting dressed easier, reduces stress, and helps others in need!
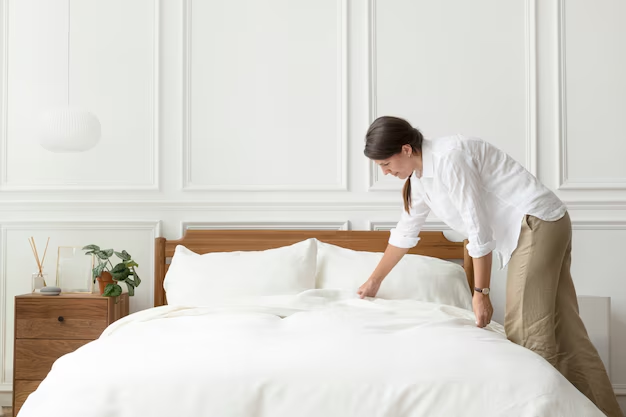
Day 16: Wash All Bedding & Pillows
You wash your sheets regularly, but what about your pillows? Studies show that an unwashed pillow can contain dust mites, bacteria, and up to 16 different fungi types.
- Step 1: Strip your bed and wash all sheets, duvet covers, and pillowcases in hot water to kill bacteria.
- Step 2: Wash pillows every 3-6 months (check care labels for specific instructions).
- Step 3: Freshen your mattress by sprinkling baking soda, letting it sit for 30 minutes, then vacuuming.
Clean bedding improves sleep quality, reduces allergens, and keeps your room smelling fresh.
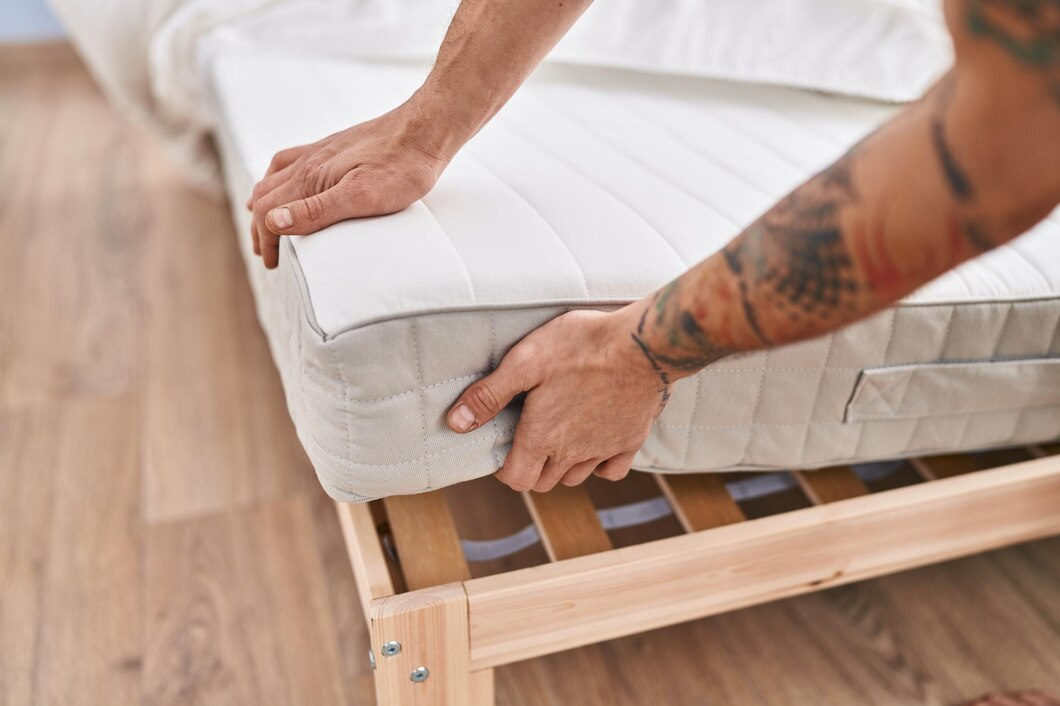
Day 17: Vacuum & Flip Mattress
Most people don’t realize that their mattress absorbs up to a pound of dead skin per year—gross, right? Studies show that cleaning your mattress regularly can reduce allergens by 70%.
- Step 1: Remove all bedding and vacuum the mattress with an upholstery attachment to remove dust mites and debris.
- Step 2: Sprinkle baking soda + lavender essential oil, let it sit for an hour, then vacuum.
- Step 3: Flip and rotate the mattress to prevent sagging.
A clean mattress helps extend its lifespan and gives you a better night’s sleep!
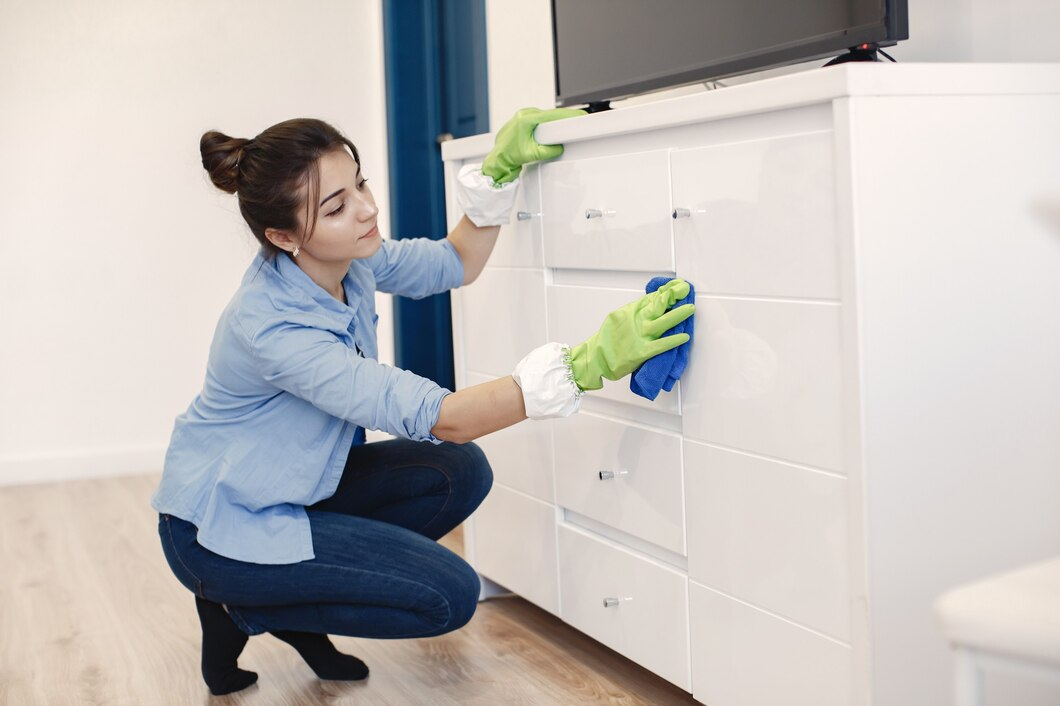
Day 18: Dust & Wipe Down Nightstands & Dressers
Your nightstand is probably covered in water rings, dust, and random items you don’t even use. Studies show that removing visual clutter from bedside tables can lower nighttime anxiety by 25%.
- Step 1: Remove everything from nightstands and dressers.
- Step 2: Wipe surfaces with a microfiber cloth + all-purpose cleaner.
- Step 3: Use coasters for drinks to prevent future stains.
- Step 4: Store only essential items (lamp, book, phone charger, etc.) and keep the rest in a drawer.
A clutter-free nightstand promotes relaxation and helps you wind down before bed.
Day 19: Clean Under Beds & Behind Furniture
Let’s be real—the area under your bed is a forgotten dust trap. If you haven’t cleaned there in months (or years), you might find dust bunnies, lost socks, or even old snack wrappers. Studies show that dust buildup under furniture contributes to poor indoor air quality.
- Step 1: Move the bed and vacuum underneath.
- Step 2: Wipe down walls and baseboards with a damp cloth.
- Step 3: Use under-bed storage bins for seasonal clothing or linens to keep things neat.
A clean space under your bed reduces dust, improves air quality, and gives your bedroom a fresher feel!
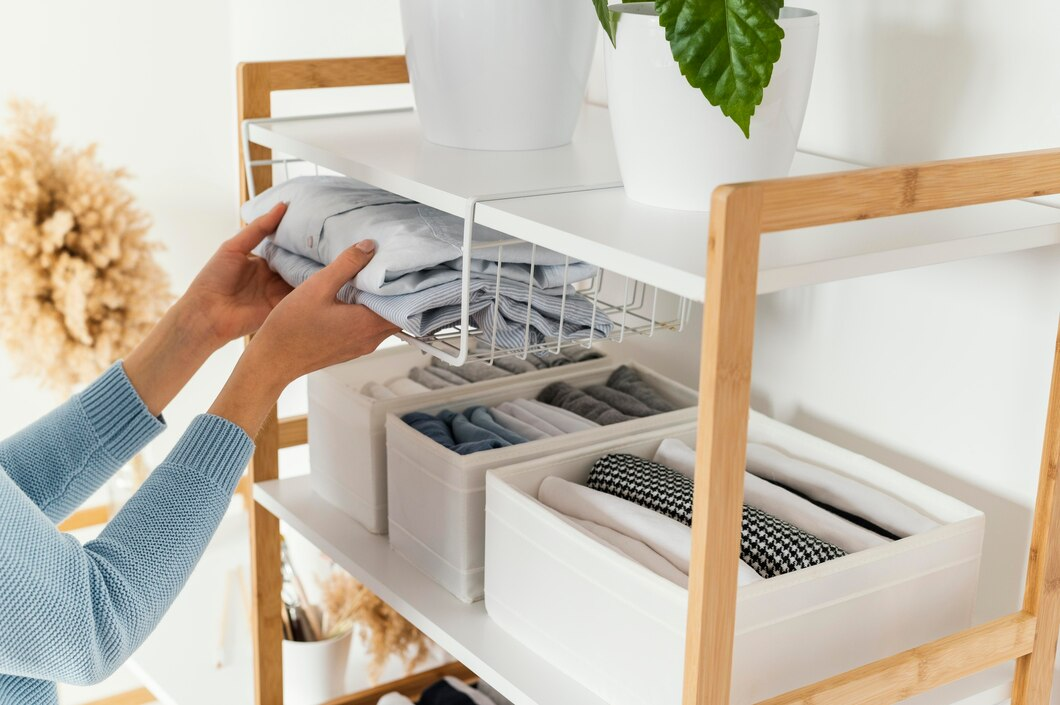
Day 20: Organize Drawers & Dressers

If your dresser drawers are overflowing with tangled socks and wrinkled shirts, it’s time for an upgrade. Studies show that organized clothing storage saves an average of 10 minutes per day when getting dressed.
- Step 1: Empty each drawer and declutter items you don’t wear.
- Step 2: Fold clothes using the KonMari method for easy visibility.
- Step 3: Use drawer dividers for small items like socks, underwear, and accessories.
An organized dresser reduces clutter, makes finding outfits easier, and keeps clothes wrinkle-free.
Day 21: Clean Mirrors & Light Fixtures
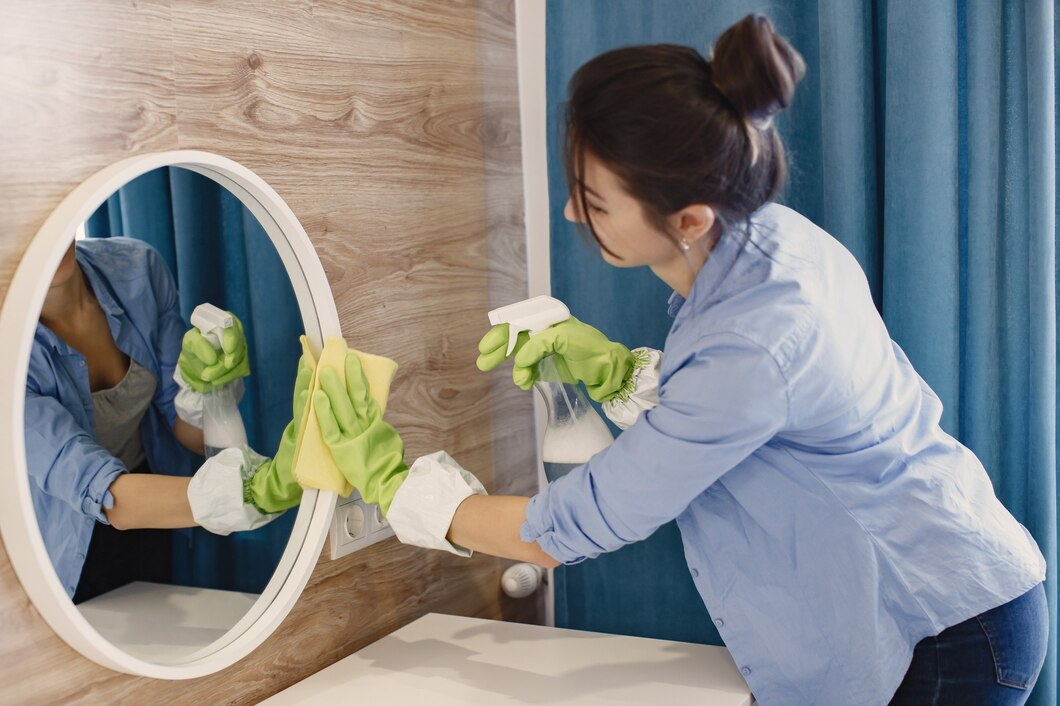
Did you know that dirty mirrors and dusty light fixtures can make a room look darker and duller? Studies show that cleaning mirrors and light fixtures can increase brightness in a room by 25%.
- Step 1: Wipe mirrors with vinegar + newspaper for a streak-free shine.
- Step 2: Dust light fixtures and replace burnt-out bulbs for optimal brightness.
- Step 3: Use a microfiber cloth + dish soap solution to remove grime from lamp bases.
A well-lit, clean space feels brighter, more inviting, and instantly refreshed!
Day 22: Scrub Toilets & Showers

Let’s get the toughest job out of the way first—toilets and showers need more attention than we like to admit. Studies show that bacteria can grow in a toilet bowl within just 2 hours after flushing and that showerheads can harbor mold and mineral buildup.
- Step 1: Scrub the toilet bowl with baking soda + white vinegar for a chemical-free deep clean.
- Step 2: Disinfect toilet handles, seats, and base with hydrogen peroxide spray.
- Step 3: Soak your showerhead in vinegar overnight to break down mineral deposits.
- Step 4: Use a dish wand filled with vinegar + dish soap to wipe shower tiles and glass doors.
A fresh bathroom is essential for hygiene and eliminates lingering odors.
Day 23: Clean Sinks & Countertops
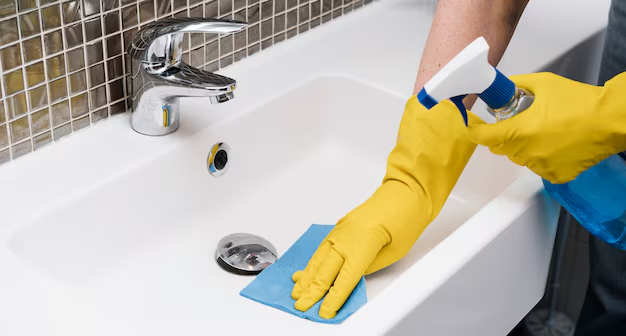
Your bathroom sink handles contain 21 times more bacteria than a kitchen counter—yep, that’s a fact! Soap residue, toothpaste buildup, and hard water stains make sinks look grimy fast.
- Step 1: Scrub sinks with baking soda + lemon juice to dissolve grime.
- Step 2: Disinfect faucet handles and drain stoppers with a rubbing alcohol wipe.
- Step 3: Polish countertops with a DIY vinegar + water spray for a streak-free shine.
- Step 4: Organize toiletries using clear bins to keep everything tidy.
A spotless sink and counter make your entire bathroom feel instantly fresher!
Day 24: Organize Bathroom Cabinets & Drawers
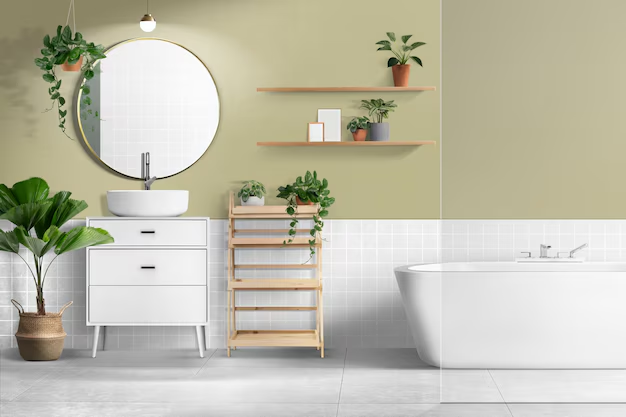
If your bathroom cabinets and drawers are filled with half-used products, expired meds, and tangled hair tools, it’s time for a purge. Studies show that 90% of people keep expired medications without realizing it.
- Step 1: Empty everything and toss expired items (especially medicine and skincare).
- Step 2: Wipe down shelves and drawer interiors with a disinfectant spray.
- Step 3: Use bins and drawer dividers for better organization.
- Step 4: Store everyday essentials within easy reach and stash extras in labeled bins.
An organized bathroom means less clutter, faster morning routines, and a spa-like feel!
Day 25: Wash Towels & Bath Mats
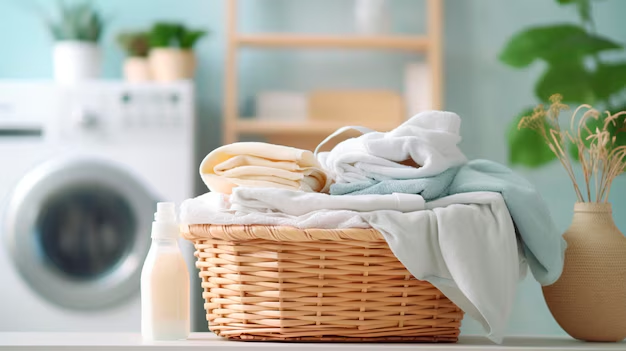
If your bath towels smell musty even after washing, they might have bacteria buildup from hard water and detergent residue. Research shows that bath towels should be washed after every 3-4 uses to prevent bacteria growth.
- Step 1: Wash towels and bath mats in hot water + white vinegar to remove odors and buildup.
- Step 2: Dry towels outside in the sun for natural disinfecting power.
- Step 3: Fold neatly and store towels in rolled stacks for easy access.
Fresh towels feel luxurious and make your bathroom instantly more inviting!
Day 26: Clean Laundry Machines

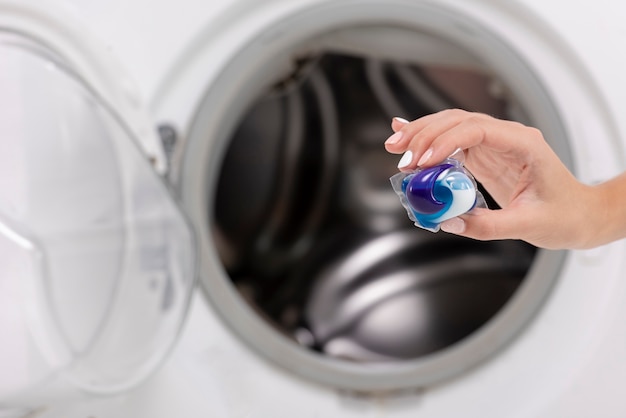
Washing machines are meant to clean clothes, but did you know that mold, detergent residue, and bacteria can build up inside them over time? Studies show that 70% of washing machines contain mold or mildew in their rubber seals.
- Step 1: Run an empty cycle with hot water + vinegar + baking soda to clean the drum.
- Step 2: Wipe down the rubber seal and detergent tray with a hydrogen peroxide solution.
- Step 3: Leave the washer door open after use to prevent mold growth.
- Step 4: Clean out the dryer vent to remove lint buildup and fire hazards.
A clean washer and dryer ensure fresher clothes and longer-lasting appliances!
Day 27: Organize Entryways & Doormats
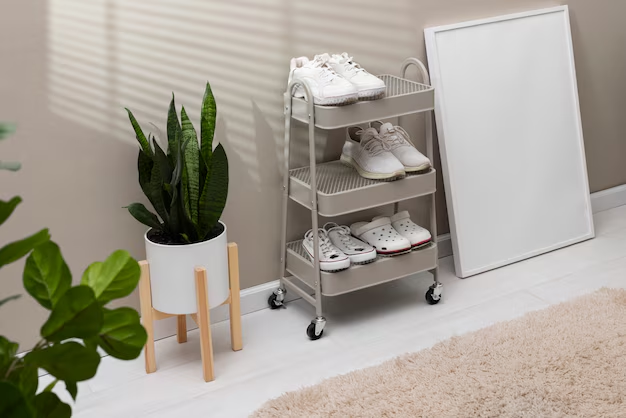
Your entryway is the first thing people see when they walk into your home—so let’s make it clutter-free and welcoming. Studies show that 80% of the dirt in your home comes from shoes worn inside.
- Step 1: Shake out or wash doormats to remove trapped dirt.
- Step 2: Declutter shoe racks and coat hooks—store seasonal items elsewhere to avoid overcrowding.
- Step 3: Add a small tray for keys, wallets, and mail to keep surfaces tidy.
- Step 4: Use baskets for quick shoe storage if you don’t have a designated closet.
A tidy entryway makes your home feel instantly more put together!
Day 28: Declutter Junk Drawers
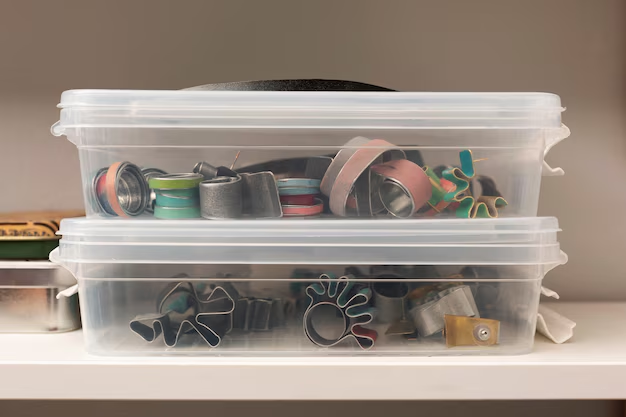
Ah, the infamous junk drawer—home to dead batteries, random cables, old receipts, and who-knows-what else. Studies show that 85% of people have at least one junk drawer, and most haven’t cleaned it in over a year.
- Step 1: Dump everything out and sort into Keep, Toss, or Relocate piles.
- Step 2: Use small dividers or trays to prevent future chaos.
- Step 3: Only keep useful essentials (scissors, tape, pens, charger cables).
- Step 4: Make a habit of decluttering every 3 months to prevent buildup.
A clutter-free junk drawer = less stress and easier access to what you actually need!
Day 29: Final Walkthrough & Touch-Ups

Your house is almost perfect—now let’s do a final check to make sure nothing got missed!
- Step 1: Walk through each room and look for areas that still need a quick wipe-down or declutter.
- Step 2: Check mirrors, windows, and hidden spots like behind doors.
- Step 3: Light a candle or use a DIY essential oil spray for a fresh scent.
- Step 4: Sit back and admire your hard work!
A final walkthrough ensures your home is 100% clean, refreshed, and ready to enjoy.
Day 30: Celebrate Your Clean Home

After 30 days of decluttering, scrubbing, and organizing, your home is now cleaner, fresher, and more relaxing than ever.
Studies show that a clutter-free home reduces stress by 40% and improves daily productivity. Not only does your space look and feel better, but you’ve also created long-term habits that will help you keep it this way.
Now it’s time to celebrate! Treat yourself to a cozy night in, a self-care day, or a fresh bouquet of flowers. You earned it!
DIYReveal is your destination for creativity, craftsmanship, and inspiration. From clever home upgrades to hands-on projects that spark your imagination, we show you how to turn everyday ideas into something extraordinary. Discover, build, and create—one DIY at a time.