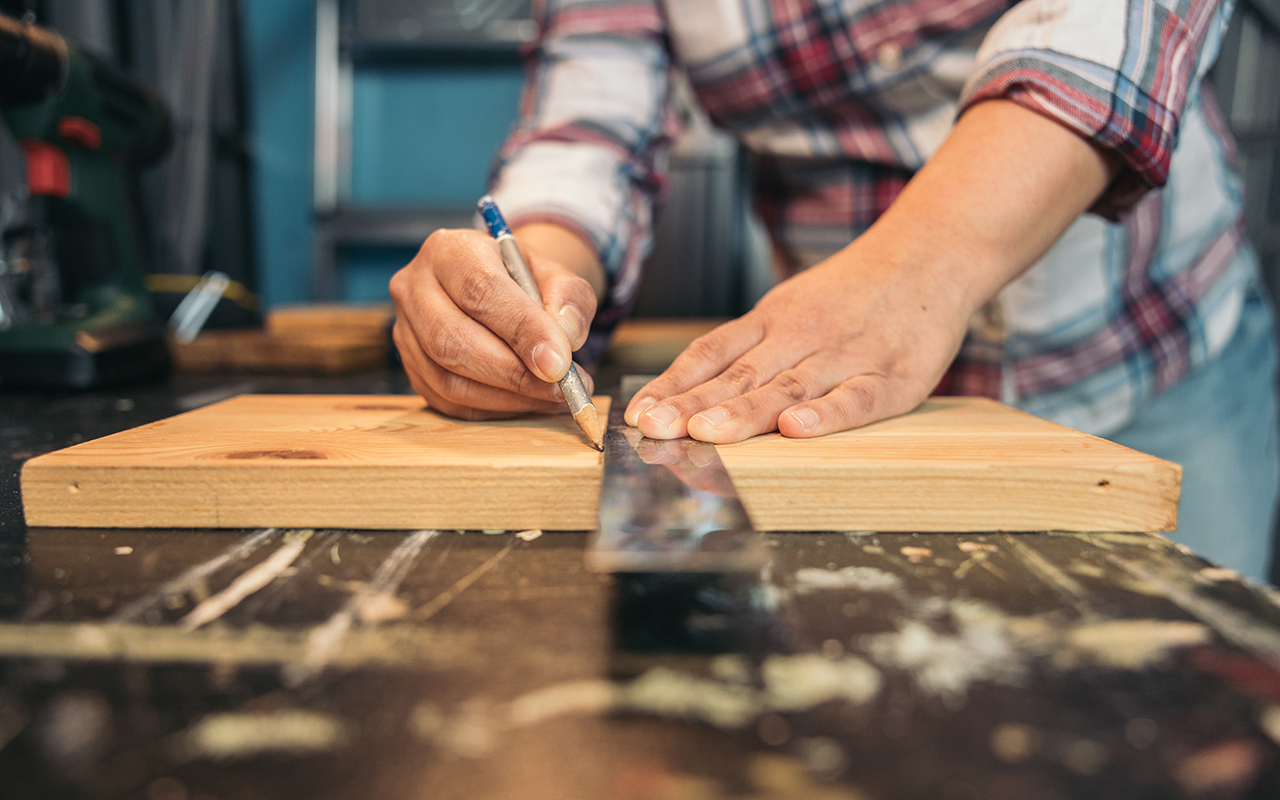
Scrap wood isn’t just leftover lumber—it’s a treasure trove of creative possibilities. Every year, millions of pounds of perfectly usable wood are tossed in the trash while people spend thousands on furniture. It doesn’t make sense. Why buy what you can build for next to nothing? This guide gives you 30 DIY projects to turn scrap wood into custom furniture, storage solutions, and decor—all while saving money.
No workshop, no expensive tools. Just simple, effective builds that look like store-bought pieces. This is an easy-to-follow set of steps to create floating shelves, a custom laptop stand, a wooden bench, and a stylish wall-mounted key holder. If you’ve got scrap wood lying around, this is your sign to use it.
1. Floating Shelves
Floating shelves provide a way to display items without making a room feel crowded. They are especially useful for small spaces where floor storage isn’t an option.
A well-placed shelf can increase perceived space by up to 20%, making rooms feel more open.
How to Make It:
- Cut scrap wood into 12-36 inch planks, depending on your wall space.
- Sand and stain or paint them for a polished look.
- Secure brackets onto the wall and attach the shelf.
Store-bought shelves start at $30–$80, but a DIY version costs little to nothing if you already have materials.
2. DIY Wooden Desk Organizer
A cluttered desk makes it harder to focus. A wooden organizer keeps pens, notepads, and accessories in one spot.
Organizing a workspace can improve productivity by 20%, according to multiple workplace studies.
How to Make It:
- Cut small scrap wood pieces to create compartments.
- Nail or glue them onto a wooden base.
- Sand and finish for a polished look.
Pre-made desk organizers sell for $20–$50, but this version costs next to nothing with leftover wood.
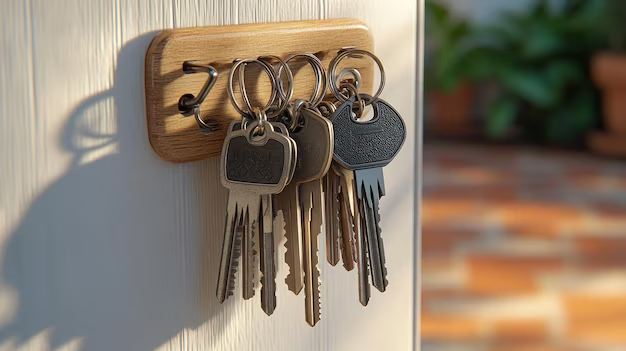
3. Wall-Mounted Key Holder
Having a designated spot for keys makes leaving the house easier. This wall-mounted organizer can also hold sunglasses, wallets, or small mail items.
People spend an average of 2.5 days per year looking for lost items. A simple key holder can eliminate that wasted time.
How to Make It:
- Cut a wooden plank 12 inches long.
- Attach 4–5 small hooks along the bottom.
- Mount it near your entryway for easy access.
Store-bought key holders range from $15–$40, while this project can be completed for a few dollars.
4. Entryway Shoe Rack

Entryway clutter is a common frustration. A compact shoe rack keeps footwear neat and easy to grab.
The average household owns 12 pairs of shoes per person, meaning storage solutions are necessary.
How to Make It:
- Cut wooden slats for the shelves and legs.
- Assemble them into a sturdy frame.
- Sand, stain, or paint for a finished look.
Pre-made racks cost $40–$100, but a DIY version can be made for under $10.
5. DIY Wooden Drawer Dividers
Finding what you need in a cluttered kitchen or office drawer wastes time. Simple wooden dividers create separate sections for utensils, office supplies, or tools.
A study found that an organized home environment can reduce stress levels by 40%.
How to Make It:
- Cut thin wooden strips to match your drawer’s dimensions.
- Glue or nail them into place.
- Sand for a smooth finish.
Store-bought dividers start at $15–$50, but DIY versions cost practically nothing using scrap wood.
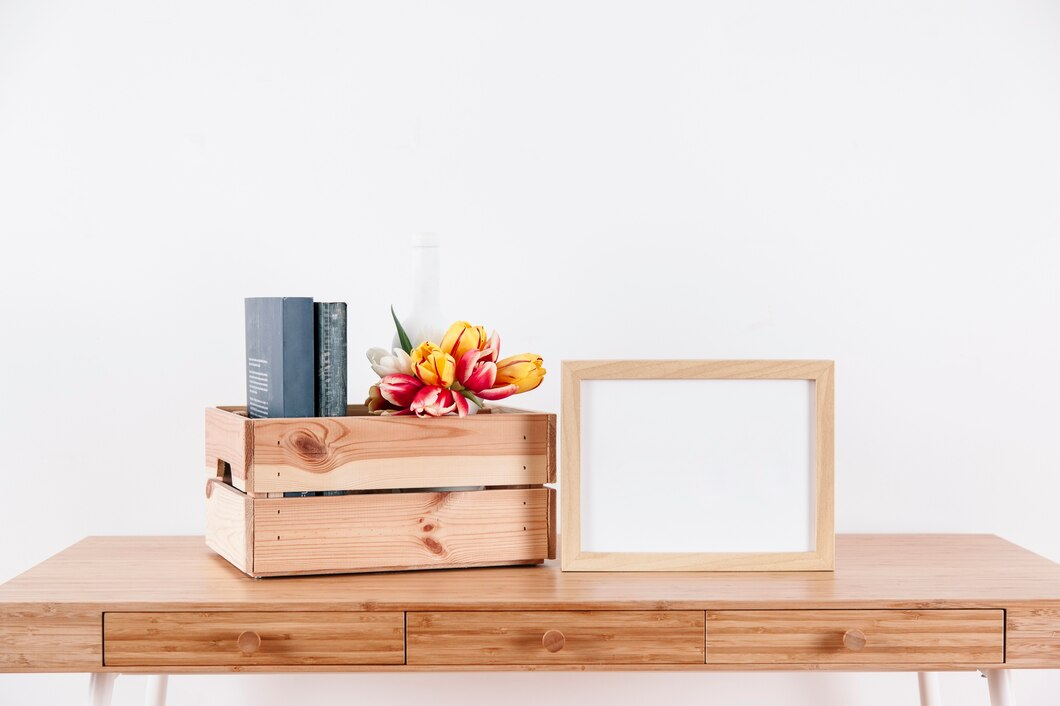
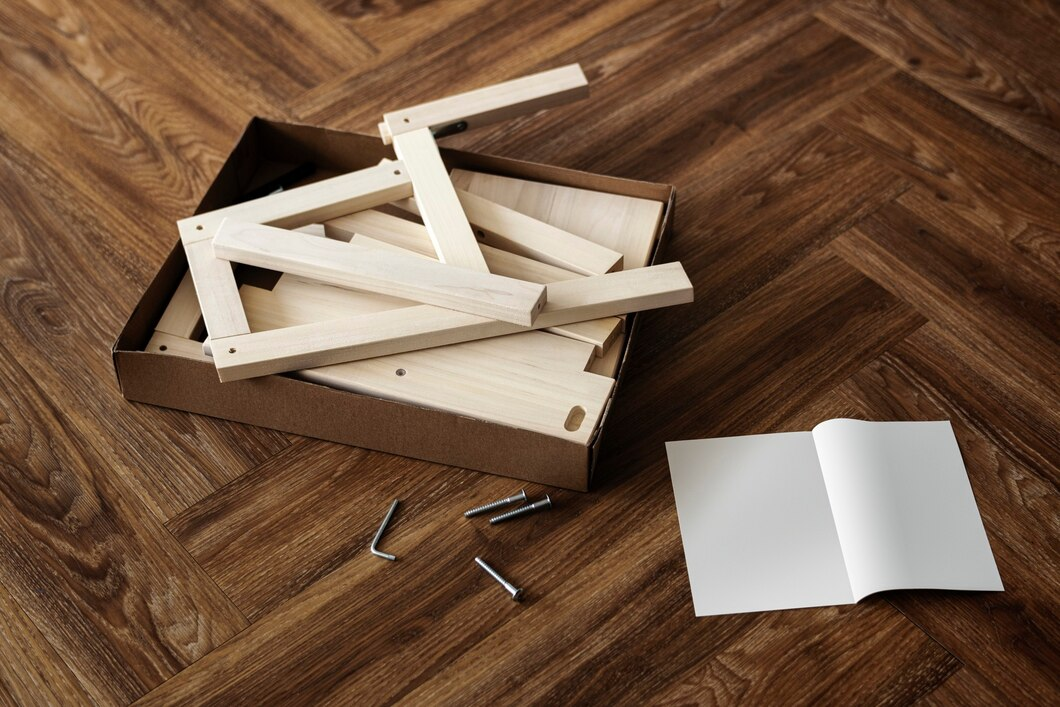
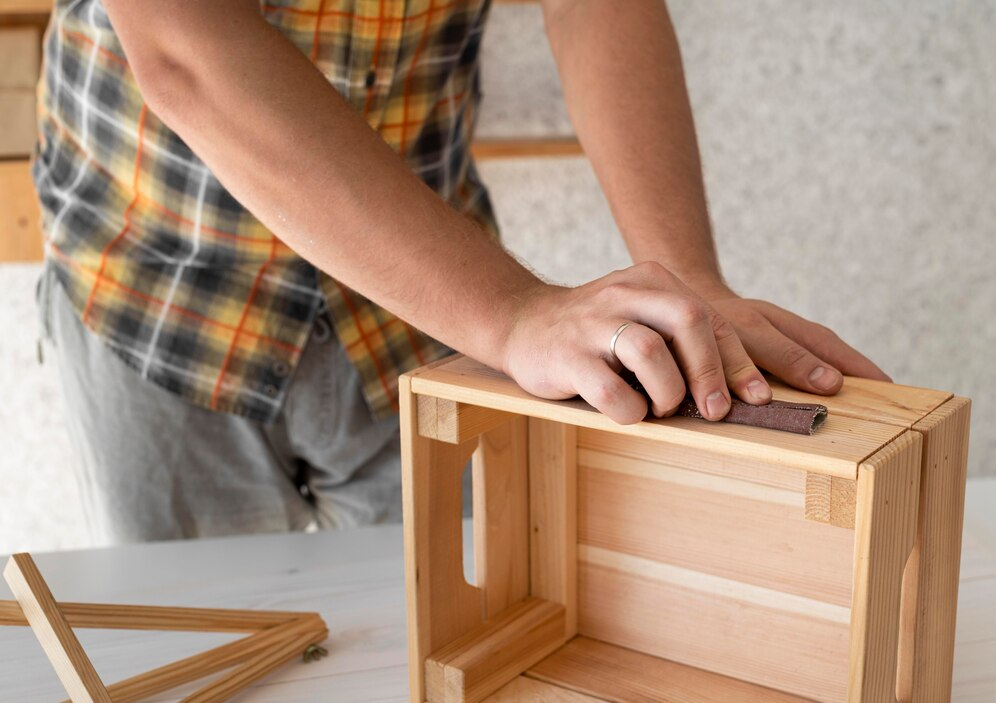
6. Storage Crates or Boxes
Wooden crates work as versatile storage bins for blankets, books, firewood, or toys.
Homes with designated storage solutions are 80% more likely to remain clutter-free.
How to Make It:
- Cut wooden planks to size for the sides and bottom.
- Assemble with nails or screws.
- Add handles or casters for easy movement.
Wooden crates retail for $30–$80, but DIY versions can be built for a fraction of that.
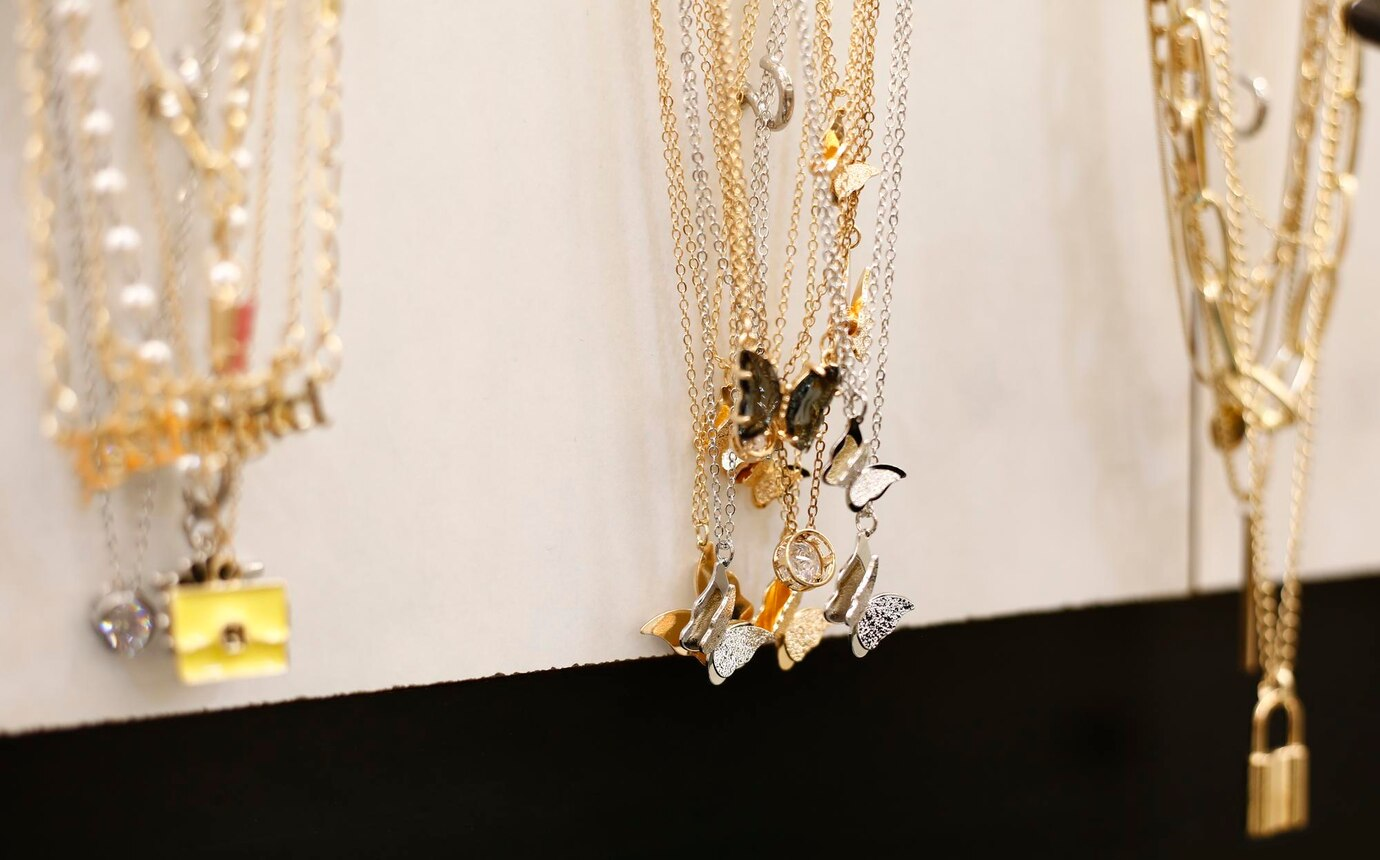
7. Hanging Jewelry Organizer
A wooden organizer with hooks or pegs prevents jewelry from getting tangled while also serving as decor.
Jewelry tangles are one of the top complaints from accessory owners, with studies showing people avoid wearing certain pieces because they’re too difficult to untangle.
How to Make It:
- Cut a wooden plank and sand it smooth.
- Attach small hooks or pegs to hold necklaces and bracelets.
- Mount it inside a closet or on a bedroom wall.
Store-bought organizers cost $20–$50, while DIY versions cost very little.
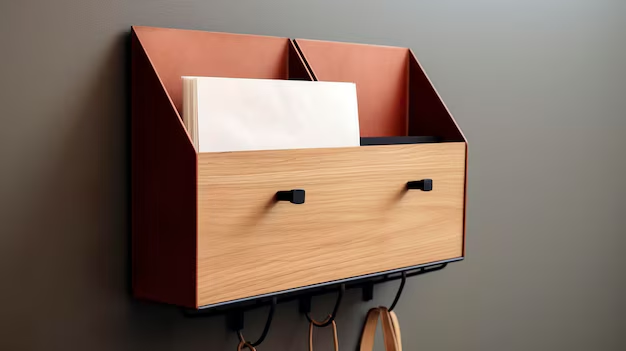
8. Wall-Mounted Mail Holder
A wooden mail organizer keeps bills, important papers, and outgoing letters in one place.
The average household receives over 850 pieces of mail per year, making an organizer essential.
How to Make It:
- Cut a wooden board for the back and smaller slats for compartments.
- Secure the compartments with glue or nails.
- Mount it near the entryway.
Retail organizers sell for $30–$60, while a DIY version can be built from free materials.
9. Magnetic Knife Holder
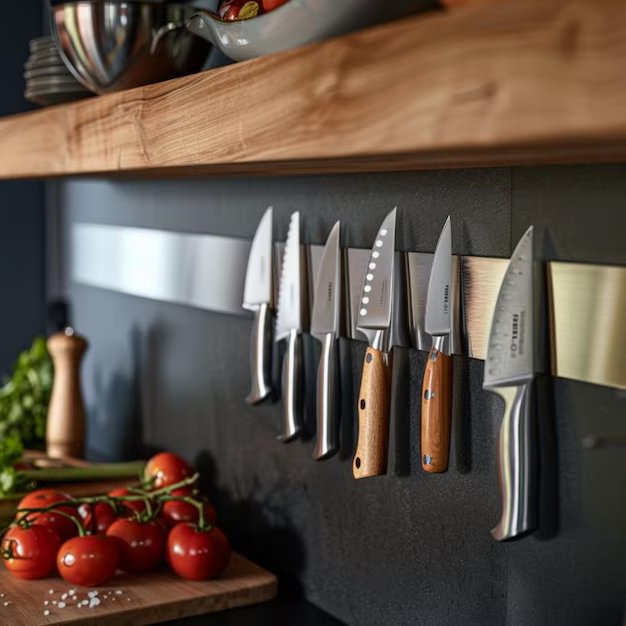
A magnetic knife strip keeps knives accessible without taking up drawer or counter space.
Magnetic strips reduce the risk of dull blades caused by knives rubbing against other utensils in a drawer.
How to Make It:
- Cut a wooden strip to your desired length.
- Embed strong magnets inside or attach them to the back.
- Mount it on the kitchen wall.
Store-bought versions cost $25–$50, but DIYing it is much more affordable.
10. Scrap Wood Utensil Caddy
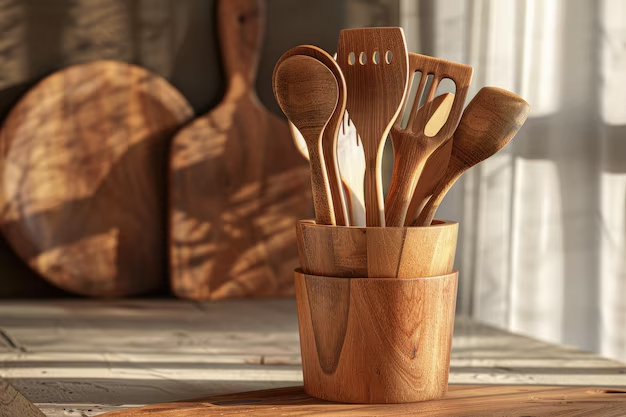
A wooden caddy is useful for storing utensils, condiments, or even craft supplies.
Households with designated kitchen organizers waste 30% less time searching for items.
How to Make It:
- Cut wooden planks for the sides and base.
- Assemble into a small box with dividers.
- Sand and finish with stain or paint.
Store-bought versions cost $20–$40, but this DIY costs under $5.
11. Rustic Wooden Bench
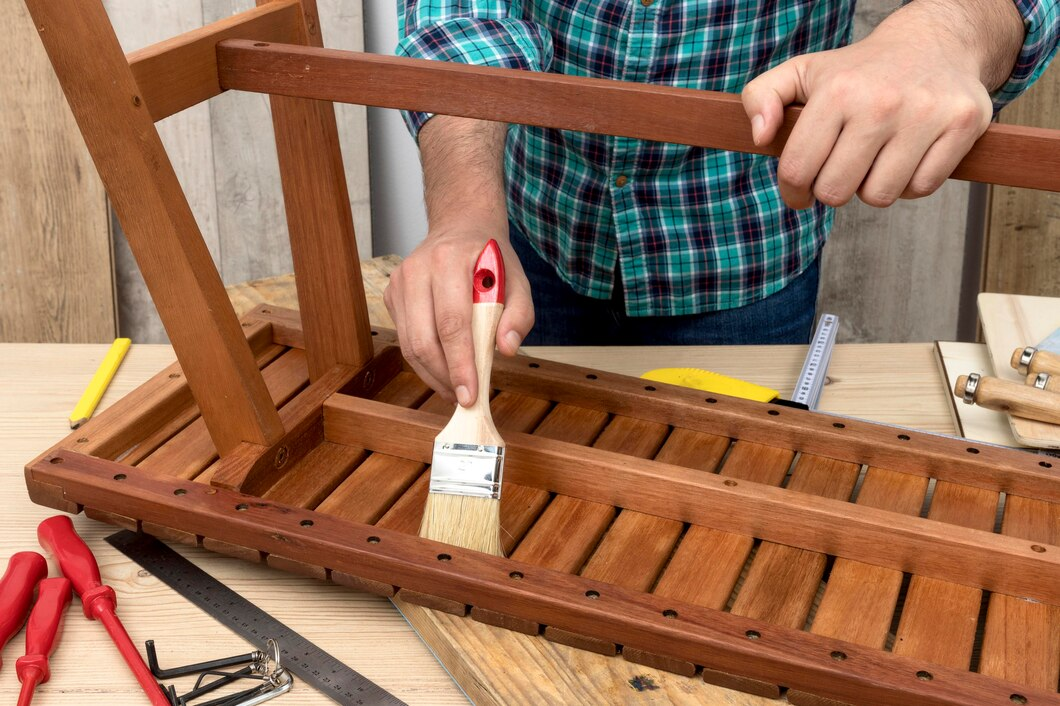
Benches are useful both indoors and outdoors, providing extra seating for entryways, patios, or dining tables.
The average entryway bench costs $100–$300, but a DIY version can be built for under $20 with scrap wood.
How to Make It:
- Cut a wooden plank for the seat and two for the legs.
- Secure the legs using screws or nails.
- Sand and stain for a polished look.
Store-bought rustic benches are expensive, while DIY options can be completed at a fraction of the cost.
12. DIY Bedside Table or Nightstand
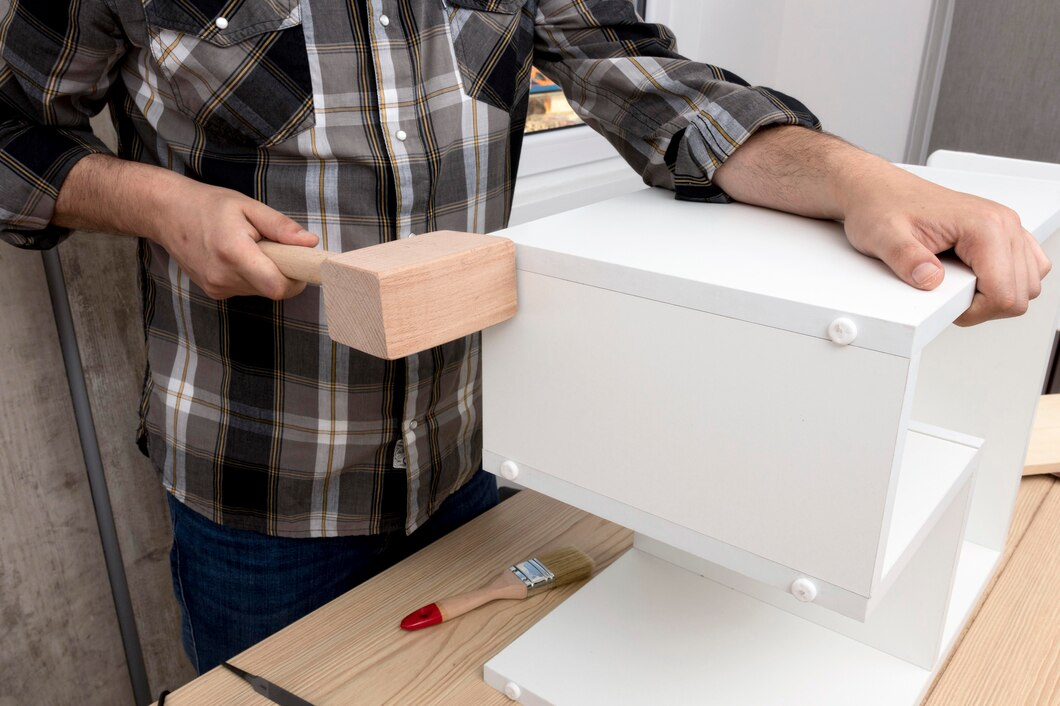
A small wooden nightstand offers a place for books, a lamp, or your phone charger without taking up much room.
80% of people keep at least one electronic device on their nightstand overnight, making this an essential piece of furniture.
How to Make It:
- Cut wooden planks to form the tabletop, legs, and a bottom shelf.
- Attach the pieces using screws or wood glue.
- Sand and finish for a smooth look.
Retail nightstands start at $50–$150, but a DIY version costs as little as $10 with scrap materials.
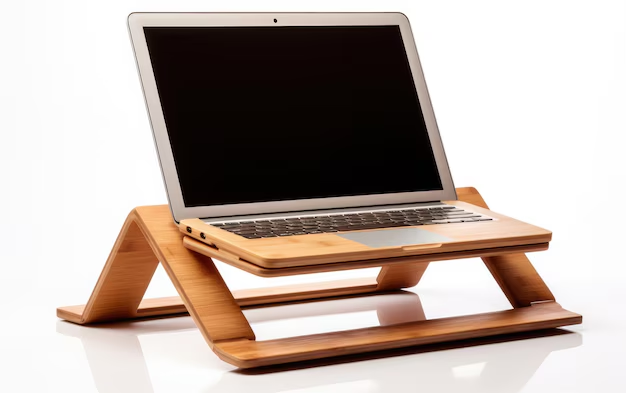
13. Wooden Laptop Stand
Laptop stands help improve posture and productivity, making long work sessions more comfortable.
Studies show that raising a laptop screen to eye level reduces neck strain by 70%, improving comfort during work.
How to Make It:
- Cut a wooden plank for the base and two angled side supports.
- Attach the supports at an incline to lift the laptop.
- Sand and finish for a sleek look.
Retail laptop stands range from $30–$80, while this DIY option costs almost nothing.
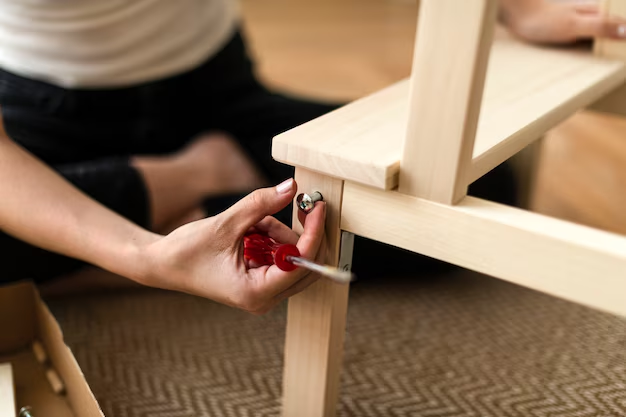
14. DIY Wooden Step Stool
A sturdy step stool is great for reaching high cabinets, helping kids wash their hands, or assisting with home maintenance tasks.
The average household has at least five items stored out of reach, making a step stool essential for convenience.
How to Make It:
- Cut two small wooden rectangles for the sides and a larger one for the step.
- Secure them together with screws or nails.
- Sand and paint or stain as desired.
Store-bought step stools cost $25–$50, but this DIY build is nearly free.
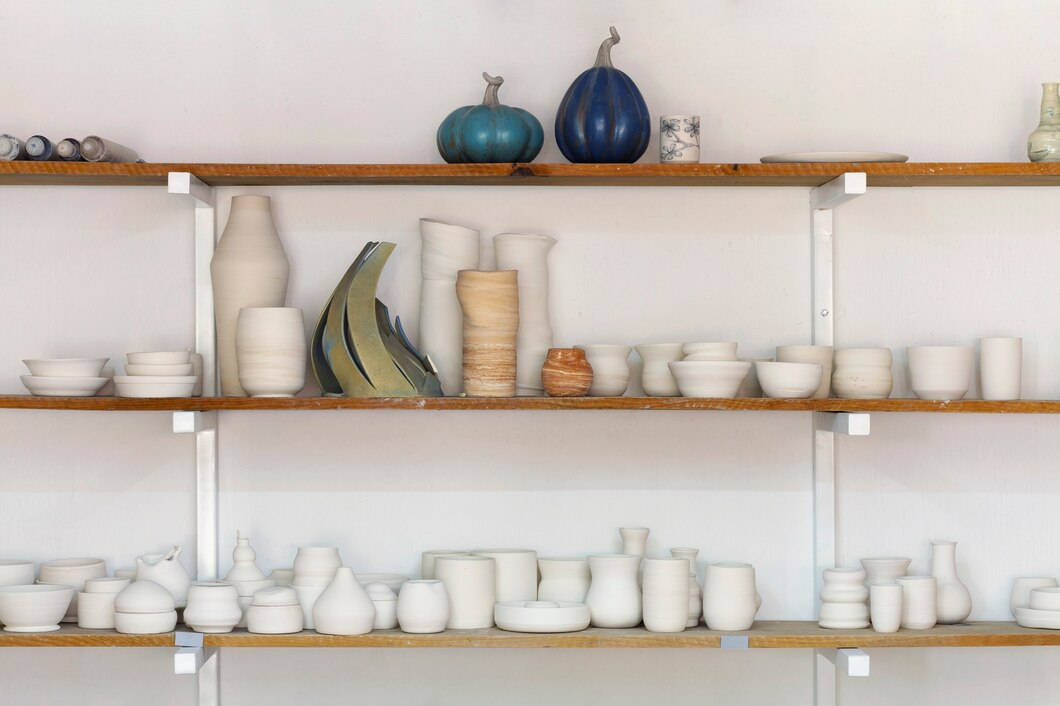
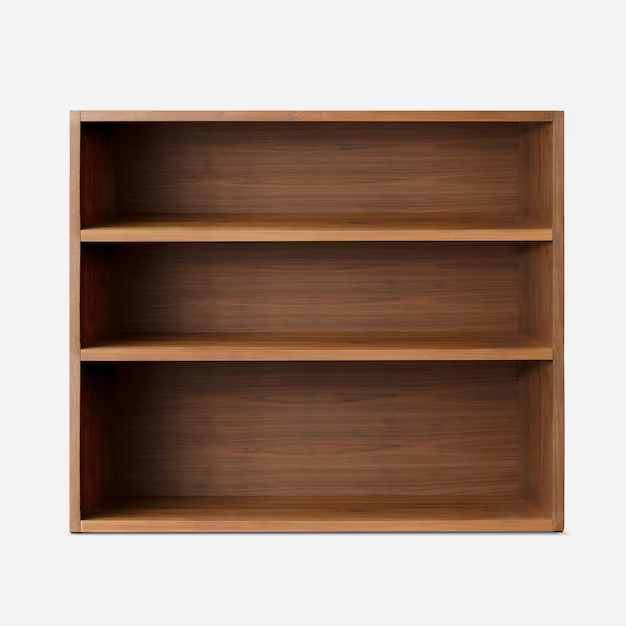
15. Small Bookshelf or Display Rack
A compact bookshelf helps store books, decorative items, or kitchen essentials.
Homeowners with organized book storage are 40% more likely to use and enjoy their books regularly.
How to Make It:
- Cut wooden planks to form the shelves and sides.
- Secure them together with screws or nails.
- Sand and stain for a polished finish.
Retail bookshelves start at $50–$200, while DIY options can be built for under $20 with scrap wood.
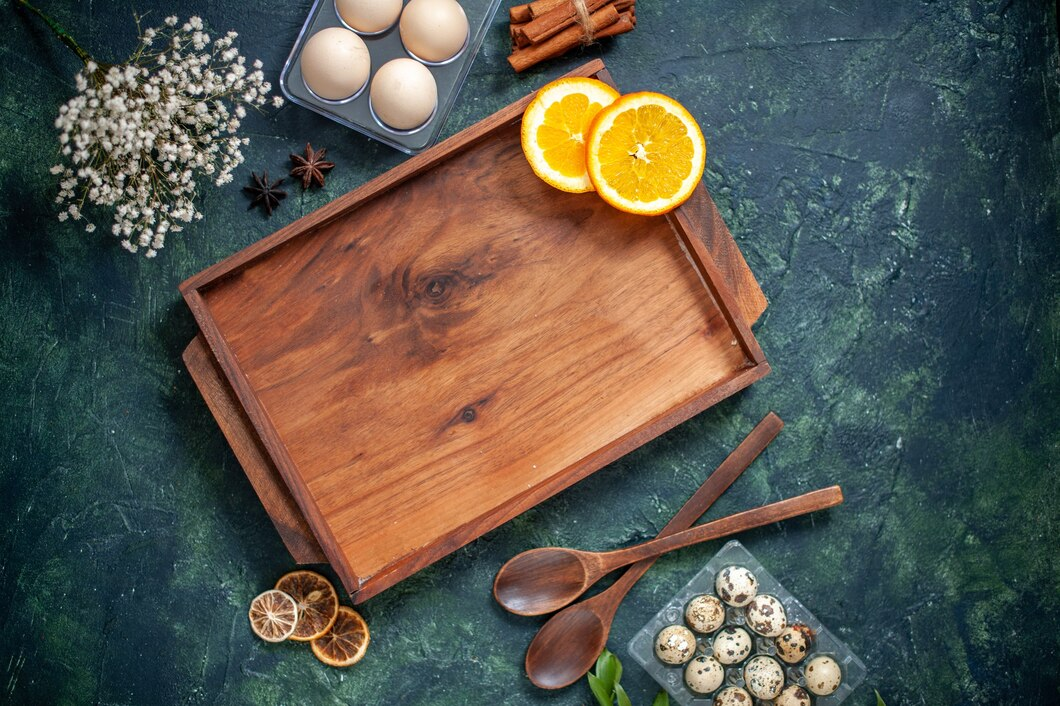
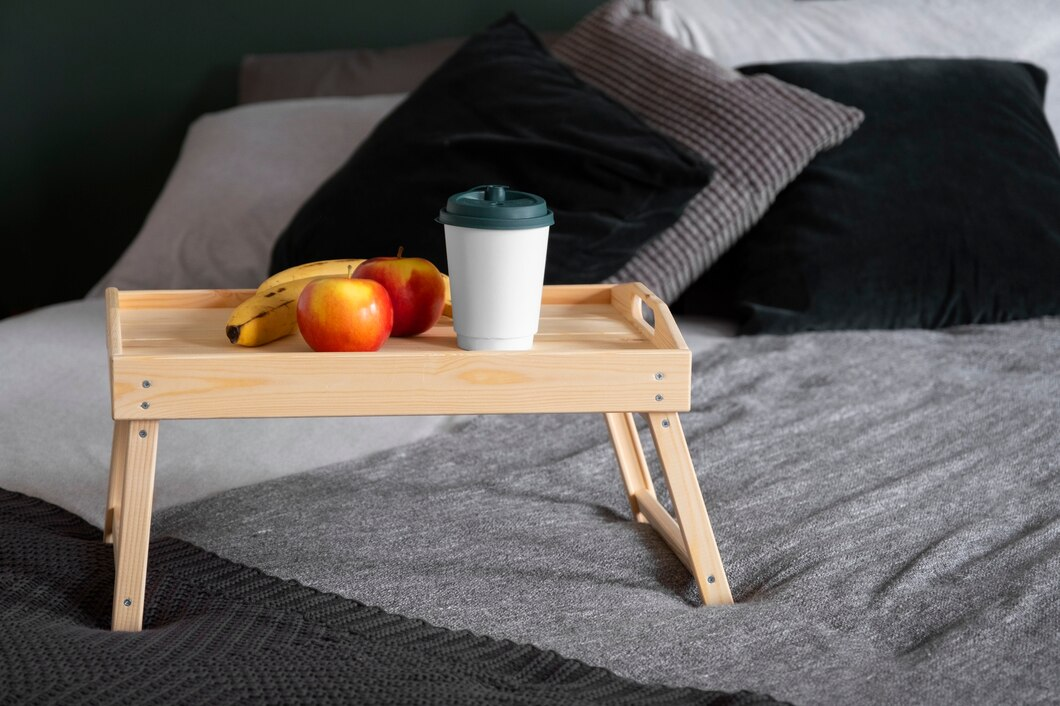
16. DIY Wooden Serving Tray
A wooden serving tray is great for serving breakfast in bed, carrying drinks, or organizing coffee tables.
Food presentation affects enjoyment, with 60% of people saying that serving meals on stylish trays enhances the dining experience.
How to Make It:
- Cut a flat wooden board for the base and attach small side pieces.
- Add handles for easy carrying.
- Sand and finish with a food-safe sealant.
Store-bought trays cost $30–$80, while DIY versions can be made for under $10.
17. Wooden Folding TV Tray Table
Folding TV trays are convenient for eating, working, or crafting in front of the television.
Multi-use furniture like TV trays can increase functional space by 30% in smaller homes.
How to Make It:
- Cut a wooden plank for the top and two smaller planks for foldable legs.
- Attach the legs with hinges for easy folding.
- Sand and paint to match your decor.
Store-bought TV trays cost $40–$100, but a DIY build is much more affordable.
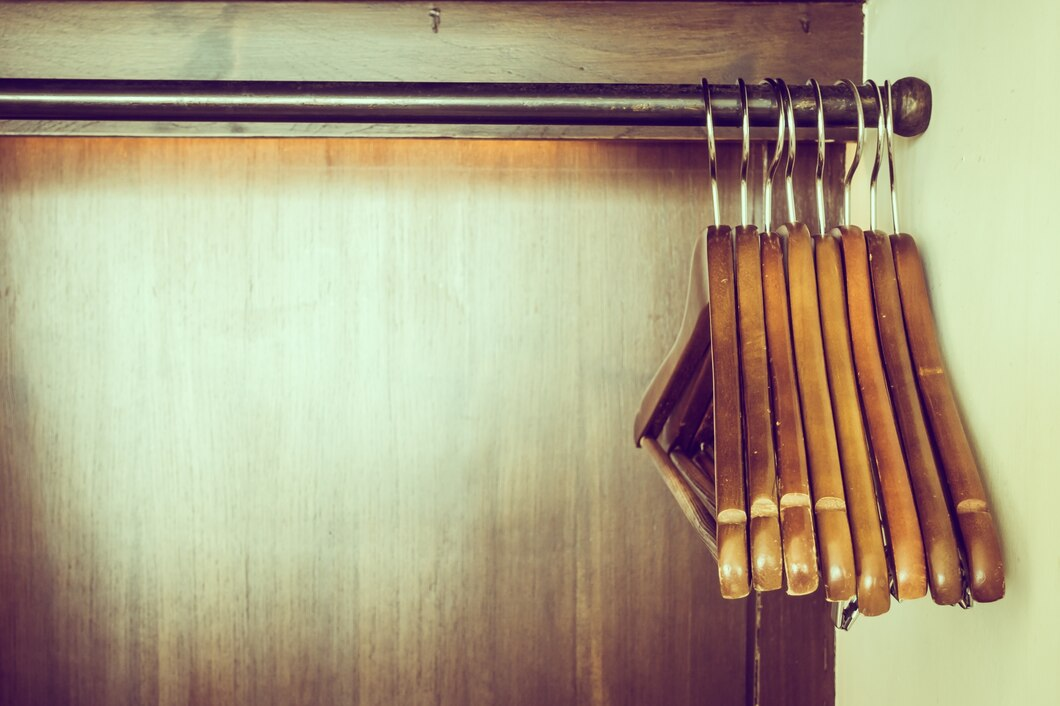
18. Wall-Mounted Hat or Coat Rack
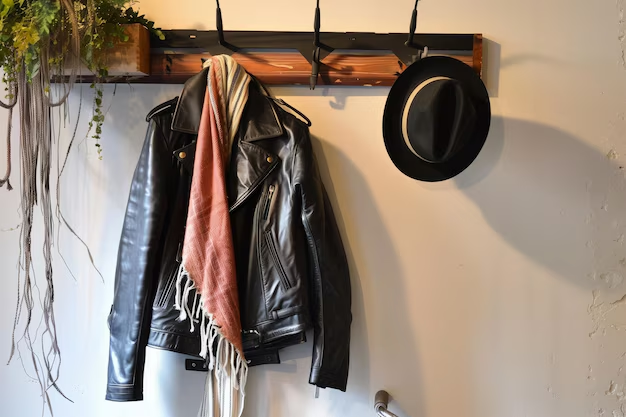
A wall-mounted coat rack helps keep jackets, bags, and hats organized without taking up floor space.
The average household owns more than 10 coats or jackets, making a coat rack a necessary storage solution.
How to Make It:
- Cut a wooden plank to fit the desired space.
- Attach 5–6 hooks for hanging coats or accessories.
- Secure it to the wall for easy access.
Store-bought racks start at $30–$70, while DIY versions cost almost nothing with scrap wood.
19. DIY Pegboard for Tools or Accessories
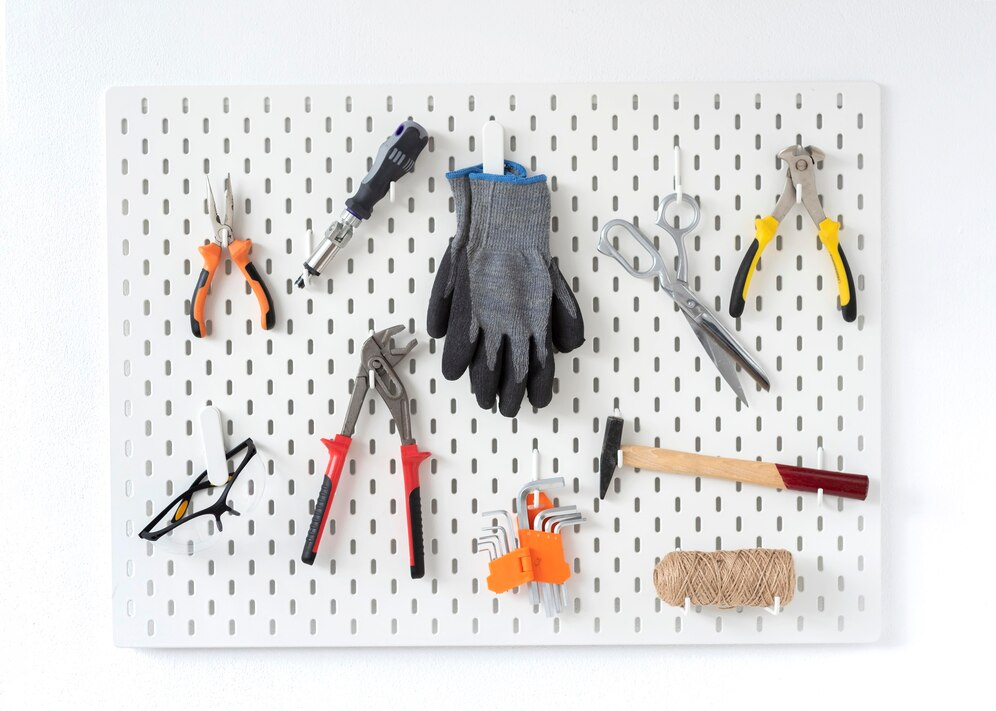
Pegboards are a game-changer for keeping garages, craft rooms, and home offices clutter-free.
An organized tool station can save up to 30 minutes per project by reducing the time spent searching for tools.
How to Make It:
- Cut a scrap wood board and drill evenly spaced holes.
- Attach hooks or pegs to hold tools or accessories.
- Mount it to the wall for easy access.
Store-bought pegboards cost $40–$100, but DIYing it is much cheaper.
20. Simple Wooden Coffee Table
A coffee table serves as a centerpiece in the living room, providing space for books, drinks, and decor.
The average coffee table costs $150–$500, making DIY versions a budget-friendly alternative.
How to Make It:
- Cut a wooden plank for the tabletop and four legs.
- Secure the legs using screws or brackets.
- Sand and stain for a professional look.
DIY coffee tables can be made for under $50, compared to expensive store-bought versions.
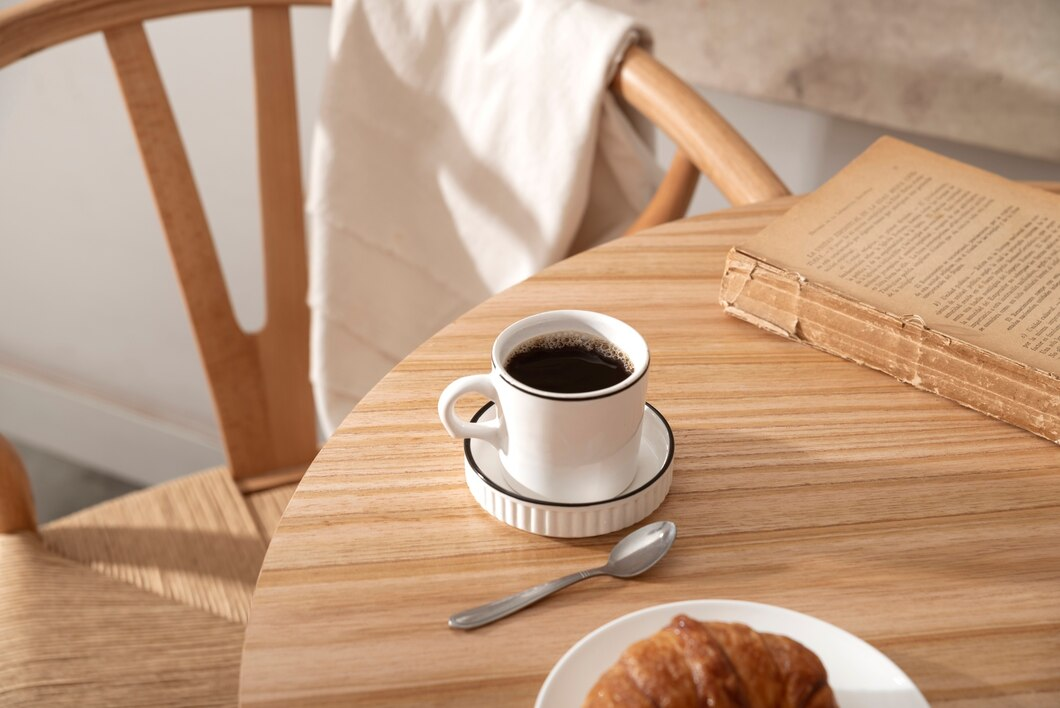
21. Rustic Wooden Coasters
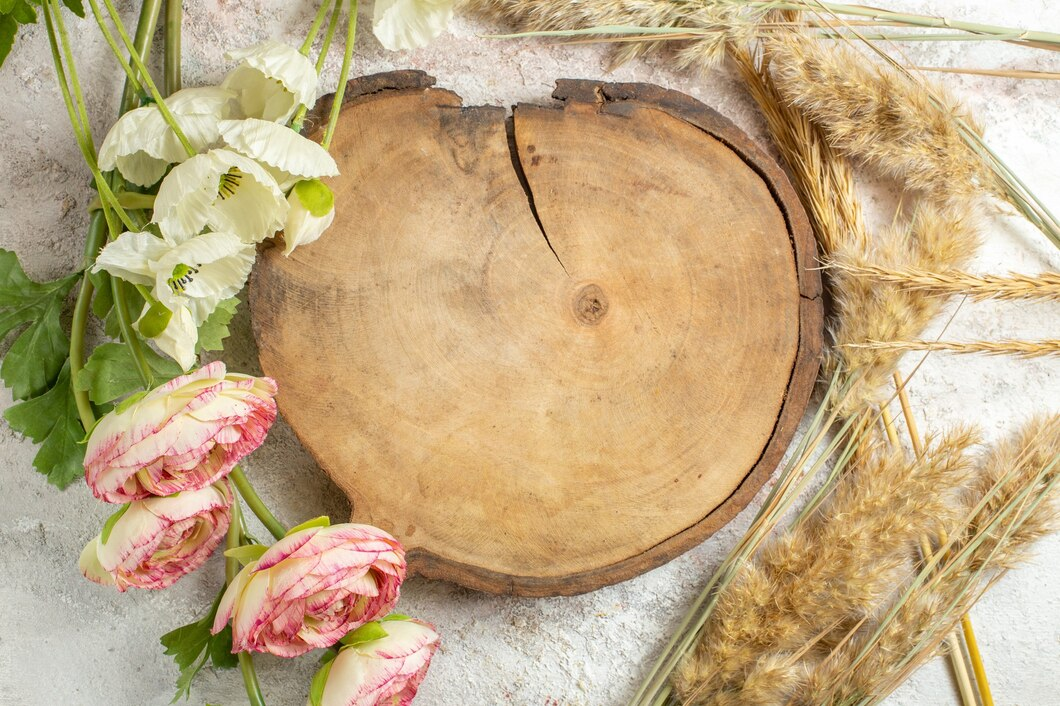
Protecting surfaces from water rings doesn’t have to be boring. Handmade coasters add charm to coffee tables and make great gifts.
People in the U.S. drink an average of 3 cups of coffee per day, meaning coasters are one of the most frequently used decor items in homes.
How to Make It:
- Cut small squares or circles from scrap wood.
- Sand the edges for a smooth finish.
- Apply stain, paint, or a decorative wood-burning design.
- Seal with polyurethane to prevent moisture damage.
Store-bought wooden coasters cost $15–$30 per set, while DIY versions can be made for less than $5.
22. DIY Wooden Wall Art
Wall art doesn’t have to be expensive. Scrap wood can be arranged into creative patterns for a high-end, custom look.
Unique wall art can increase a home’s perceived value by 10%, making it a great decor investment.
How to Make It:
- Arrange scrap wood into a geometric or abstract pattern.
- Glue or nail pieces onto a backing board.
- Paint, stain, or leave the wood natural for different styles.
Handmade wall art can sell for $50–$300, but DIY versions cost close to nothing with scrap materials.
23. Scrap Wood Candle Holders

Candles add a cozy atmosphere, and a custom wooden holder can make them even more stylish.
Over 80% of households use candles for decoration and relaxation, making this a timeless project.
How to Make It:
- Drill holes in a small wood block to fit tealight candles.
- Sand and stain for a sleek or rustic look.
- Insert candles and enjoy the ambiance.
Store-bought candle holders range from $20–$60, while a DIY version costs less than $5.
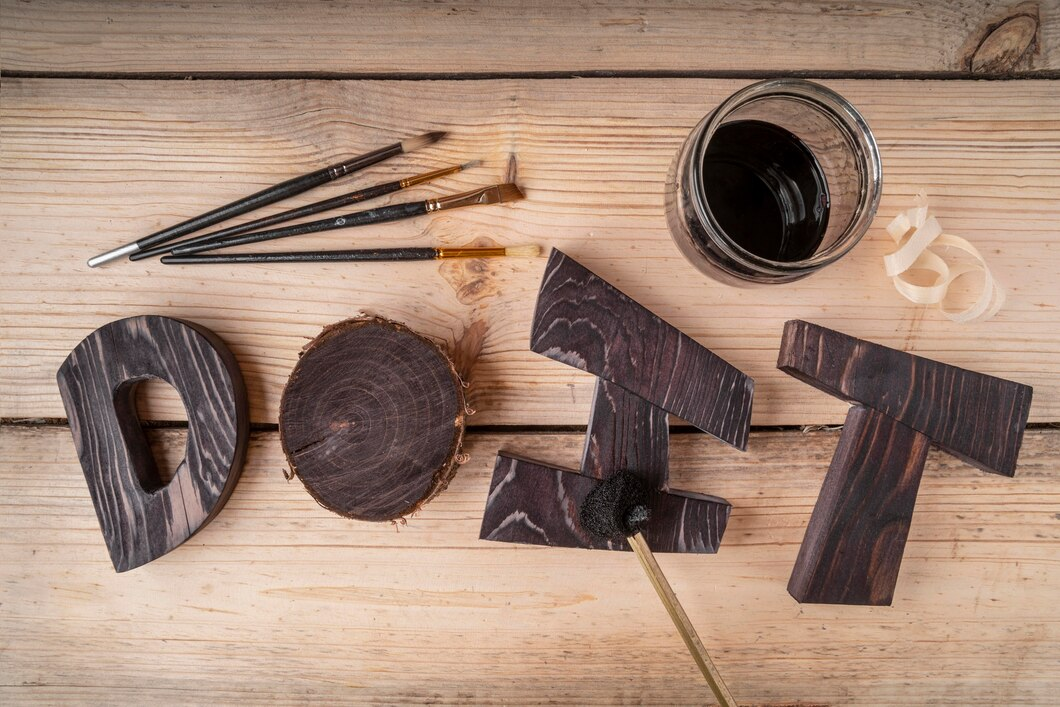
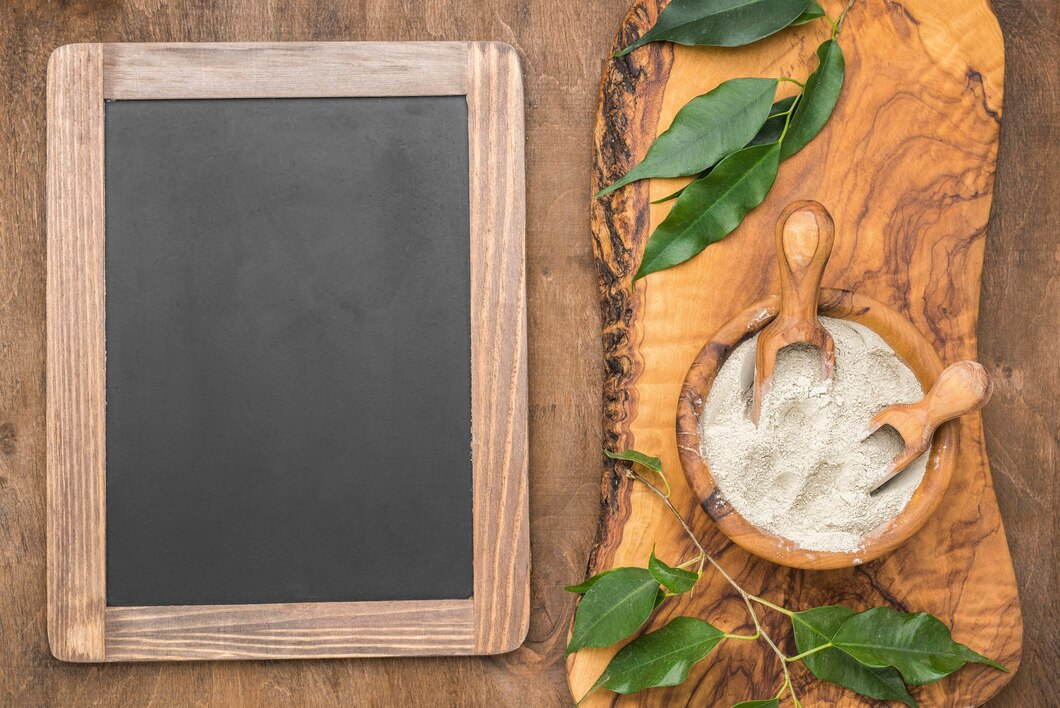
24. Handmade Wooden Signs
Personalized wooden signs are perfect for entryways, kitchens, or even seasonal decor.
The demand for handmade signs has grown by 30% in online marketplaces, showing their popularity.
How to Make It:
- Cut a wooden board to size.
- Use stencils, wood burning, or paint to add a design or quote.
- Sand and stain for a polished look.
Custom signs cost $40–$100 online, but DIY versions can be made for under $10.
25. DIY Wooden Picture Frames
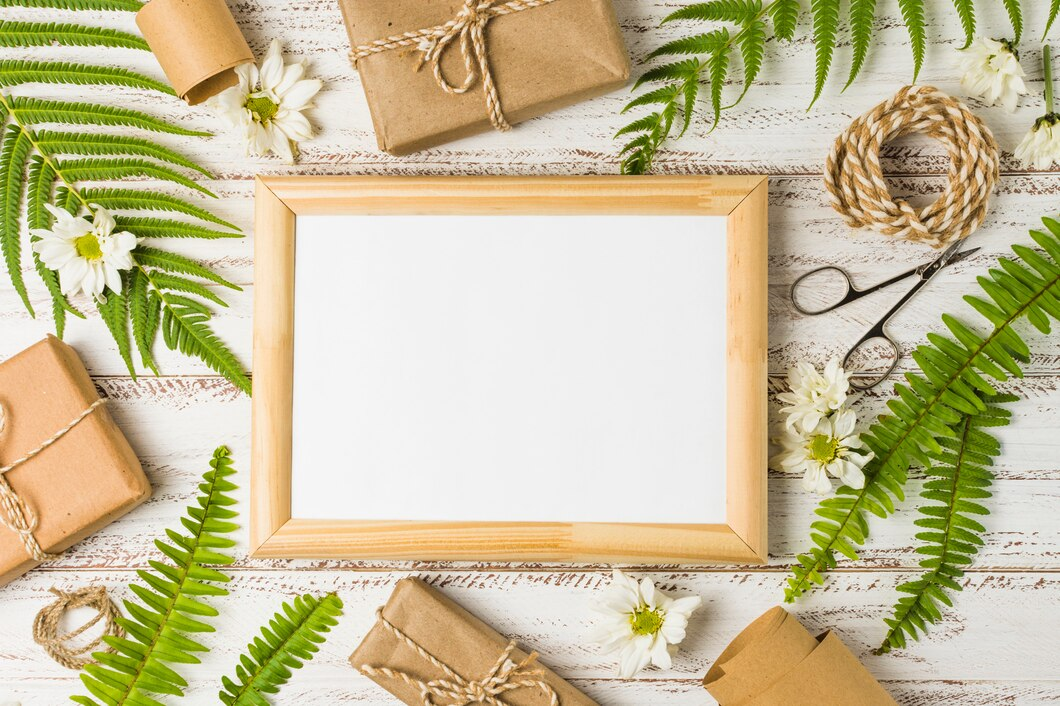
A handcrafted frame adds a personal touch to photographs and artwork.
Framing services charge $50–$200 per frame, making DIY alternatives a cost-effective solution.
How to Make It:
- Cut four wooden strips to form the frame.
- Attach them at the corners using nails or glue.
- Sand and finish with paint or stain.
Store-bought frames start at $20, but scrap wood frames cost almost nothing.
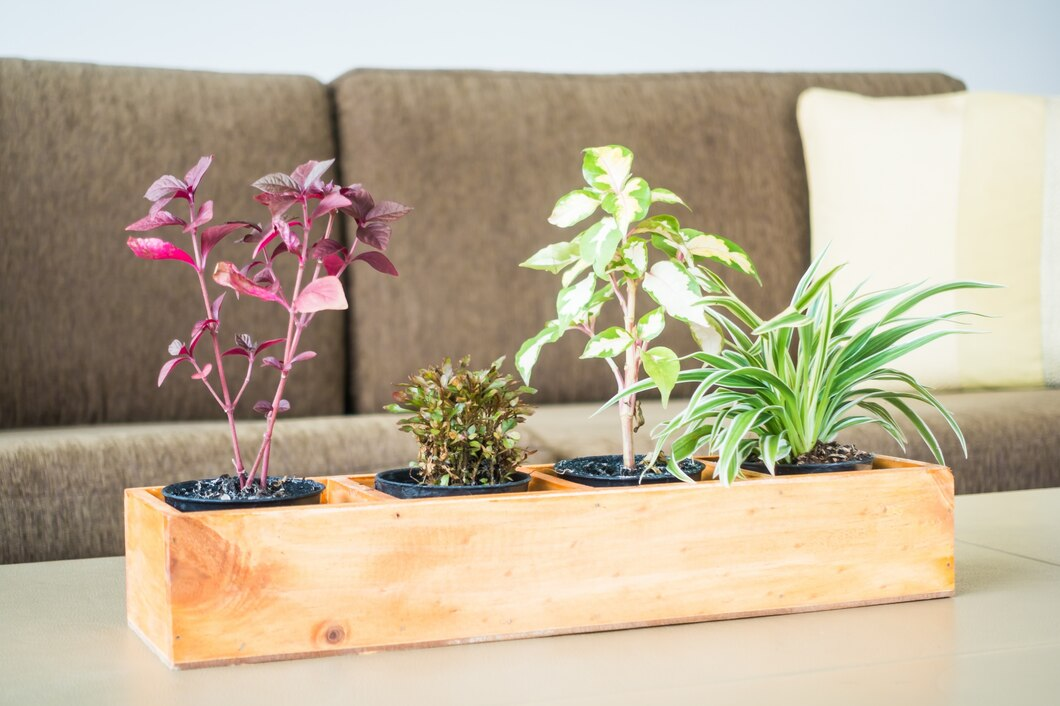
26. Mini Wooden Planter Boxes
A DIY planter box adds style to houseplants while being more durable than plastic options.
Indoor plants can improve air quality by up to 25%, making this a useful and stylish addition to any space.
How to Make It:
- Cut wooden planks to form a small box.
- Secure the sides with nails or glue.
- Sand and stain or paint for a finished look.
Retail wooden planters range from $25–$100, while DIY options cost under $10.
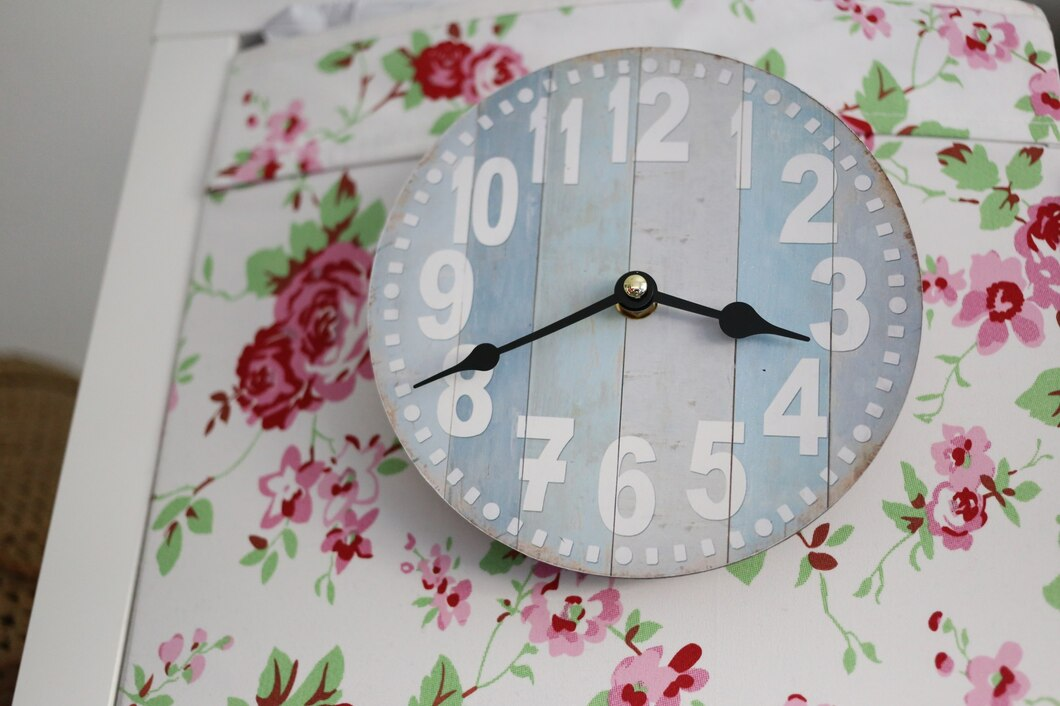
27. DIY Wooden Clock
Wall clocks can be expensive, but this DIY project lets you create a unique timepiece for your space.
The average person checks the time over 60 times a day, making a stylish clock a practical decor item.
How to Make It:
- Cut a circular or square wooden piece.
- Drill a hole in the center for the clock mechanism.
- Add numbers or leave it minimalist.
Designer wall clocks start at $50, but a DIY version costs under $15.
28. Wooden Tablet or Cookbook Stand
A sturdy wooden stand makes it easier to follow recipes, watch videos, or read hands-free.
Over 80% of people use a tablet or phone in the kitchen for recipes, making this an essential accessory.
How to Make It:
- Cut a wooden board for the base and a smaller piece for the backrest.
- Secure them together at an angle.
- Sand and finish for durability.
Store-bought stands cost $20–$50, but a DIY version can be made for under $5.
29. Scrap Wood Napkin Holder

A wooden napkin holder keeps dining tables neat while adding a touch of style.
Napkin holders are one of the top-selling kitchen accessories, proving their practicality.
How to Make It:
- Cut two side panels and a base from scrap wood.
- Secure them together using nails or glue.
- Sand and stain for a finished look.
Retail napkin holders cost $15–$30, while a DIY version is nearly free.
30. DIY Scrap Wood Wall Hooks
Wooden wall hooks add charm and organization to any room.
Wall hooks are one of the easiest ways to add storage without taking up space, making them a top choice for small homes.
How to Make It:
- Cut small wooden blocks and sand the edges.
- Attach hooks or wooden pegs.
- Secure them to the wall with screws or strong adhesive.
Store-bought hooks cost $10–$50, but DIY versions can be made for a few dollars.
Every day, perfectly good wood gets tossed out, while people spend hundreds on furniture and decor they could easily make themselves. That pile of leftover lumber in your garage? It’s not waste—it’s potential.
Think about it. Without the hefty price tag, that same wood could become floating shelves, a custom coffee table, or a sleek key holder. You don’t need a professional workshop or expensive materials to create something amazing. Now it’s your turn. What are you making first?