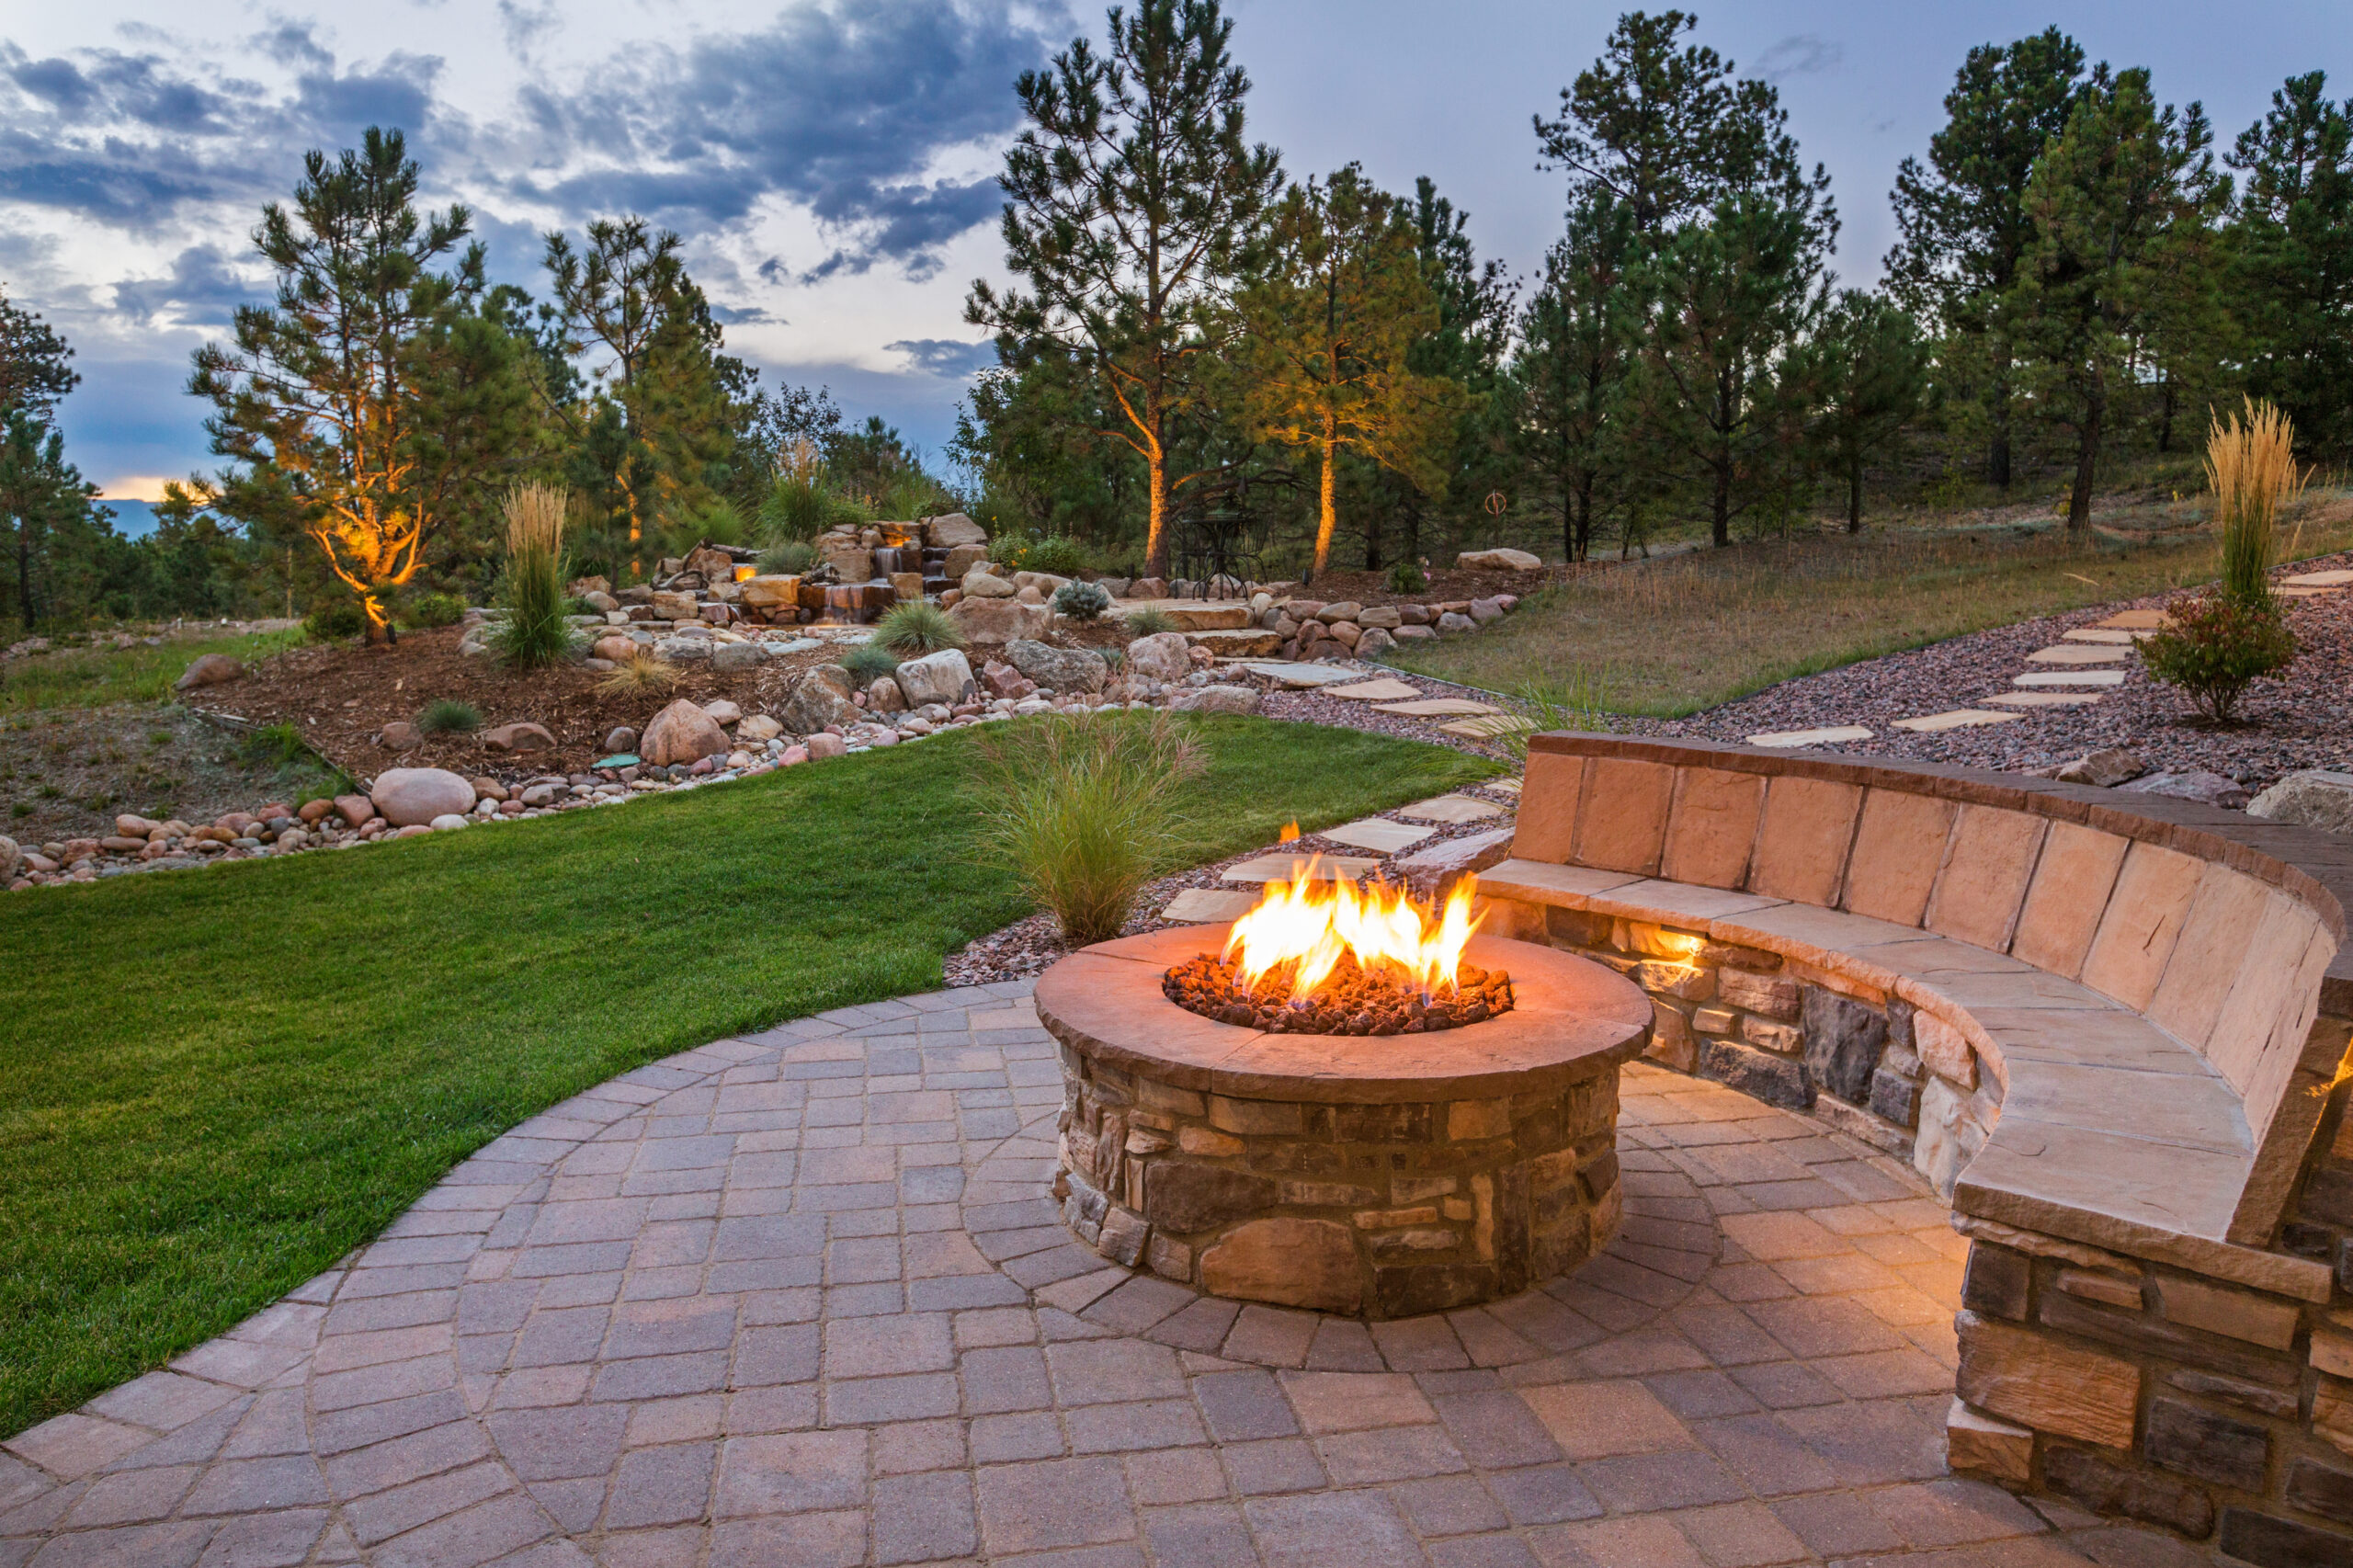
A fire pit can be the centerpiece of your outdoor space, providing warmth, ambiance, and a gathering place for friends and family. However, when not in use, it’s important to protect your fire pit from the elements to prolong its lifespan and keep it looking its best. A DIY fire pit cover is a practical, cost-effective solution that shields your fire pit from rain, snow, leaves, and debris. This article will guide you through building a DIY fire pit cover, allowing you to enjoy your outdoor oasis for years.
Materials Needed:
- Plywood sheet: Choose a sturdy, weather-resistant, appropriate thickness to withstand outdoor conditions.
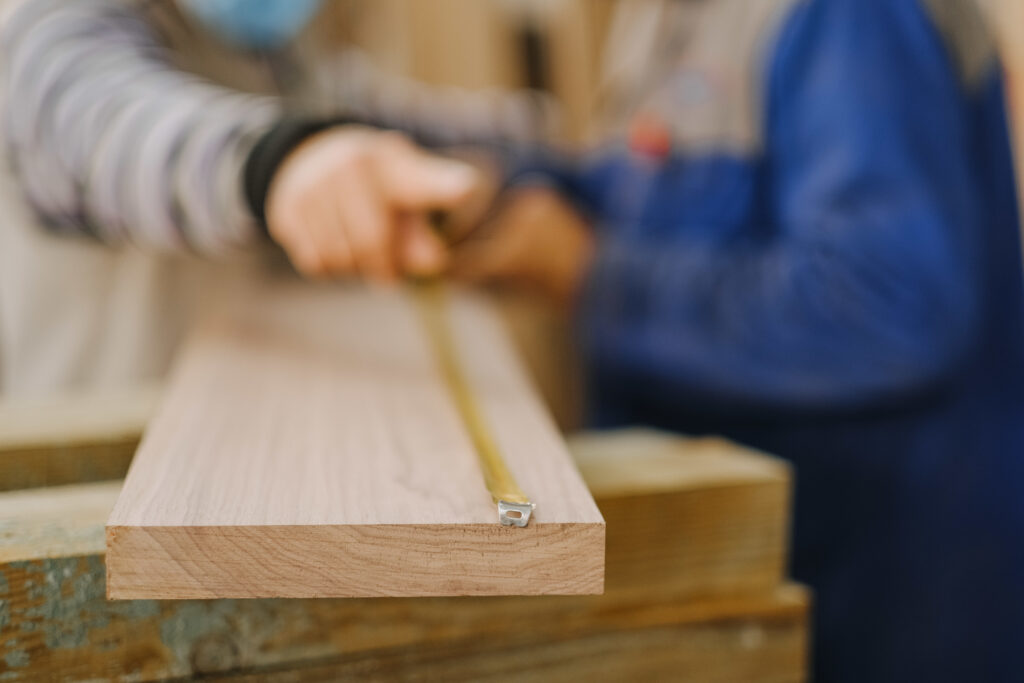
- Measuring tape: Accurate measurements ensure a proper fit for your fire pit cover. Use a reliable measuring tape for precise measurements.
- Circular saw or jigsaw: These tools will be necessary for cutting the plywood sheet to the desired size and shape.
- Sandpaper: Smooth the edges and corners of the cover with sandpaper to prevent any potential splinters and create a finished appearance.
- Exterior-grade hinges: Select durable hinges designed to withstand outdoor conditions and provide smooth movement for opening and closing the cover.
- Screwdriver or drill: Use a screwdriver or drill to attach the hinges securely to the cover and any stable surface near your fire pit.
- Exterior-grade screws: Choose screws that are resistant to rust and corrosion, as they will be exposed to outdoor elements.
- Exterior-grade wood sealant or paint: Apply a protective sealant or paint to the plywood cover to shield it from moisture and ensure its longevity.
Step 1: Measure Your Fire Pit

Before starting the construction of your DIY fire pit cover, it’s important to measure the dimensions of your fire pit accurately. Use a measuring tape to determine the diameter, length, and width, depending on the shape of your fire pit. These measurements will serve as a guide for cutting the plywood sheet to the appropriate size. Be sure to measure the widest point of your fire pit to ensure a proper fit for the cover.
Step 2: Prepare the Plywood
Selecting the right material for your fire pit cover is crucial for durability and weather resistance. Plywood is a common choice due to its affordability and ease of customization. Opt for exterior-grade plywood designed to withstand outdoor elements and moisture. This type of plywood is typically treated to resist rot and warping. Using a circular saw or a jigsaw, carefully cut the plywood sheet according to the measurements you took in Step 1. Take your time and ensure clean, straight cuts. To achieve a snug fit for your fire pit cover, it’s important to be precise.
Step 3: Sand the Edges

Double-check the dimensions before cutting to avoid any mistakes. After cutting the plywood, use sandpaper or a sanding block to smooth the edges. Sanding removes rough or uneven areas, creating a clean and finished look. Pay extra attention to the corners and edges of the plywood to prevent any splintering or sharp edges.
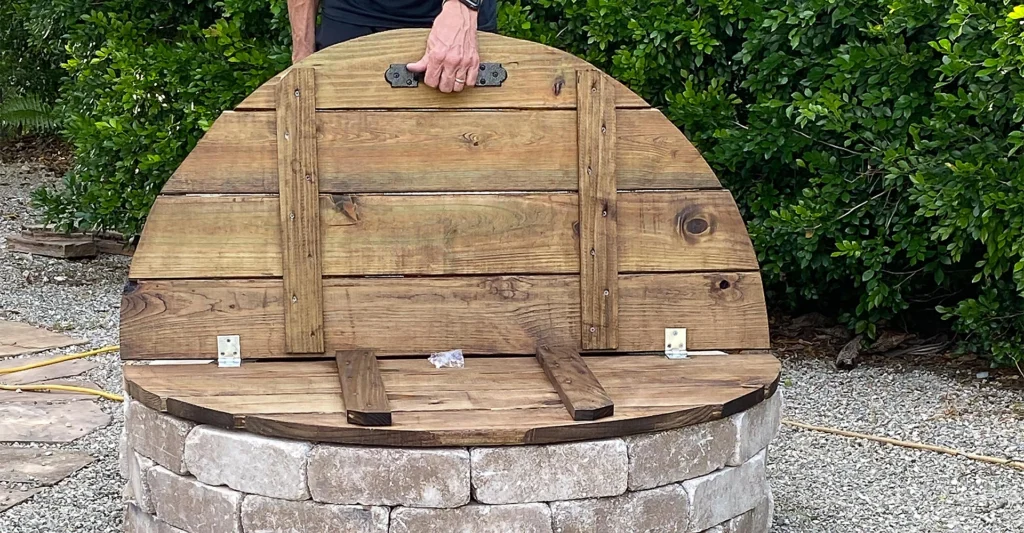
Step 4: Install Hinges
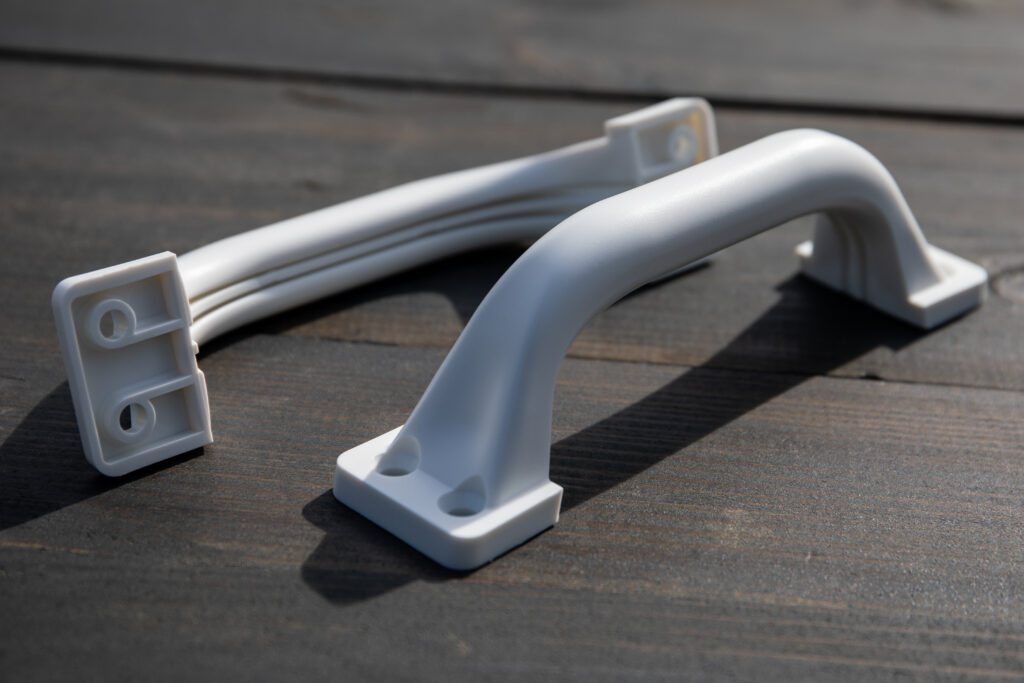
To make it easier to lift and handle the fire pit cover, consider adding handles or knobs. These can be purchased from a hardware store or repurposed from other items. Measure and mark the desired location for the handles or knobs on the plywood cover. Use a drill to create holes or attach them using screws or bolts. Handles or knobs will not only enhance the functionality of the cover but also add a decorative touch.
Step 5: Test the Fit

Place the cover on your fire pit and check the fit. Ensure that it sits securely and covers the entire fire pit surface. Make any necessary adjustments to the size or shape of the cover to achieve a snug and proper fit. It’s important that the cover completely covers the fire pit to provide effective protection.
Step 6: Apply Wood Sealant or Paint
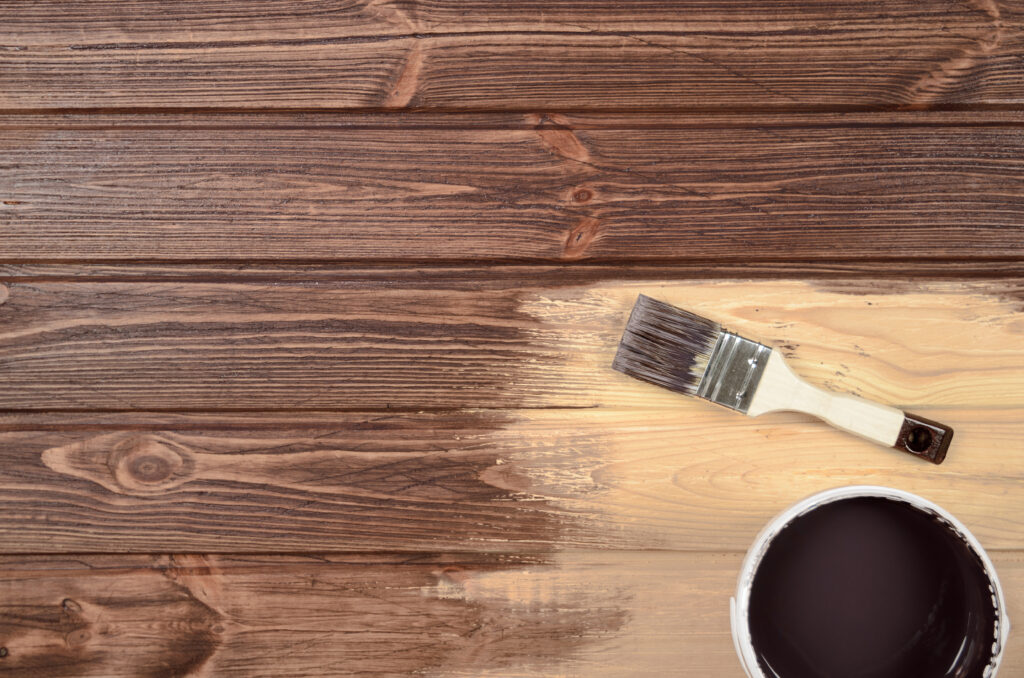
Applying a coat of exterior-grade wood sealant or paint is crucial to protecting the plywood from moisture and external elements. This protective layer will help prevent water damage and extend the cover’s lifespan. Follow the manufacturer’s instructions for application and drying times, ensuring that all sides of the cover receive adequate coverage. If desired, you can paint or stain the plywood cover to match your outdoor decor or personal preference.
Step 7: Attach the Cover to Your Fire Pit
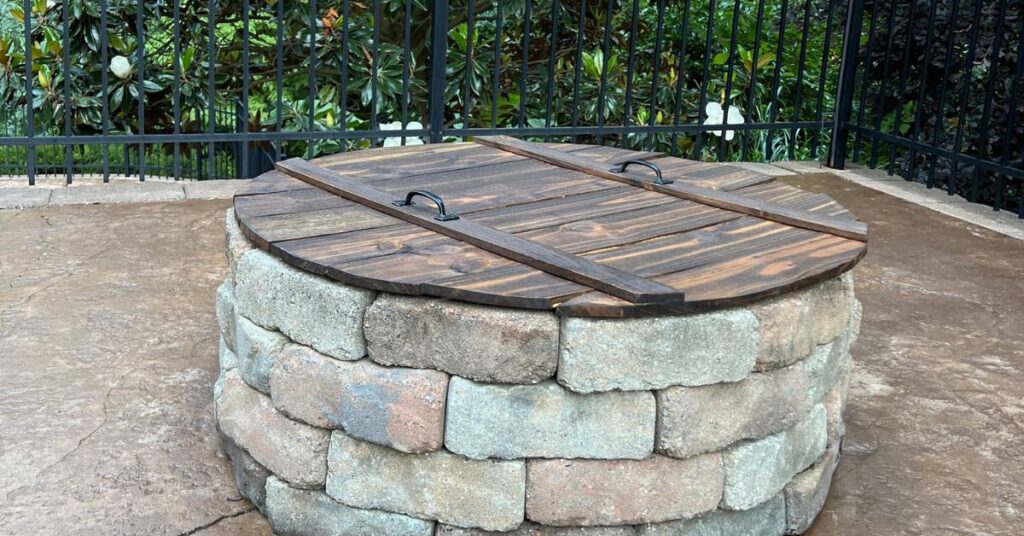
Using exterior-grade screws, attach the hinges to a stable surface near your fire pit. Consider attaching the hinges to a wall, fence, or other structure that can support the weight of the cover. Ensure the screws are securely fastened to prevent the cover from coming loose or falling.
Step 8: Test the Operation
Once the cover is securely attached, test the operation by opening and closing it. Ensure that the hinges move smoothly and that the cover fits snugly over the fire pit when closed. Make any necessary adjustments to the hinges or positioning for optimal functionality.
Step 9: Enjoy Your Protected Fire Pit

Congratulations! You have successfully built your own DIY fire pit cover. Now, you can enjoy the benefits of having a protective cover for your fire pit. Not only does it keep debris, rain, and snow out of your fire pit, but it also adds an extra layer of safety and prolongs the lifespan of your outdoor feature. Gather around the fire pit with peace of mind, knowing it’s well-protected and ready for use.
Building a DIY fire pit cover is a practical and rewarding project that can provide essential protection for your outdoor fire pit. Following the steps outlined in this article, you can create a custom cover that fits your fire pit perfectly and offers reliable protection from rain, snow, leaves, and debris. Remember to measure carefully, select the appropriate materials, and apply a protective sealant or paint to ensure the cover’s durability. With your DIY fire pit cover in place, you can enjoy the warmth and beauty of your fire pit for countless cozy evenings spent outdoors.