
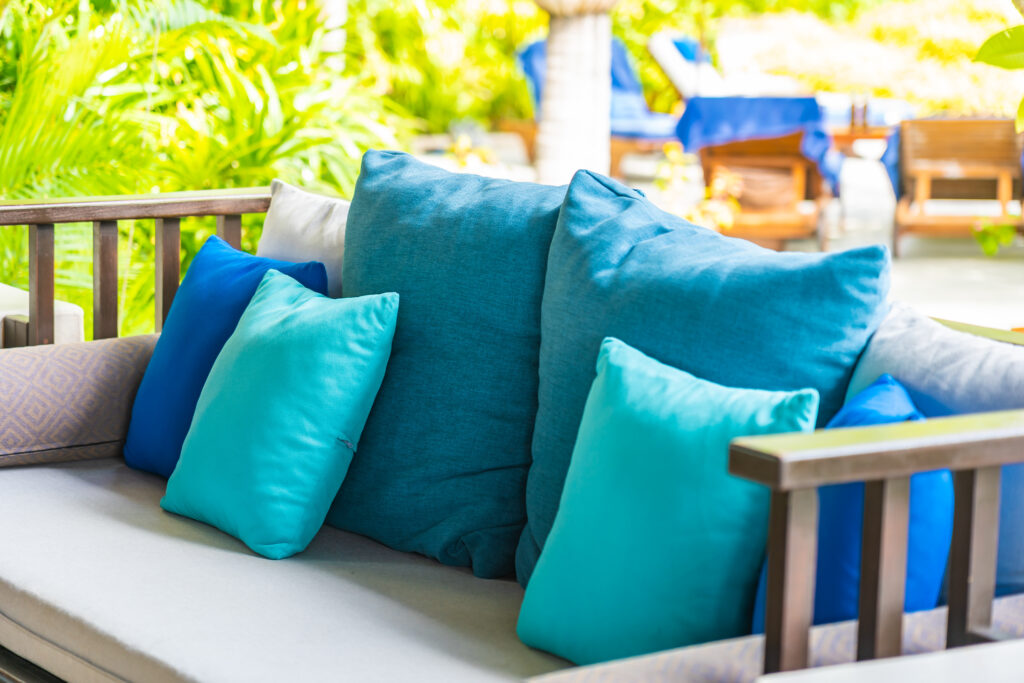
Building a DIY cabana in your backyard can transform it into a personal oasis, the perfect destination for relaxation and entertaining. This particular project involves turning cedar boards and galvanized window well sections into a delightful and shady outdoor retreat. The beauty of a DIY cabana is that you can personalize it to match your tastes and needs by incorporating outdoor lighting, curtains, cozy cushions, blooming plants, and other charming accessories.
Let’s explore how you can construct this appealing cabana, embellishing your backyard with a comforting shade and an inviting ambiance.
Estimated Time Required:
Working Time: 1 day Total Time: 3 days
Skill Level: Advanced
For instance, imagine yourself chilling under the gentle gleam of various paper lanterns, enjoying a glass of wine after a day’s hard work. You could effortlessly create this eclectic aura by selecting lanterns of different sizes, colors, patterns, and textures. Placing a battery-operated LED tea light in each lantern will emit a soft and warm glow. You can use Command outdoor light hooks and string, rope, or fishing line to hang these lanterns. Finally, boost the comfort with large floor cushions, snug outdoor blankets, and citronella candles to ward off those pesky mosquitoes.
Please note that this project uses red cedar for all materials listed in the cut list. However, the actual sizes of lumber may vary from the nominal sizes provided.
Tools and Equipment:
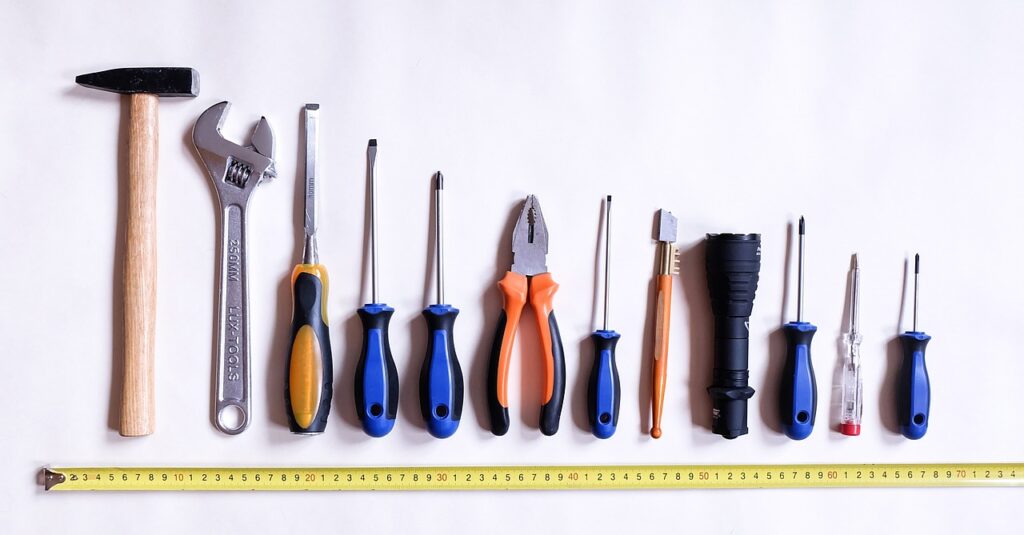
- Miter saw, or circular saw.
- Drill
- Kreg pocket hole jig
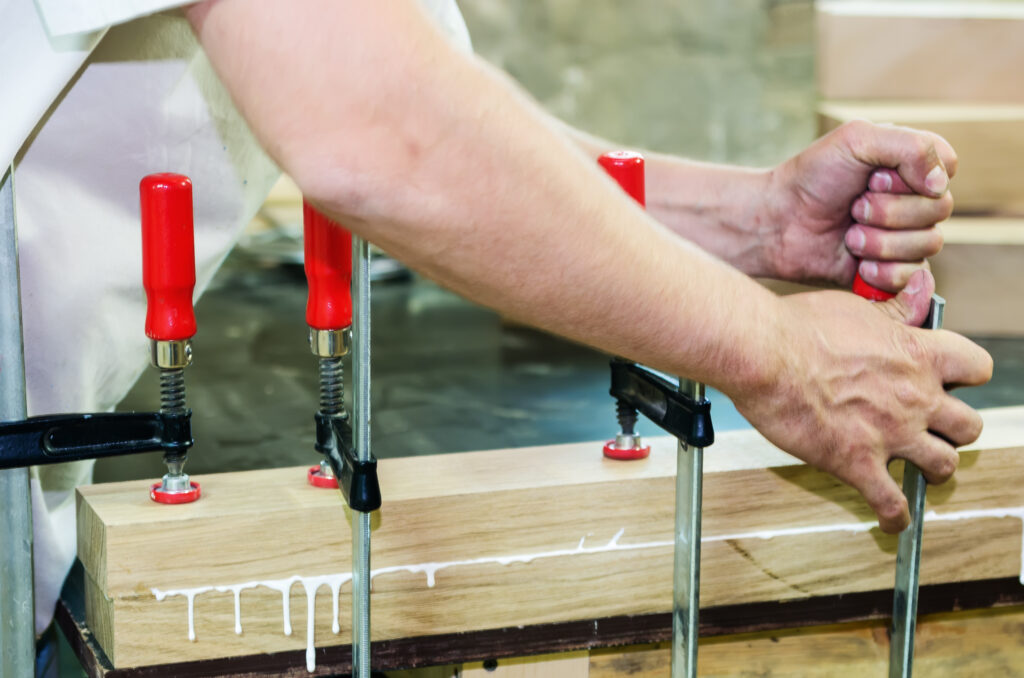
- Clamps
- Power sander
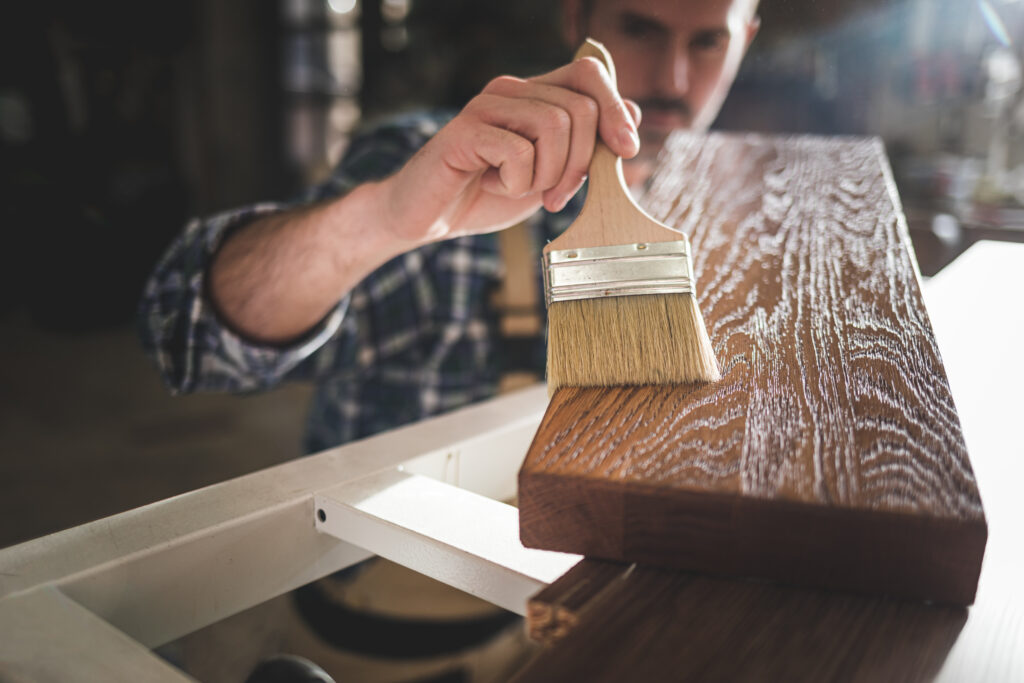
- Paintbrush
- Stapler
Materials Required:
- Cedar: 16 8-foot lengths of 2×6, 3 8-foot lengths of 2×8, and 2 8-foot lengths of 2×2
- Exterior wood glue or polyurethane glue
- Kreg Blue-Kote pocket-hole screws: 126 2-1/2-inch
- Wood screws: 10 2-1/2-inch
- Wood filler
- Exterior primer and paint
- Canvas strapping
- Staples
- Outdoor foam: 38-1/2×65-inch
- Outdoor fabric: 5 yards
- Zipper
- Galvanized window well sections: 3 37-inch-wide, 24-inch-tall
- Lag bolts: 18 2-inch
Let’s Get Started!
Step 1: Cutting the Lumber
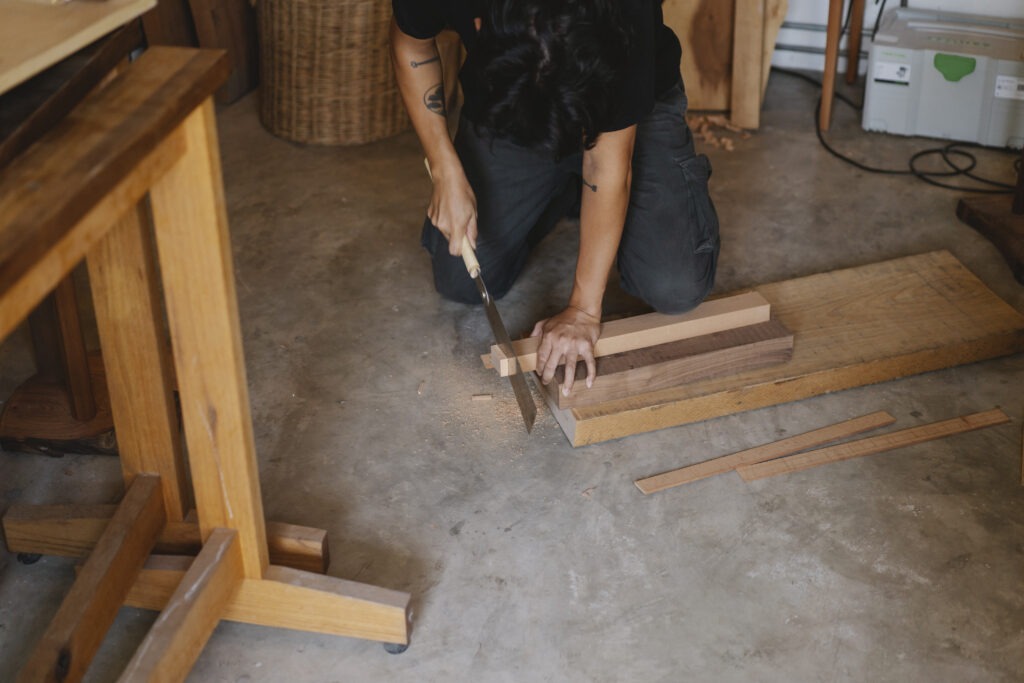
Kickstart your DIY cabana project by cutting the lumber as per the dimensions mentioned below:
Piece – Dimensions – Quantity
Front rung (A) 2x6x54 inches 2
The front center support (B) 2x6x3 inches 1
Front side support (C) 2x6x17 inches 2
Side rung (D) 2x6x30-1/2 inches 8
Short apron (E) 2x8x30-1/2 inches 2
Post (F) 2x6x68 inches 4
Back rung (G) 2x6x24-1/4 inches 8
Back supports (H) 2x6x34 inches 3
Long apron (I) 2x8x65 inches 2
Apron support (J) 2x2x65 inches 2
Seat slats (K) 2x6x38-1/2 inches 5
Slat supports (L) 2x6x11-1/2 inches 5
Step 2: Prepping Boards for Front Panel
After you’ve cut the boards, the next step involves prepping them for the cabana front panels. You need to drill sets of two pocket holes in both ends of the front rungs A, in both ends of the vertical front center support B, and at the top and bottom along the long edge of the vertical front side supports C. Ensure that all pocket holes should be placed on the sides that will face the interior of the finished cabana.
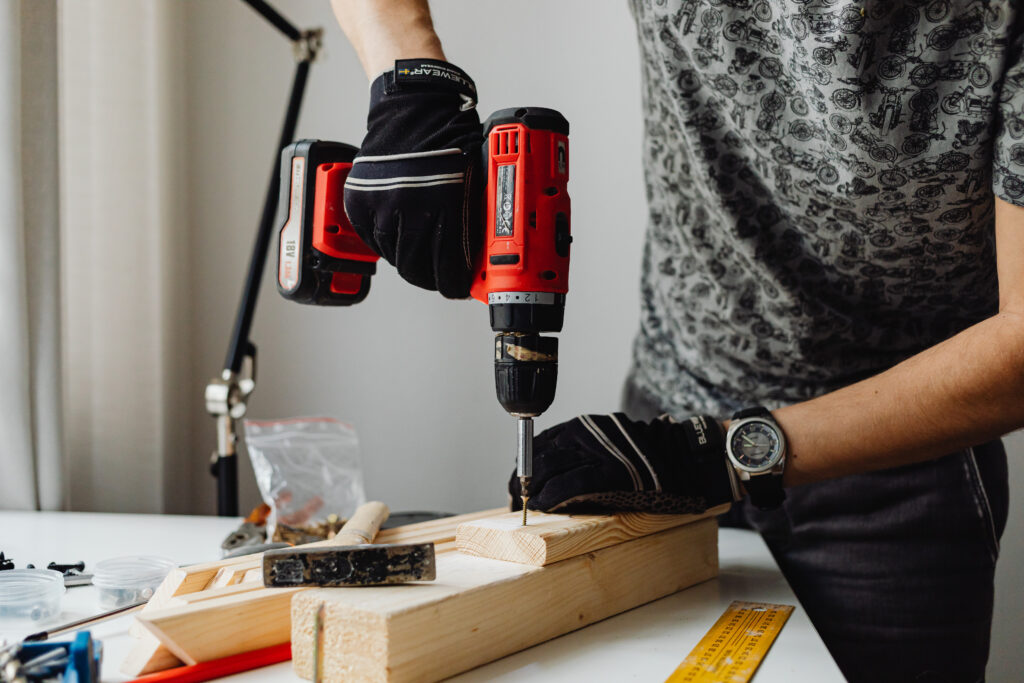
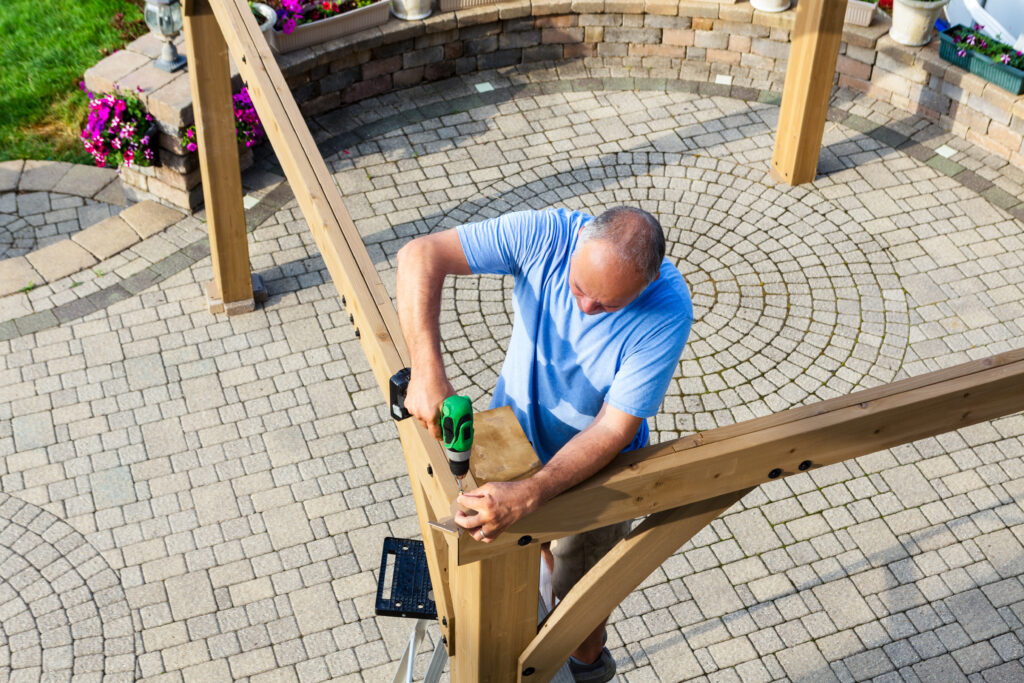
Step 3: Assembling the Rungs and Supports

Referring to the illustration in the previous step, use glue, clamps, and screws to assemble rungs A and support B. Next, attach side supports C to each side of the assembly, ensuring they are flush with the top A rung and the extra pocket holes are facing out before securing them with wood glue and screws.
Step 4: Prepping and Assembling Side Panels
To prepare the boards for the cabana side panels, you must drill sets of two pocket holes at each end of four horizontal side rungs D and the short apron E. To assemble, place the first D rung 3 inches up from the bottom of the vertical post F and secure it with wood glue and screws. Next, add the remaining three D rungs, positioning each rung 3 inches above the previous rung.
Secure the top E apron between the posts, ensuring all edges are flush at the top to complete the first side panel. Repeat this process to assemble the second cabana side panel.
Step 5: Prepping and Assembling Back Panel

To prep the boards for the cabana back panel, drill sets of two pocket holes in both ends of each horizontal back rung G, and at the top and bottom along one long edge of two of the vertical back supports H. Referring to the illustration and starting at the top. Hence, boards are flush, and a horizontal G rung is secured to two vertical H supports. Repeat with the remaining G rungs, spacing them 3 inches apart and using glue and clamps as you screw them together.
To complete the back panel, repeat this process to attach the remaining G rungs and H support to the assembly. Again, be sure the pocket holes in H face outward toward the edge.
Step 6: Assembling the Cabana
You should now have four completed cabana panels. To assemble them into one unit, clamp the front panel to your work surface, then secure one of the side panels to the front panel, ensuring the bottom of the assembly is flush. Using the existing pocket holes from Step 1, glue and screw them together.
Repeat this process on the opposite side with the remaining side panel.
Step 7: Add a Seat Cushion and Cabana Top
For the cabana top, secure three 37-inch-wide, 24-inch-tall galvanized window well sections to the top of the cabana with 2-inch lag bolts.
For the seat cushion, cut the foam to fit the cabana seat and use canvas strapping and a stapler to secure it.
Finally, sew an outdoor fabric cover with a zipper to easily remove and wash the foam.

Your DIY cabana is now ready! For added comfort and ambiance, you can add any additional decorative items, such as curtains, string lights, or outdoor rugs.
Maintenance and Care
Regular maintenance of your DIY cabana will ensure its longevity. Here are a few tips:
- Clean the cabana with mild soap and water. Avoid using harsh chemicals that can damage the paint and wood.
- If you notice chipping paint, repaint the cabana to protect the wood from the elements.
- Remove the seat cushion during bad weather or when not in use. The outdoor fabric is durable but should be kept dry to prevent mold and mildew.
- Inspect the cabana regularly for any damage. Repair any issues immediately to prevent further damage.
- Store the cabana in a garage or shed during the winter to protect it from harsh weather conditions.
Remember, your DIY cabana is a personal retreat space. Keep it comfortable, inviting, and well-maintained, and it’ll be the perfect spot for relaxation or entertaining guests in your backyard.