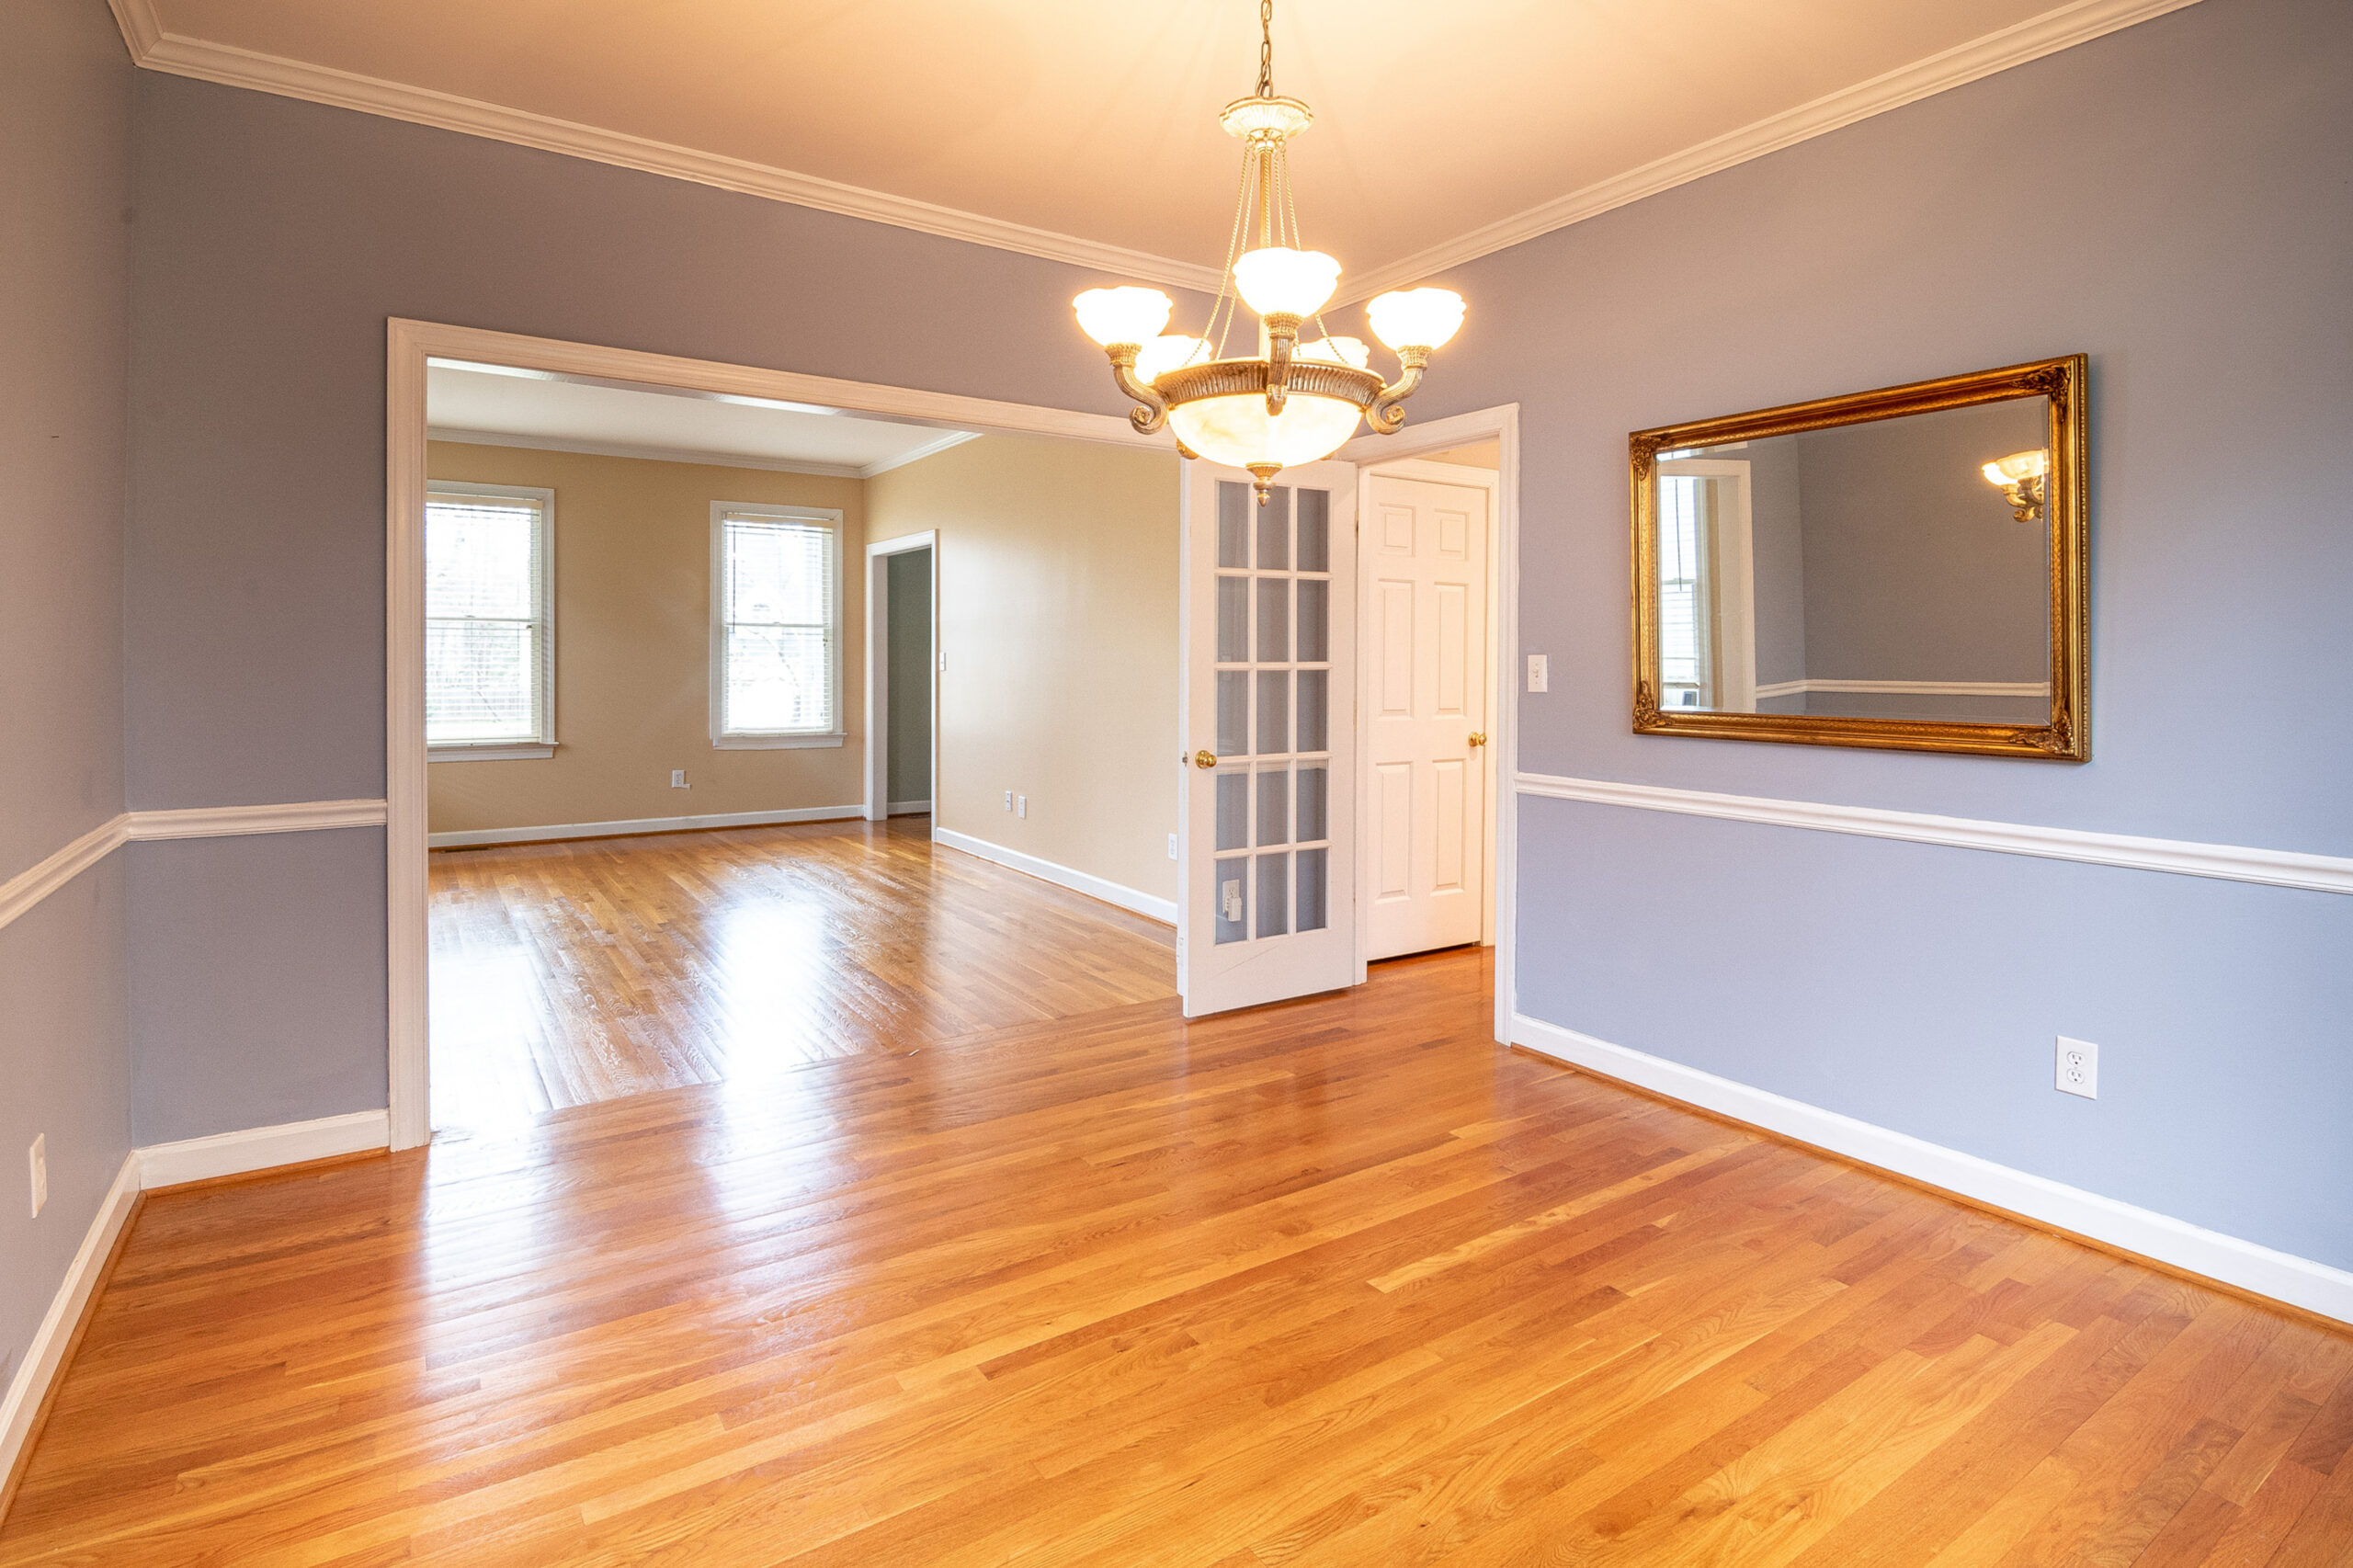
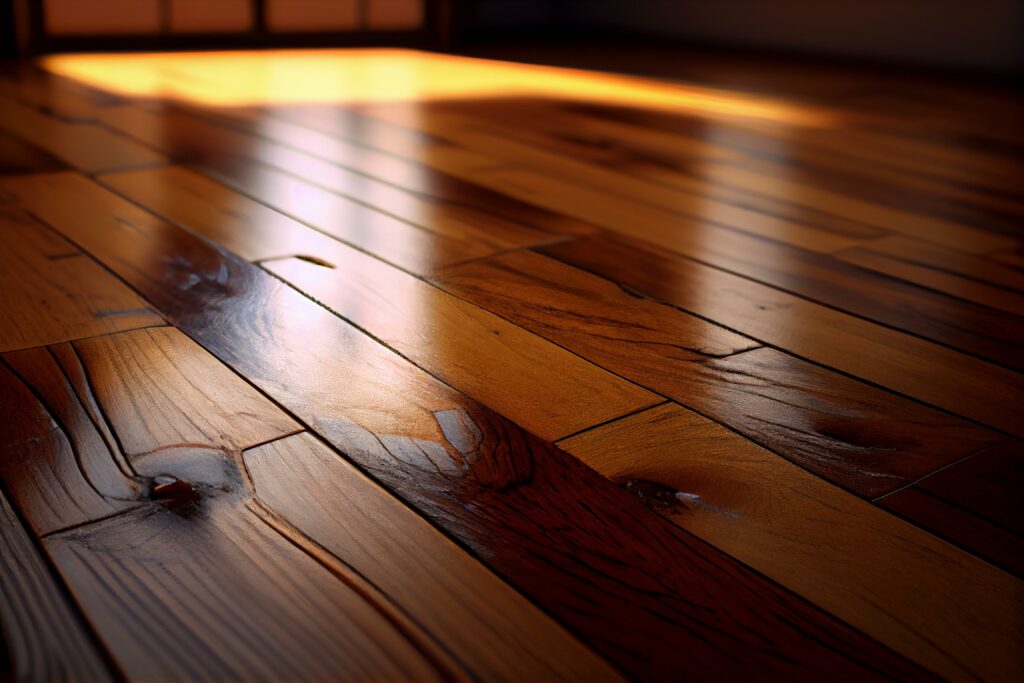
Refinishing hardwood floors can bring new life to your home and enhance its value. Whether you’re renovating an older property or looking to revitalize your current space, this DIY project can be a rewarding and cost-effective way to transform your floors. In this comprehensive guide, we’ll walk you through the entire process of refinishing hardwood floors, from assessing the damage to applying the final sealer. By following these steps, you can achieve a professional-quality result and enjoy the beauty of your newly refinished floors for years.
Step 1: Assess the Damage
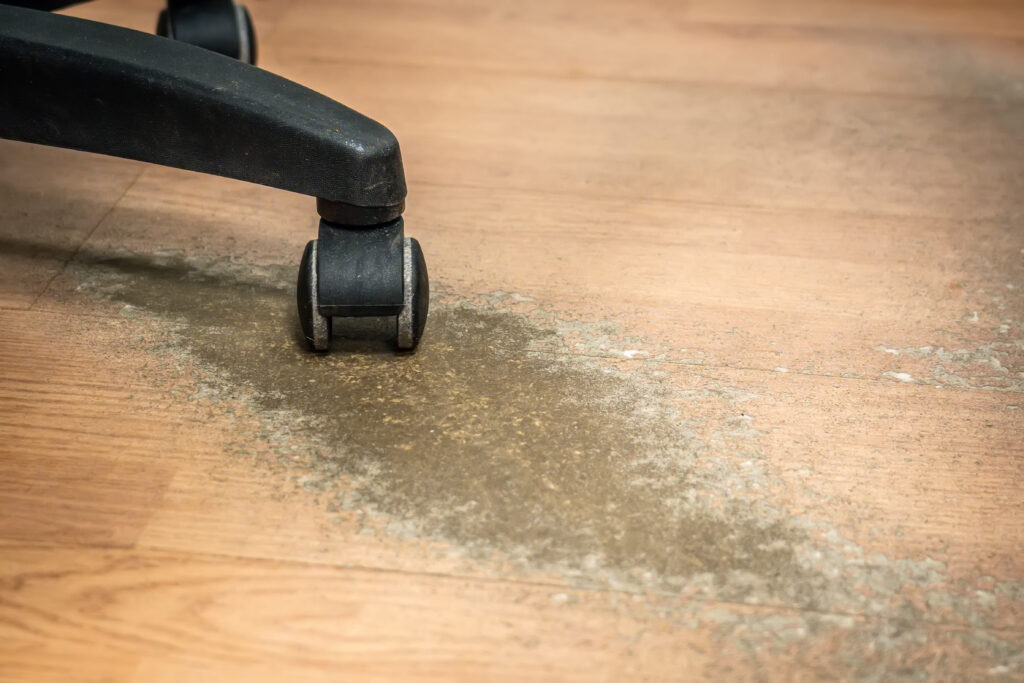
Begin the hardwood floor refinishing process by assessing the condition of your floors. Minor scratches and a dull finish may only require buffing and a new coat of varnish to restore their beauty. However, complete refinishing is necessary if your floors have significant damage, such as deep scratches, stains, or uneven surfaces. This involves sanding down the old finish to reveal bare wood and applying a fresh stain and sealer to bring your floors back to their original glory. Properly evaluating the damage will help determine the best course for refinishing your hardwood floors.
Step 2: Gather the Tools and Materials
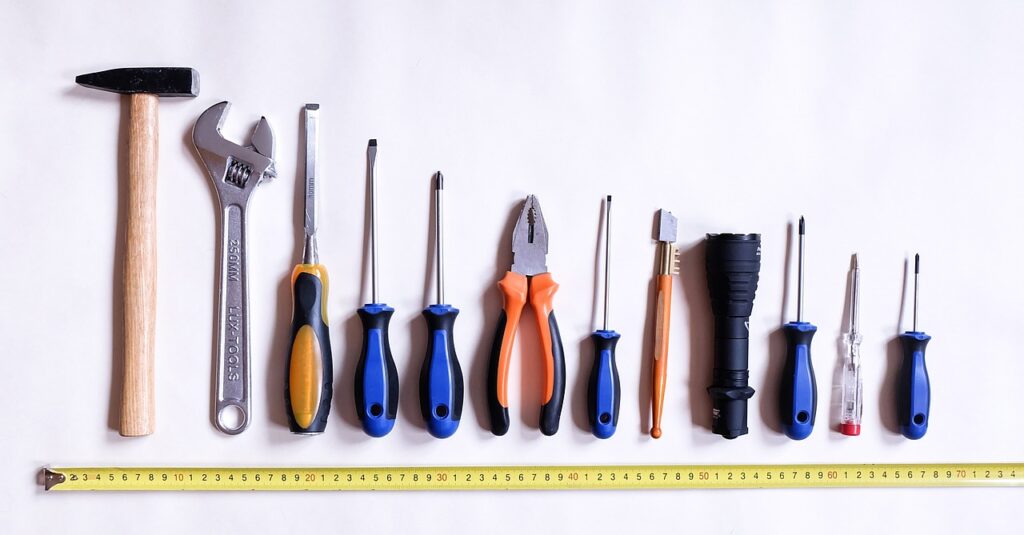
Gather all the necessary tools and materials before starting the hardwood floor refinishing process. These include drum or belt floor sanders, an edger sander, a small pry bar, needle-nosed pliers, painter’s tape, plastic sheeting, wood filler or patch, a spackle knife, protective eyewear, a respirator mask, sandpaper in various grits, a sanding pole, sanding screen, a shop vacuum, tack cloth, denatured alcohol, stain (optional), stain applicator pads, a smooth foam roller, polyurethane, fine steel wool pads, and rags. All these items will ensure a smooth and efficient refinishing process.
Step 3: Prep the Room

Prepare the room for hardwood floor refinishing by clearing it of furniture, rugs, and window treatments. Use painter’s tape to cover vents and electrical boxes to prevent dust from getting inside. If you’re refinishing a single room, consider sealing the doors with plastic sheeting to minimize dust spread. Carefully remove the base molding using a pry bar, making sure to number each piece for easy reinstallation later. Remove any nails or staples from the floor and securely fasten any loose boards to ensure a stable surface for refinishing.
Step 4: Patch and Repair
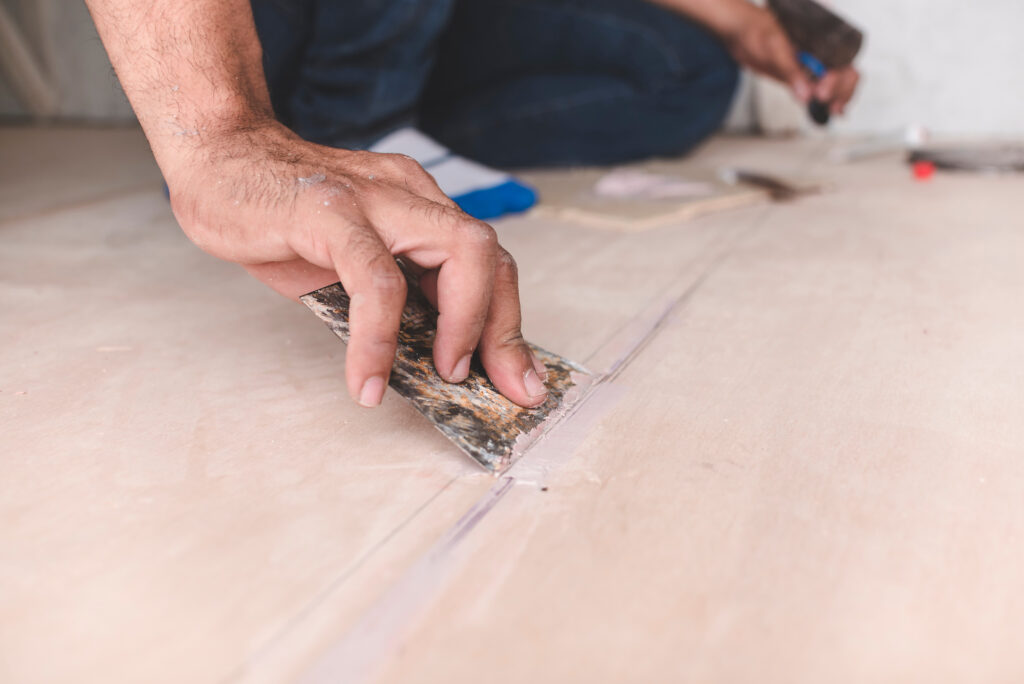
Thoroughly inspect the hardwood floor for any holes or cracks and proceed to repair them using wood filler or patch. Use trowel filler to spread and cover the surface for larger damaged areas. For individual spots, opt for a smaller wood patch filler. Allow the filler to dry completely before moving on to the next step. To ensure a clean surface, wipe the floor with a damp rag, removing any debris and dust that may interfere with refinishing. Taking the time to patch and repair will result in a smoother and more polished outcome.
Step 5: Sand the Floor
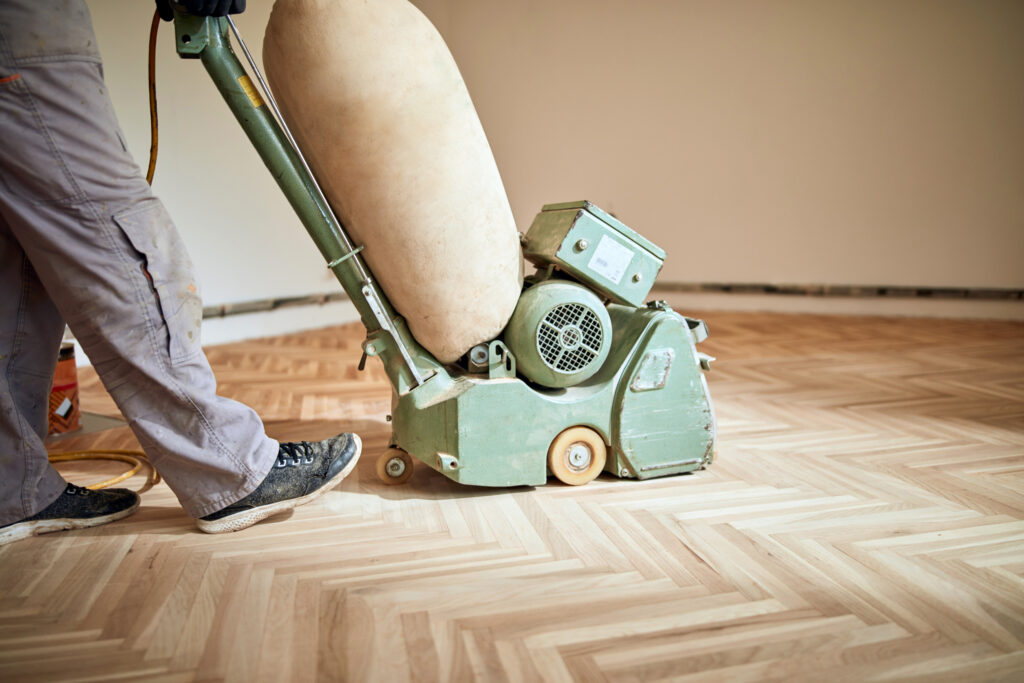
Rent a drum or belt floor sander from a local home improvement store. Begin sanding the floor in sections, starting with coarse sandpaper (40-grit) and gradually progressing to finer grits (60, 80, and 120). Always rub with the wood grain, overlapping each row for even results. Use an edger sander to tackle the edges and corners of the room. Remember to vacuum and wipe away dust between each sanding step to maintain a clean working surface. This meticulous sanding process will help achieve a smooth and even finish on your hardwood floors.
Step 6: Buff the Floor
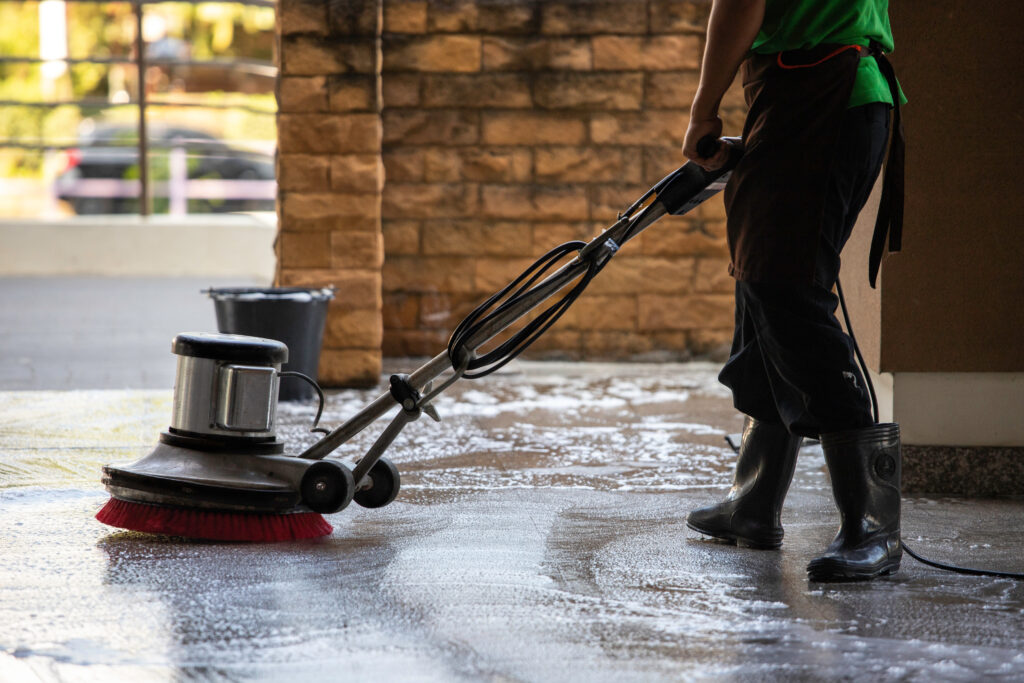
After sanding, it’s time to give the floor a final buff to achieve a smooth and flawless finish. You can use a pole sander with a 120-grit sanding screen or rent an industrial floor buffer for this step. Move the sander or buffer along each board, working back and forth with the wood grain. This process helps to remove any remaining sanding marks and creates a beautifully even surface. Take your time and ensure you cover the entire floor area, paying particular attention to any visible imperfections. The buffing step is crucial for achieving a professional-quality result.
Step 7: Prep for Sealer or Stain
Before applying the sealer or stain, preparing the floor properly is essential. Start by ensuring that the floor and the room are completely clean and free of dust or debris. Wipe down the walls to prevent any dust from settling onto the freshly finished floor. Use a rag or mop to distribute the solution across the floor surface evenly. This process raises the wood grain, allowing for better stain penetration and a more uniform appearance. Allow the floor to dry thoroughly before proceeding to the next step. This usually takes about 30 minutes, but ensuring the floor is completely dry before applying any sealer or stain is crucial.
Step 8: Apply A Stain
An oil-based stain can be used to change your hardwood’s color. Following the grain pattern, you will want to use a lambswool applicator or staining sponge to work the stain into the wood. Apply the stain in small sections, ensuring even coverage, and wipe away any excess before it dries. Allow the floor to dry completely before determining if a second coat of stain is needed to achieve the desired color. Remember that staining is an optional step and can be skipped if you prefer to keep the natural color of the wood.
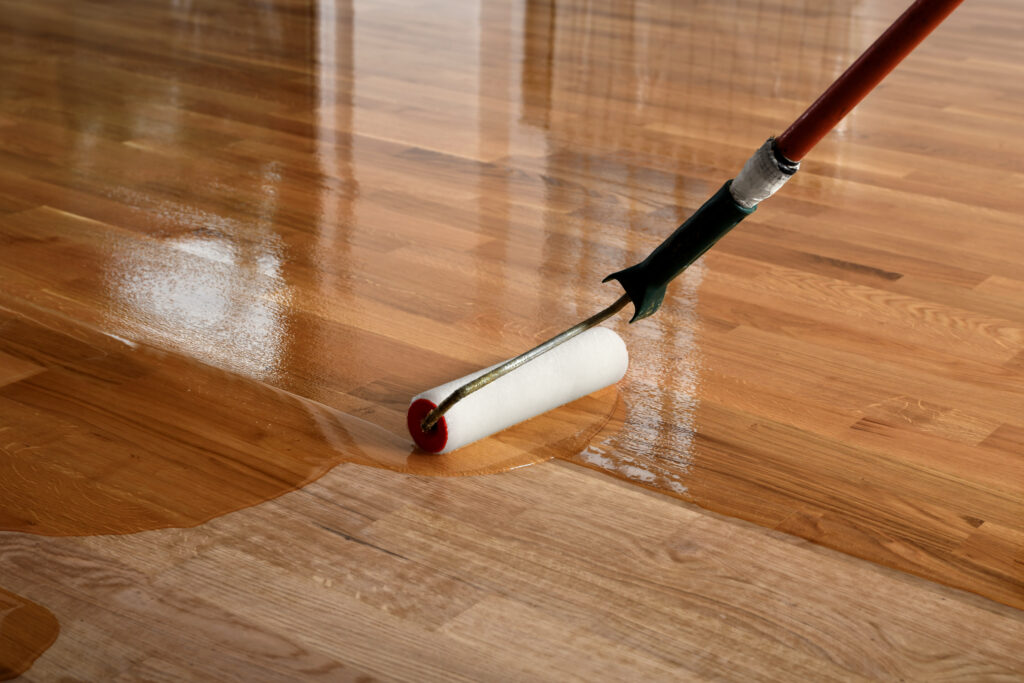
Step 9: Seal the Floor
To protect and enhance the beauty of your refinished hardwood floors, it’s time to apply a polyurethane sealer. Applying the sealer in small sections, working with the wood grain, using a smooth foam roller. Use a brush to cover the edges and corners of the room. Apply multiple coats of sealer, allowing each coat to dry completely before applying the next. Lightly buff the floor with fine steel wool between coats to ensure a smooth finish. You will want to let the sealer dry for a full 24 hours. Only walk or move furniture back into the room once your floors dry. This waiting period is essential to allow the sealer to fully cure and provide optimal protection for your newly refinished hardwood floors.
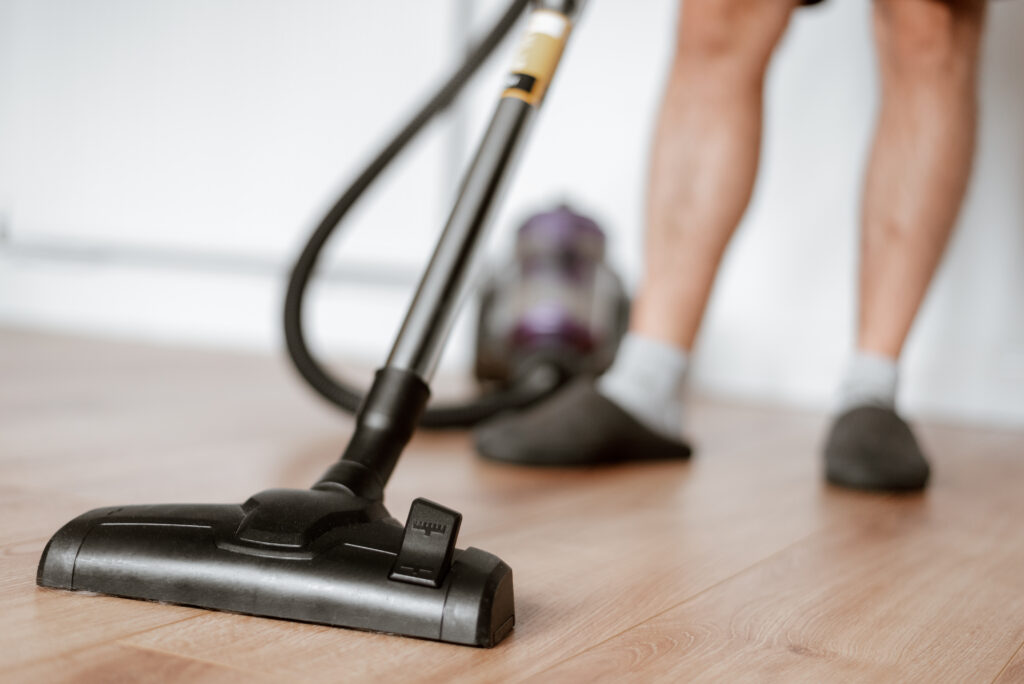
Step 10: Maintenance and Care
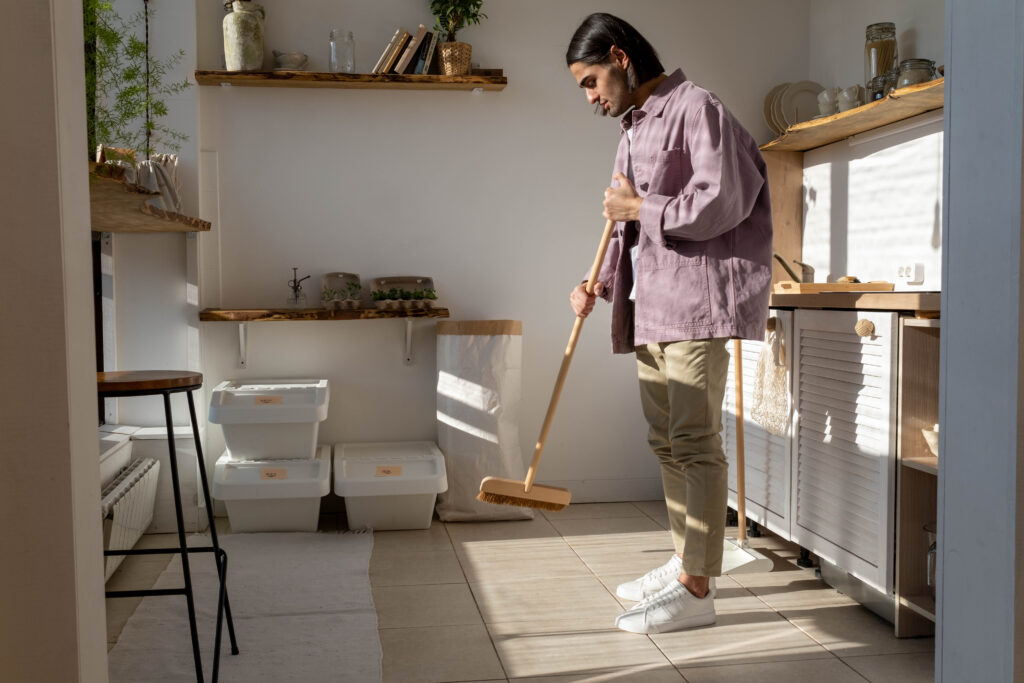
After completing the refinishing process, it’s important to implement regular maintenance and care practices to preserve the beauty of your hardwood floors. Regularly sweep or vacuum the floors to remove dirt and debris. Use a damp mop with a hardwood floor cleaner to keep them clean and shiny. Additionally, consider using furniture pads under the legs of your furniture to prevent scratches and dents. Avoid walking on the floors with hard-soled shoes, as they can leave marks. Following these simple maintenance steps, your refinished hardwood floors can retain their beauty for years.
Refinishing hardwood floors can be a challenging but rewarding DIY project. By following these step-by-step instructions and investing time and effort, you can achieve professional-quality results and enjoy the beauty of your refinished floors for years.